Sunday, March 22, 2020

Display Dome

Hi friends!

I'm here to day sharing a short tutorial on the Display Dome.   To be honest, you don't really need a tutorial to use the dome this is really just about giving you an idea of how to use it!
I started by using some of the cheesecloth I made at Halloween and shredding it to get a pile of thread.  If you want to make your own colored cheese cloth just place a piece in a plastic tray and spray with multiple colors of Distress Spray Stain and water.  Dry it with a Heat tool or out in the sunshine (if you have any).
I pulled a few pieces from the Ephemera Field Notes package and grabbed some string leftover from my last project.
I used hot glue to add a stiff piece of wire to the back of the Field Notes card, the small mushroom and the small flower in the foreground.  All other pieces were added with 3D Foam squares.
1.   I added Collage Medium (my glue of choice) to the cork base then added the shredded cheesecloth.
2. I added the large Field Notes Label and then used 3D foam square to add the red mushroom to the card.
3. I added the wire to the small mushrooms with hot glue as well as the small flower (NOTE: I cut apart the flowers shown in the last picture to create two pieces).
You can see the two separate floral pieces here.


I did add the stamp to cover the wire on the back (since the dome can be seen from the backside).
Once the dome was complete, I added the glass to the cork base.  Totally up to you if you secure it with glue.  It doesn't really need it unless it will be handled or moved a lot.
And there it is!  Hope you enjoyed this easy little project!
now carry on,
paula

Thursday, March 12, 2020

Leaving Home Panel

Hello Friends,

I wanted to share a project I created with the new Distress Embossing Glazes.  This is a large Vignette Tray that I flipped over to use the back side.  I love using a Vignette Tray like this because it gives you a great surface to work on and makes the piece easy to hang after it is done.
(Please click on photos to enlarge)

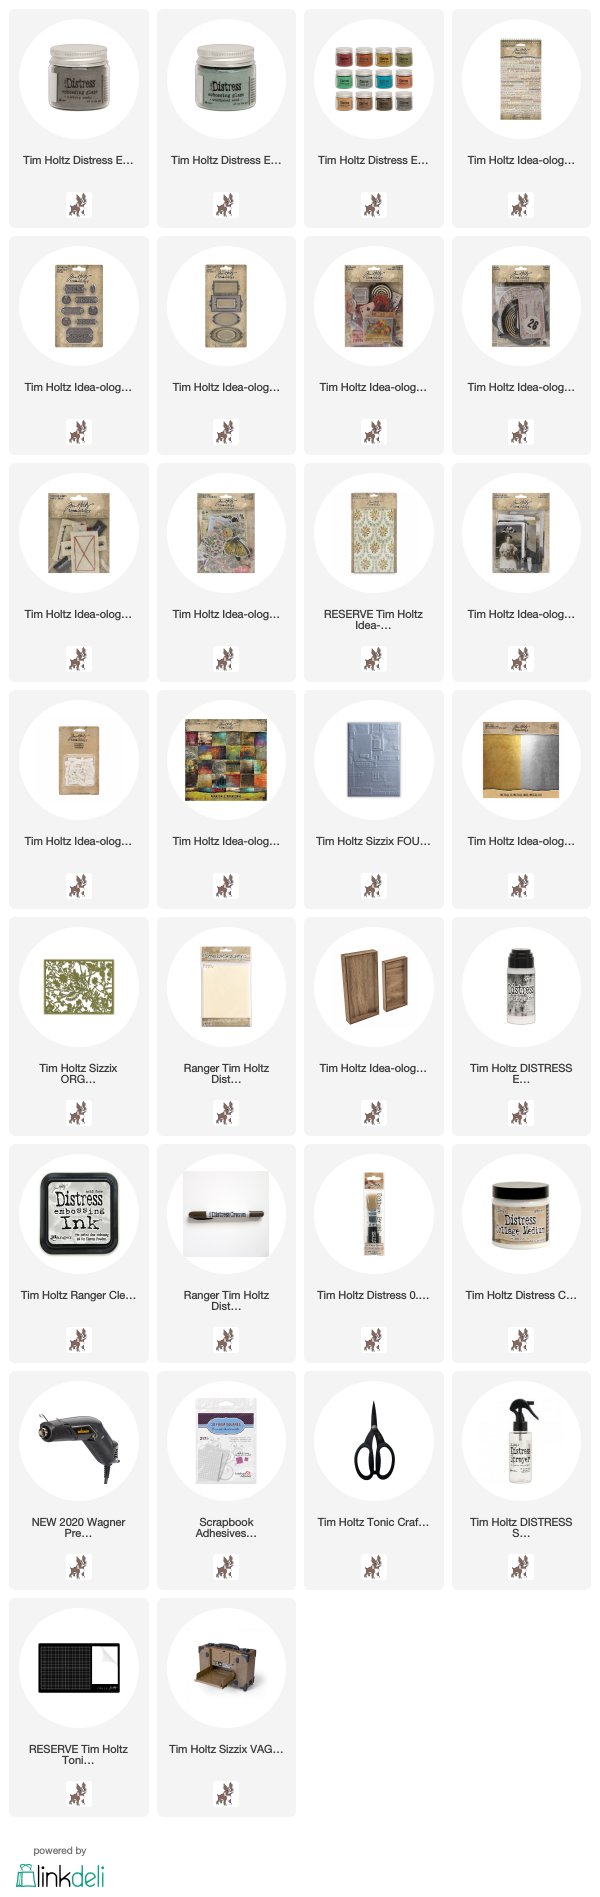
I started by gathering some supplies:
Patterned Paper - From the Abandoned Paper Stash
Worn Wallpaper
Mixed Media Heavystock - used as a plain sheet + the Organic Thinlit
Kraft-Stock - I used gold for the 3D Texture Folder Foundry
Organic Thinlit 
To prepare, I used TWO layers of Weathered Wood embossing glaze over Organic die cut, letting it cool between inking and glazing the second time.
3D Texture Folder Foundry
I used two layers of Hickory Smoke Embossing Glaze over the gold Kraft-Stock to give it a glass like finish.  Because I used a metallic paper coated with a slick finish (unlike the Distress Heavy stock above) you can get a little flaking on corners if you press on it hard like I did when adding Distress Crayon around the edges.  There are plenty of pieces that can be used as patches so if it flaked, I just changed it out.  No big deal - I liked the surface so much that I wasn't willing to change my path.
This piece is all about layering.  First the background, including the giant numbers that can be found in the new Layers Pack - Urban were added to the Vignette Tray with Collage Medium.  Then I moved on to the center collage.  
The boy (Found Relatives pack) and the pencil case were added first and then everything else was built up around them.  The long Pencil box (that the boy is glued to), the playing card and shift key came from the Baseboard pack - Junk Drawer.  They are thick pieces that can stand on their own.  The Butterfly is from Ephemera pack Field Notes and the metal Inventory Tag is from the new Factory Tags pack.  The words have been rubbed with Picket Fence Distress Crayon.
I added the Organic die cut over the Heavystock I colored with Walnut Stain Distress Ink to create contrast.
I also cut two of the Sizzix Mini Globes using the same Kraft Cardstock.  One I left gold and the other I added two layers of Hickory Smoke Distress Glaze.  There are two bingo chips hiding under that globe that raise it off the surface.  Bingo chips and foam squares are very important hidden items that really bring the piece to life with all the layers!

I have to mention the new Stitched Scraps! They are pieces of canvas, felt and linen that have been pre-sewn for you!  I added the eyelet to the end so I could add some string.  The Clippings sticker is from the NEW spiral bound book that we added 2+ pages of new phrases cut from old books (yes, they really are all found in books and cut out by hand).
Here you can see that the Organic die can be used anywhere.  I just cut a piece so that it looks like it is coming out from under the metal corner.  Using a Walnut Stain Crayon helps 'marry' the two pieces together.
You can also see one of the new Label Frames used.  I added paint and Alcohol Ink to age it (fyi: the rivets are already in place so you only have to glue it down!).
I also added Hickory Smoke Glaze over the Typography Letters HOME.  Easy to do and makes a great worn effect.
I just love that one little piece of glazed paper that appears to be holding the surfaces together.  It's a simple detail that just makes me happy.
 I also added some of the new Label Tape at the very end.  The package comes with a roll of letters and a roll of numbers.  Perfect for a lot of occasions.
This is one of my favorite pieces that I made for the Ranger Creativation booth.  I had so much fun with all the new products including the glazes.  I only used them on this project over solid things so the next one will be over patterns and text!  

I'll be back next week with another project, so until then...
carry on,
paula

Friday, December 20, 2019

Stampers Anonymous Holiday Cards

Hello friends,

Today I'm sharing a few cards I made using Tim Holtz/Stampers Anonymous Christmas stamps.

Scenic Holiday
I love this winter scene from the Scenic Holiday set so I stamped it on Distress Watercolor paper (smooth side) and then colored it with a Detailer Water Brush and Distress Inks that coordinate with the plaid paper in the background (one of the favorites from the 2019 Christmas Paper Stash).
Seasonal Scribbles
Lumberjack (background)
For my second one, I started with the whimsical Seasonal Scribbles to create the small center card.  The background was stamped using the woodgrain stamp from the Lumberjack set then cut to size and stitched to a green card base.
Yuletide Gatherings (floral)
Christmastime 2 (sentiment)
The last card was again created on Distress Watercolor Cardstock.  I used a wide paint brush from the Ranger set of brushes to hand paint stripes across the cardstock in Festive Berries Distress Ink.  When the ink was dry, I stamped the sentiment in the center with Embossing Ink and added Gold embossing powder.  Once the embossing powder melts, the sentiment comes to life in the rich gold color.
For the floral images, I stamped over the stripes with the Yuletide Gatherings stamp and Black Soot Archival Ink.  Then colored the image with the Detailer Water Brush and Distress Ink.
As an added touch, I squeezed dots of Mercury Glass Stickles onto the dots of the embossed image.
Hope you like the cards and they give you inspiration for your holiday makes!
Now carry on,
paula

Sunday, December 15, 2019

Cathedral Window Gift Tags

Hello Friends,

I am so excited to share these Cathedral Windows gift tags today! They were so fun to make! Just so many options for color and background.  One tag uses Alcohol Ink over a special surface, one uses a great Christmas stamp from Stampers Anonymous, and yet another used a product we have had in the idea-ology line for many years (it just doesn't get used enough in my book!).  You can find the step-out tutorial over on the Simon Says Stamp blog with all the "how-to" information!

These were really fun to make - I love working small because you can add so much detail!  I hope you will stop by the Simon blog to see all the details!
Now carry on,
paula


Friday, December 13, 2019

Winter Vignette Box

Hi friends,

Today I am sharing a cute winter scene I made with a handsome guy from the Christmas Paper Dolls pack.  This is an easy project (my favorite kind at Christmas) that can be done in an afternoon.  Follow along and I'll show you how I made it!  
I painted the interior walls of the largest Vignette Box with white paint.  Once dry, I added a piece of paper from the Worn Wallpaper Christmas pack.  I love this one with the winter scene.  If you add a layer of Collage Medium it will seal the paint and the paper and you will be able to create a wash over the surface using Distress Crayons and damp paintbrush.
NOTE: What you can't see in the picture is that the outside of the box has been covered with brown plaid paper from the Christmas paper stash.
Paint the matching size Vignette Frame with Candied Apple Distress Paint.  Once dry, sand the frame just a bit then seal with Collage Medium to create a slick surface for the Distress Crayon.  When the crayon was added here, I scribbled HEAVILY over the frame then wiped away the excess with a wet wipe to remove the top layer, exposing the red paint underneath.  This allows the dark crayon to remain the intricate design of the frame.  I also used a Splatter Brush and Picket Fence Distress Paint to splatter over the frame surface.
So here is the basic steps:
1. paint
2. sand
3. seal with CM
4. scribble with crayon
5. wipe away excess
6. splatter
As you know, coloring Paper Dolls is my favorite thing in the world.  Remember, to color over a dark surface (like his coat), use the crayon directly on the surface rather than with a damp cotton swab.
 He is just so cute!
I created a fence using a Metal Gate and Ruler Piece.  I rubbed white paint over the Metal Gate.  Once dry, I added Mushroom Alcohol Ink over the top to age.  If you bend the Gate it will break (which is what I did) so that the fence will fit into the box.  I wanted the Metal Gate to have more weight so I glued a broken Ruler Piece to the bottom to raise it up.  Once it was set, I added it to the box with Collage Medium then set it aside to dry!  I also adhered the painted red frame to the front of the Vignette Box and a stick to the background (seriously my signature this year).
Adornments Yuletide pack has this perfect little wreath.  I painted it with Distress Paint and rubbed Distress Crayon over the top to age.  I did tie it to the Paper Dolls hand, but I also added glue to the left side to adhere to his leg for stability.
I'm not sure if you can see or not but I use yet another skinny stick as a sign post in the background.  This time I tied an old piece of string around the tip of the stick.  Then I picked a piece of ephemera (the 25 card) from the Mini Ephemera Christmas pack, roughed up the edges and adhered it to the stick (right up to the string) so it looked like the string was holding the card in place (in reality its only glued on).
The Christmas Tree was added (sprayed with Bundled Sage Distress Stain) to the corner after I added Distress Mica Flakes.
I also used a wood Final (that I painted black and sanded) to the top of the Vignette Box.  A Christmas Token was aded to a piece of chain from a dish on my desk (I have no idea where it came from, lol) and I pinned it to the green ribbon with a Mini Pin.
 I used Mini Foundations to add feet to the box - they are tiny but I like the look.

I added polk dot Design Tape to cover the break between the Vignette Box and the red Vignette Frame.  I always love a good polka dot!
This was an easy little project that would make a great little gift.  I hope you will give it a try!
Now carry on,
paula

Wednesday, December 11, 2019

Christmas Kits

Hi friends,

I am back from my last teaching trip of the year.  Thank you to all of you who came to a live class this holiday season.  It was fun to see old friends and also nice to meet new people.  In my last class in Florida there were seven new people that came to sew the Fabric Journal.  We had people from New York, Michigan, Wisconsin, Miami, and Orlando!  Now that is heartwarming!

Now on to the news of the day...the remaining Christmas kits have been posted in my ETSY shop, which you can access by clicking HERE or on the ETSY button on the right sidebar of this blog.  There are a limited number of each kit.  Descriptions and prices of each kit can be found in the individual listing.  Thank you for supporting my shop and my little side business of creating kits and teaching.  A little love has been put into every one of them.

Dear Santa...

Christmas Fabric Journal


Winter Wonderland
(trees can be sprayed any color of Distress Stain)

Now it's time to jump into Creativation preparations (that are already happening around here).  I have a few new posts coming and a tutorial on Simon Says Stamp on Sunday so it's going to be busy!  

now carry on,
paula