Monday, July 31, 2023

Full of Wonder Panel

Hello Friends,

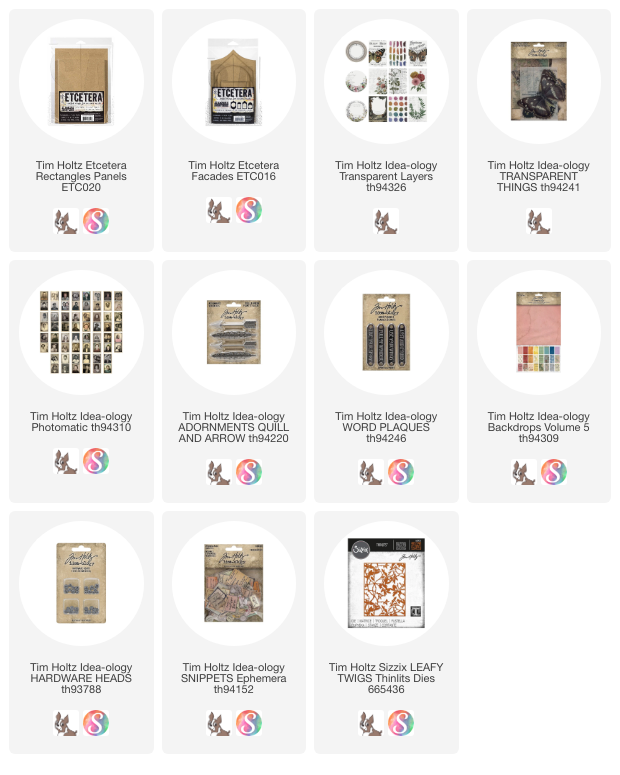
This is one of my favorites that I made from the Etcetera release.  Here I have used a Etcetera Panel + the house shapes from the Facades pack.  I actually used two house shape (because it was just easier) but I have given you an alternative in case you only have one pack.
Lets get started...
Cover the Etcetera Panel with Backdrop paper  - this paper is from Backdrops Volume 5.
I added Design Tape Trims to the edges of the panel.

This is just a test run to show you placement on the panel - NO GLUE YET.

I chose two transparent layers from two different packs. The moon transparency is from the "Transparent Things" pack. I chose it for the stars in the background, not the moon, so I placed it as far to the right as I can.  *This will make more sense when the top transparency is placed on the second layer.

The photo is from the Photomatic pack - I just cut around her, then added a thin foam square to the back so she is raised off the surface.
I squeezed some Stickles out onto the craft sheet, then picked some up with my fingertip and pressed it onto the transparency to dry.  Its hard to take photos of glitter, so trust me it looks better that it does here!
So here is how I put all the pieces together...
I used a cutting knife to cut paper for the top of the house shape (Etcetera Facades). I had multiple packs of Facades so I am going to use two house shapes for this project.  If you only have one package, then you can use Foam squares to raise the house up from the panel.
Tape the 2nd transparency to the FRONT of the house Facade. 
*notice my cut piece on the left, waiting to go in top.
Add Collage Medium to the back of the cut piece.
Then flip over and place on top of the Facade, covering the tape.  Press down till smooth and flat.
FACADE 1
Now, using the second Facade house shape, adhere the moon transparency to the back as shown. I used Scor-Tape to add the transparency to the Facade.

PLEASE NOTE: If you are going to use foam squares instead of the second house shape, then the moon transparency will be adhered directly to the panel, with facade 1 + foam squares placed over the top.
So your piece should look like this.
The double house gives maximum space between the top transparency and the moon transparency.  And you can barely see the moon off to the right!
I added Hardware Heads to the corners.
And a Word Band to the top. I used Foundry Wax in the recessed portion and sanded the letters to bring out some contrast. I believe I added some Mushroom Alcohol Ink with a small brush to grunge the gold wax up a bit.
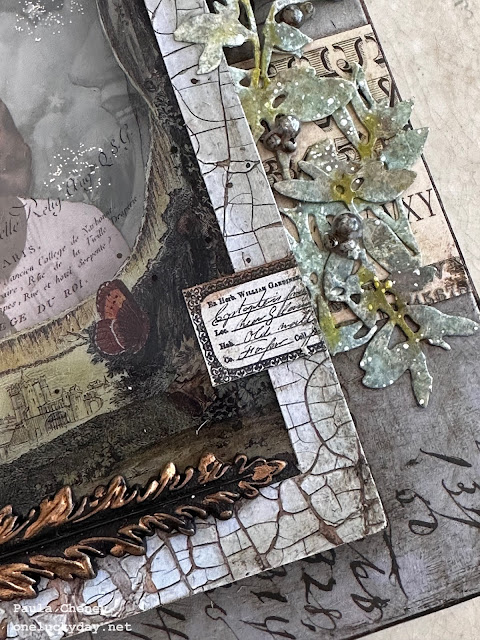
On each side I added some ephemera and then pieces of "Leafy Twigs".  This is a Sizzix Thinlit that I cut and inked.  I splattered it with white paint. Once dry I added the bright green Distress Crayon, Crushed Olive.  It has been snipped apart to use the individual pieces as I wish.  I adhered it to the panel with Collage Medium.  The tiny beads were added at the end.
I also added a tiny label from the Snippets pack.
Here is a close up of the left side.
I used the Feather from the "Quill and Arrow" pack as a grounding piece on the front. I painted it black and then added Foundry Wax to the high parts. Once heated, the gold and black work really well together.
I love this piece - it is so ethereal with the double transparency.  You could use any photo you wanted inside and really go with any theme.
Now carry on,
paula

Monday, July 24, 2023

Etcetera Mosaic Panel

Hello Friends,

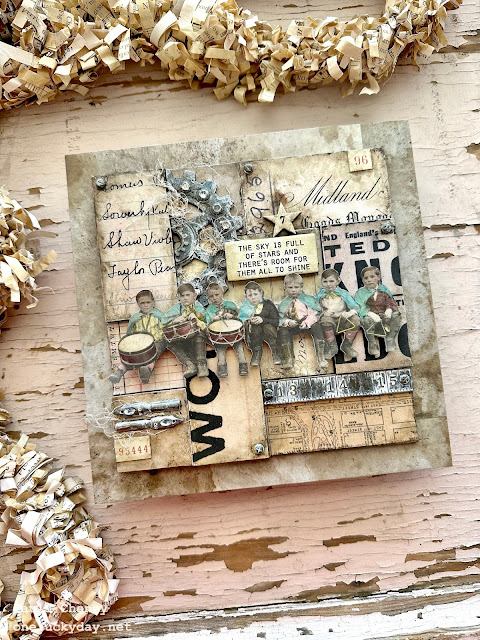
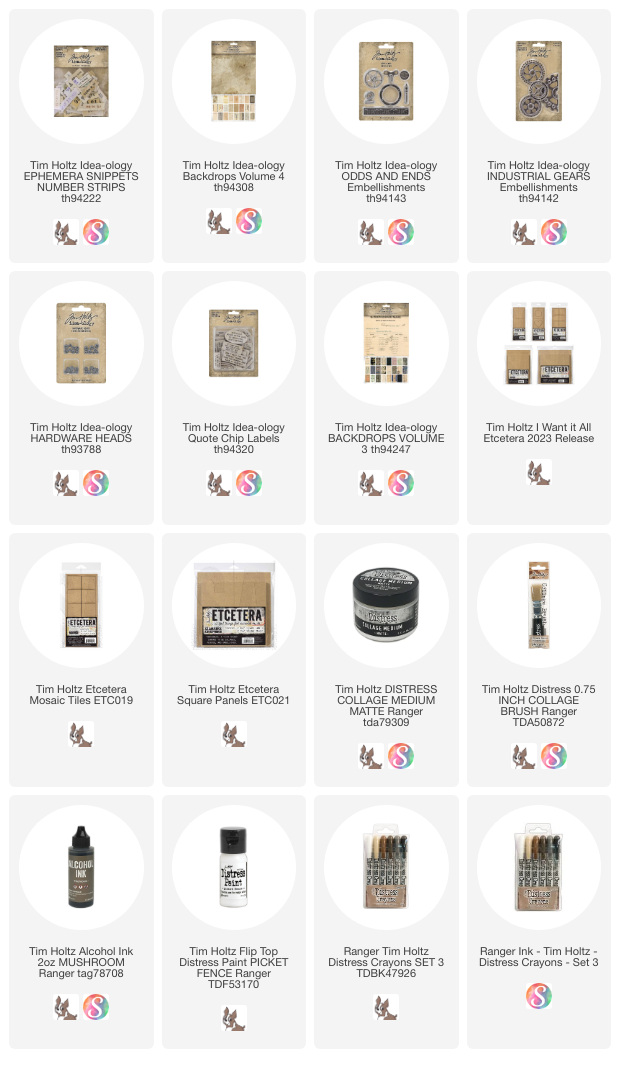
Back today with another project made with a new Etcetera Panel but this time I used the Mosaic Tiles pack. This project feature a darling row of boys playing band instruments.  This large image is from one of the Backdrop paper (Volume 3).  I fussy cut seven of the band members to fit across the small Etcetera Panel (71/4 x 7 1/4"). After cutting, I covered both the front and back with Collage Medium, smoothing it out with my fingertips before drying with a heat tool.  Once dry, I tinted the little boys using a damp Detailer Water Brush and Distress Crayons in various colors, like Aged Mahogany, Fossilized Amber, and Evergreen Bough.

For the substrate, I covered the edges of the small square panel with Backdrop Paper (Volume 4). In fact all the paper used in this project are from Volume 4, the neutral pack. I chose not to cover the middle because it would never be seen.

One Mosaic Tiles package comes with enough tiles to make this project.  
In the Mosaic package there are:
ten - 1 1/2" Tiles 
ten - 1 1/2 x 3" Tiles 

I laid out the tile pattern I wanted on the board, then set to work adding paper from the pack with Collage Medium.
I like the mix and match of the papers from Volume 4 and I made sure I used different size and scale to create interest.  
Right now the piece is flat. It could stay that way, but I decided that it need dimension so I added an extra tile under four of the tiles to raise them up.
I added an additional tile under each of the tiles with a star.  You will be able to see the dimension in the final piece photos that are coming up next.

Distress Crayon was added to the edges of all the tiles (remember, your paper has to be sealed with Collage Medium to use crayon over paper).
Hardware Heads were added to some of the tiles as well as the measuring tape.
The metal measuring tape from the Odds & Ends pack, fit PERFECTLY in the niche created by raising the tile with the big lettering on the right and the tile with the extra-large lettering on the left.
The large gear (that has been painted with Picket Fence Paint and Mushroom Alcohol Ink) snugs up to the raised tile on the left.
I had two packages of Odds & Ends so I was able to add two pen nibs (only one comes in the pack). The added red numbers are from the Number Strips pack (probably my most used SKU next to Clippings!)
Such a fun project and EASY too!! Now that the best kind of make!
Now carry on,
paula

Saturday, July 22, 2023

Etcetera Tile Panel
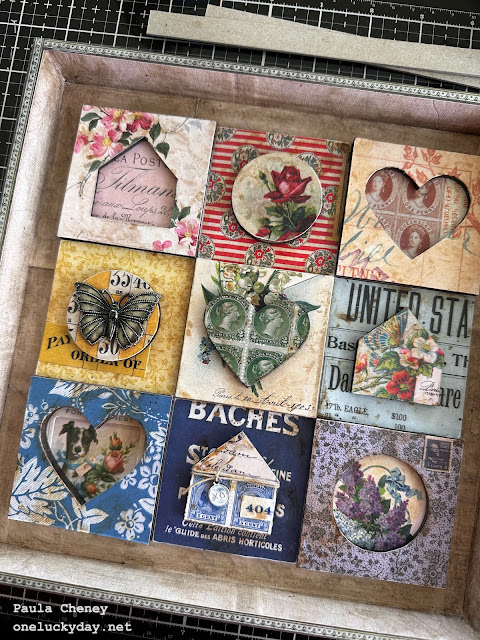
Hey there friends -

So much behind the scenes work + a 2 week vacation in June has kept me from posting but I have so many projects coming int he next few months that you might get tired of me!

Today I am starting with the new Etcetera products that were released this week. I created 4 samples so I will be sharing those in the next couple of weeks here on the blog.

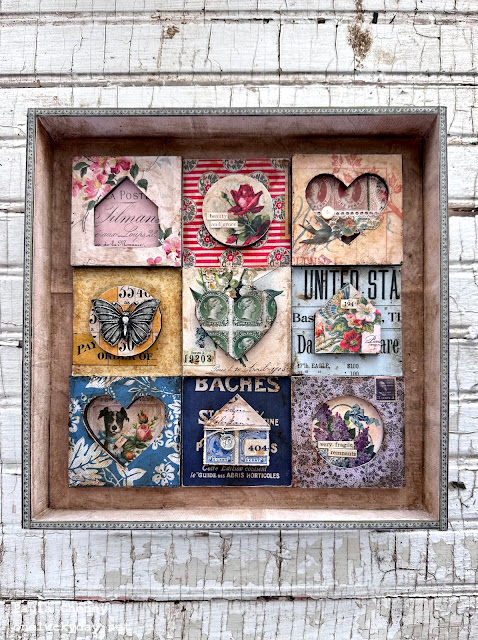
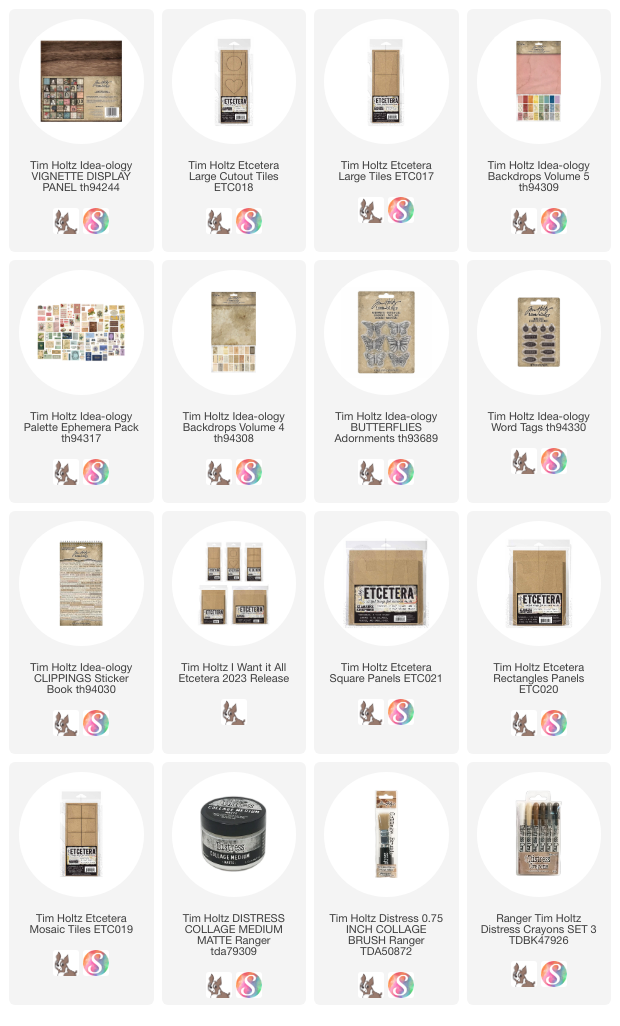
For this project you will need one package of each of Tiles (Large) + Cutout Tiles.


Here are the basic instructions:
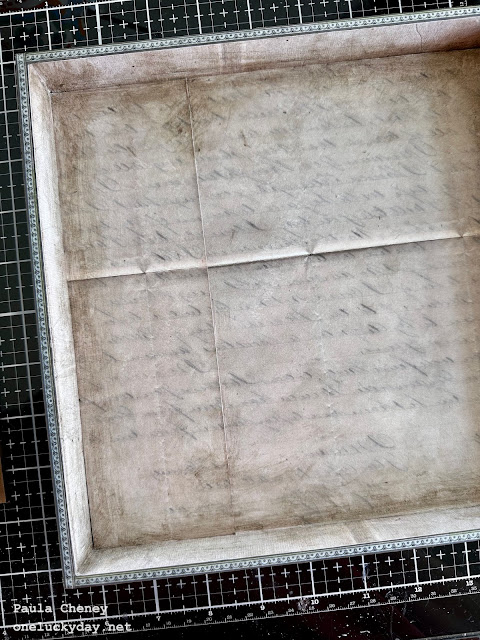
Cover a Display Panel with neutral Backdrop Paper and add Design Tape Trims to the lip edge. Cover surface with Collage Medium and let dry.
Add Walnut Stain Distress Crayon to the edges of the back panel, then use a damp brush to move the crayon around, pulling it up on to the sides of the Panel.
Made my arrangement of tiles BEFORE I started adding paper.  Since I was giving each tile it's own color story, it was important that the design was set, because I couldn't do a ROYGBV (red, orange, yellow, green, blue, violet) out of order.
Here I have used Collage Medium to the tiles and shapes, then added one of two things...paper from the Backdrops paper pack #5 or ephemera from the Ephemera pack, Palette.  Its easy to add the paper and the Collage Medium dries so fast that it takes no time.  You can use scissors or a cutting knife to cut away the excess paper.
Once I had my tiles done, I cut 1/2" heavy chipboard strips to lay into the top and bottom of the panel.  These helped me to make sure the Tiles were straight before gluing them down.

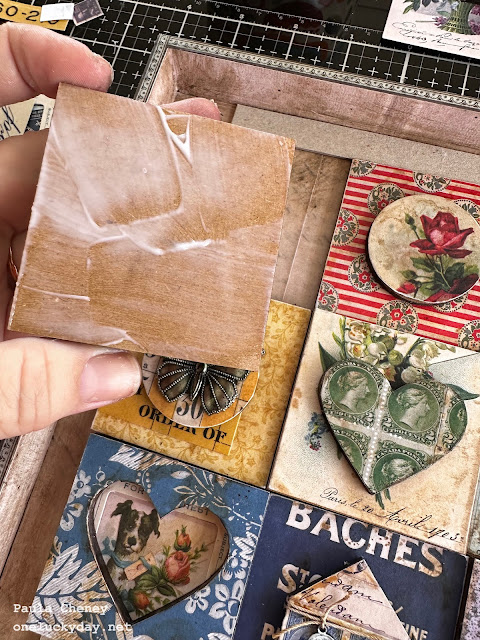
Now just pick up the Tiles one by one and glue them into the Display Panel.  
NOTE: I used a good amount of glue (and worked VERY FAST) so I could shimmy the tiles into the place before the group dried completely.
You can see the chipboard strip up at the top of the panel...it is a great guide for getting the tiles in a straight line.
Carefully remove the strips, making sure the tiles are straight. Then set it aside to dry completely.
My most helpful tools other the chipboard strips were a small paint brush to wipe away excess glue and a pair of tweezers.
This was a fun project - and really the hardest part is just deciding on your design because there are just so many options!!

I hope you'll give it a go!

Now carry on,
paula