Friday, May 31, 2024

Paper Strip Vignette Panels

Hello friends,

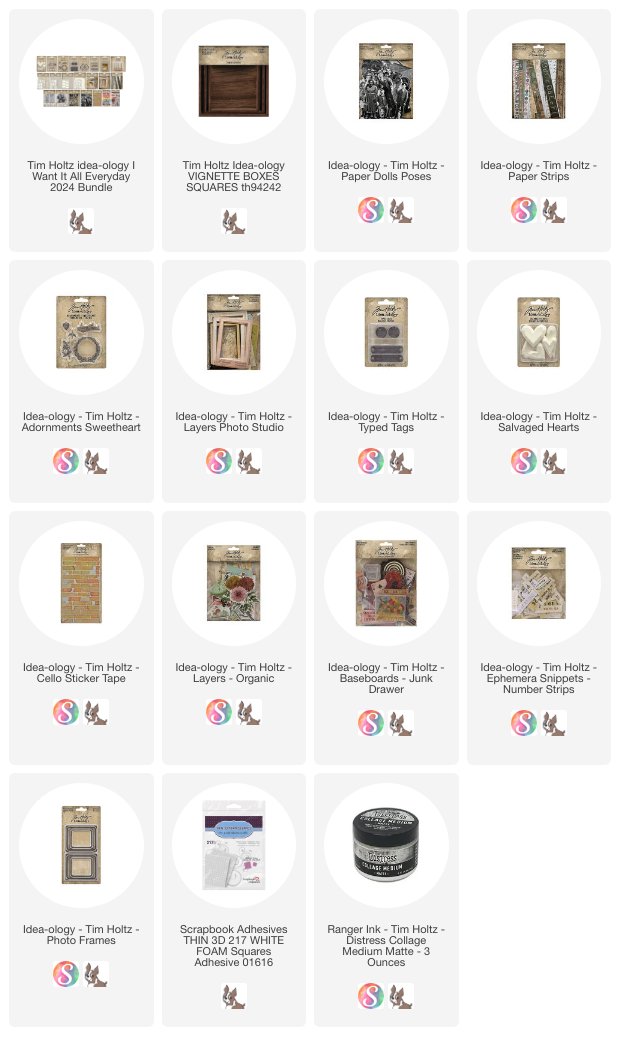
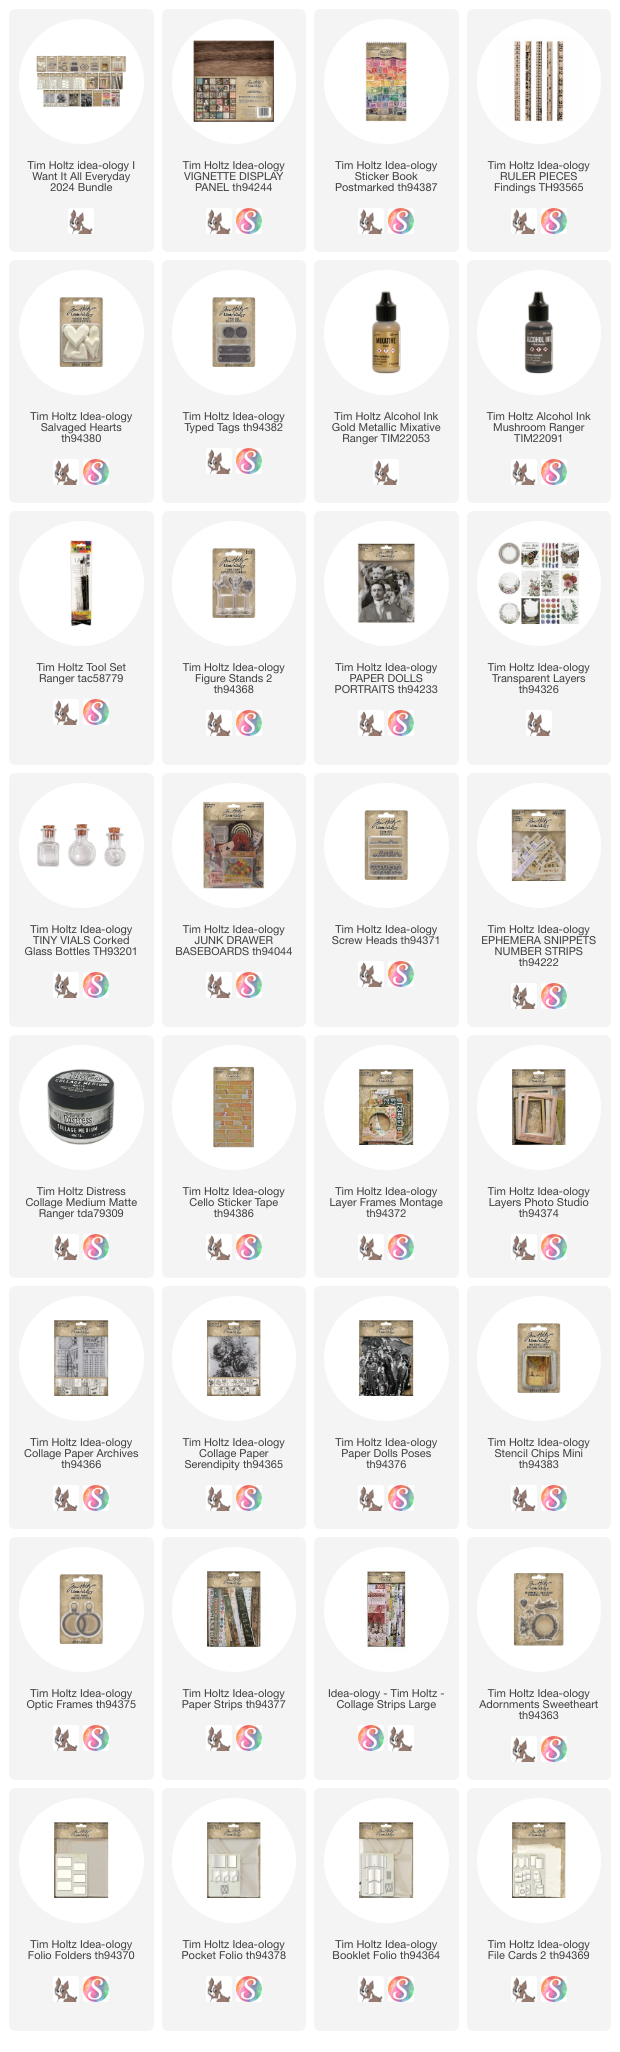
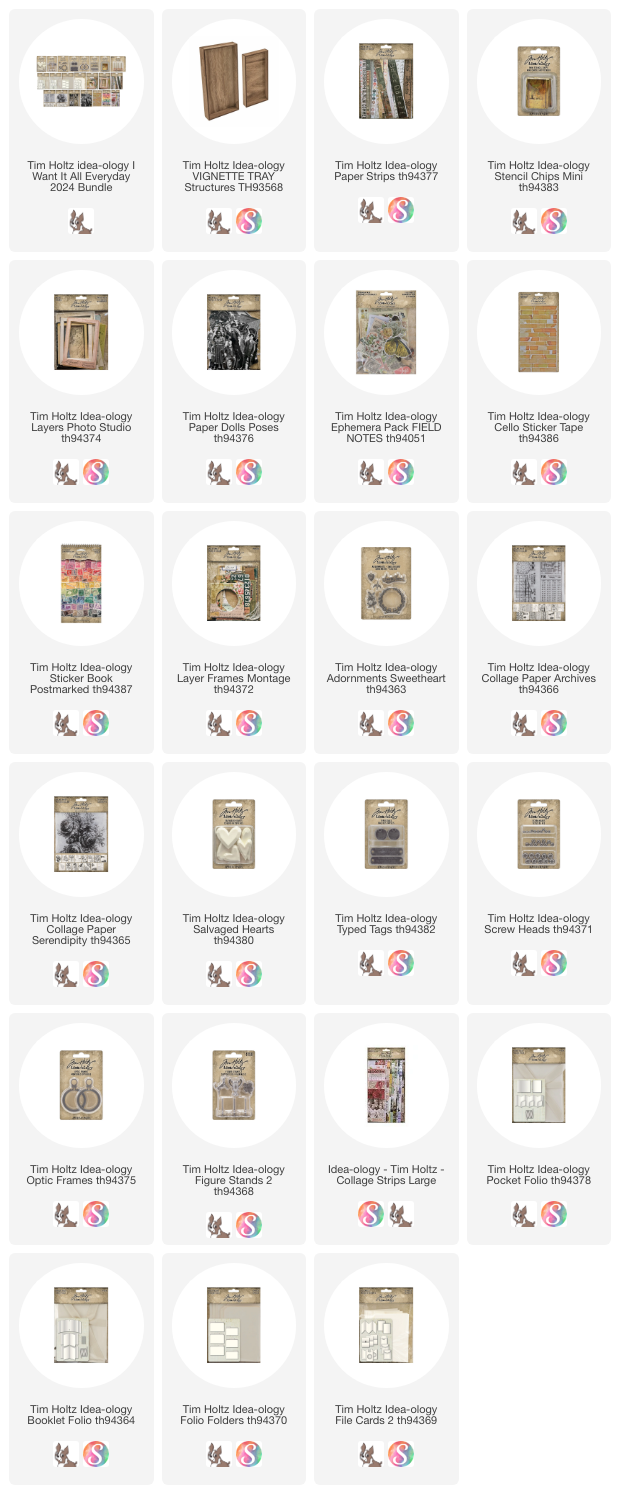
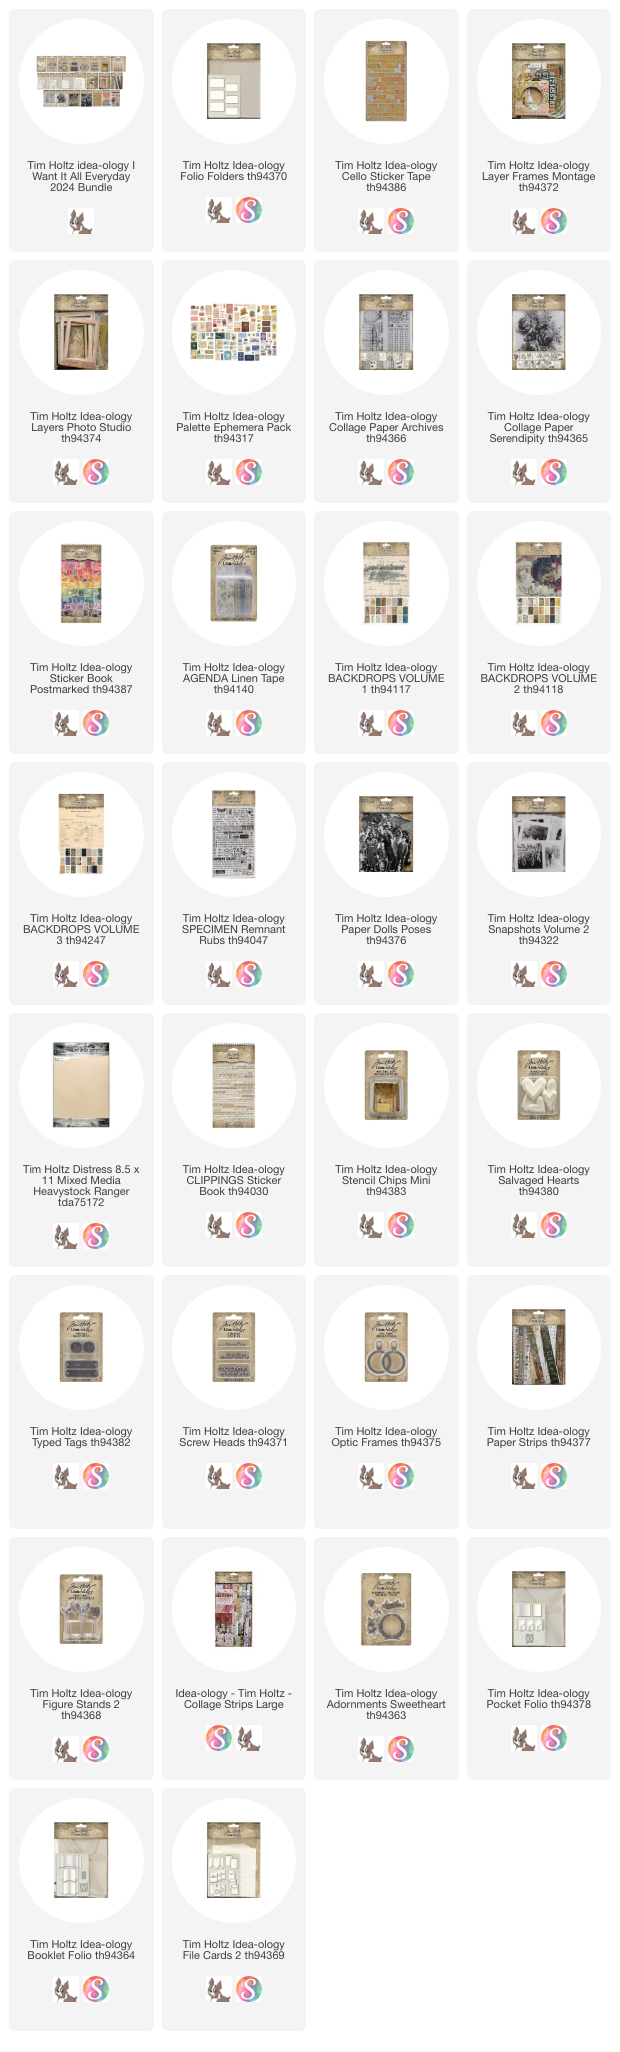
Another project using new products from the 2024 idea-ology release. This trio of small wood panels was inspired by the new Paper Strips. I honestly loved the idea of the Paper Strips, but didn't know how fun it would be to use them till I started this project. These Vignettes could be easily hung on a wall or just simple stacked for display (the largest square is 5.5 x 5.5").
The Paper Strips come in a bag with 89 pieces. Each strip is 6" long and there are three widths. 
You can line them up any way you like. I decided to make each of the three Vignettes a little different, by creating a different patterns on each. The Paper Strips go on easily with Collage Medium. The weaving takes the most time, only because you have to keep them tight to create the pattern (but it's totally worth it).
I decorated each of the square with more idea-ology. I did use thin foam squares to raise things like the dragonfly from the Layers Organic pack and the Paper Doll.
The Salvage Heart was covered in Silver Mixative then aged with Walnut Stain Distress Crayon. The painted metal flower is from the new Adornments, Sweetheart pack. And don't forget how cool the new Cello Sticker Tape is. The frame is actually glued down but I still added tape over the top.
The pink baseboard piece from the Junk Drawer pack was perfect to add under her elbow as a resting place. I purposefully added the paper strip that says, "my dearest" at the bottom so it would show in the final piece.
Once I was satisfied with all the pieces, I splattered the surface with white paint before setting them aside to dry.
These are SO SIMPLE to make. A great place for a beginner or someone that wants an afternoon project. 
Now carry on,
paula

Friday, May 24, 2024

What Makes Your Soul Shine

Hello friends,

Happy to be here today sharing one of my new idea-ology makes. This was totally inspired by the new 'Postmarked' stamp book. If you have not seen it yet, it comes with page and pages of colorful stamps to use in your art. There is even a page at the back to make your own stamps if you want.

This part might seem daunting but it really wasn't. The Display Panel is 9 x 9" and the stamps are about 1" tall so you will get 9 rows from top to bottom. It will take 10 stamps to go across the panel, including 1 larger stamp. 
I started at the top with the pink stamps, then lead into the red. I decided to off set some rows for more interest (you can see that on row two, I started with 1/2 a stamp). Then I went back to a full stamp starting on the orange and yellow rows.It really is fun to line up the color and sizes. I also added at least one larger stamp to each row.
The stamps fit in tightly, without overlapping. This really helps to keep the rows straight. Once I was finished, I covered the surface with a layer of Collage Medium. I just felt it might be needed since I don't know how the tiny stamp corners would react over time...would they lift? Anyway, the Collage Medium is a perfect sealer and will keep all the corners in check.
I rubbed Scorched Timber Distress Crayon over the edges of the panel. This photo shows the beginning stages. 
The final result is much more subtle once I pounced over the surface with a wet wipe to remove some of the crayon.
The hardest part for me was figuring out how to marry my 'rainbow bright' stamps with vintage. I decided to use this Portrait because I could color the corsage with the bright/bold colors of the stamps. I just pick up the color from the glass mat with a damp water brush and color the large flowers. If you have too much water on the tip, just wipe it off on a paper towel before picking up the crayon. The tip should be damp, not wet.
Next...she needs something to ground her. I used a stack of Ruler Pieces that I glued together with Collage Medium to create the shelf. This product has been retired, but I know retailers still have them available. Glue the rulers together, then wrap low tack masking tape around the ends so they ends do not lift when drying. Once dry, rub with a little Distress ink.
Next up is Alcohol Ink Mixative in gold. I use a brush to paint the Mixative on the BACK of the transparency (you can see how it looks in the next photo). Once dry, I turned the transparency over and used the same paint brush to splatter more Mixative over the top (remember to protect your surface - no one wants to clean up gold splatter!!)  The last step is optional - I cut around the circle with pinking sheers. I love the way it looks with the pinked edge!
Add thin foam squares to the back - the gold Mixative hides the foam. Set aside till needed.
Again, use the gold Mixative over the Salvage Heart. Once dry, flick Mushroom Alcohol Ink over the top. 
I wasn't sure how many bottles I wanted to add, so I colored all three shapes to decide later. For glass, I like to coat the surface with Collage Medium, then let it dry before adding Alcohol Ink to the surface.
This card is a piece from the Junk Drawer Baseboard pack. I just added a little Kitsch Flamingo to the center and rubbed it to disperse the color. 
Glue the gold heat to the center of the card and add two foam squares to the back of the playing card.
Now more crayon work. I added to of the new Screw Heads over the holes and let dry. Then I scribbled on Picket Fence crayon to fill in the words.
I painted the clover from the new Figure Stands pack. It is so cute! After glue the clover to the stand, I used steel wool to remove some of the paint from the clover. 
The word lucky was printed on my computer using the font 'GF Halda Normal' in (11pt size). I cut it out, wrapped it around the stand and glued the two ends together. Remember to cut the < at the end.
To make room for the Figure Stand on the ruler shelf, clip the Portrait on either side of the base.
Cut out a piece so the stand can slip right under the Portrait.
Add TRIPLE stacks of regular sized foam pads to the back of the Portrait to prepare to add her to the panel.
For placement, cut a piece of chipboard 2 1/4" tall. Line it up with the bottom edge. Adhere the ruler with Collage Medium and let it dry for at least 30 minute before adding the other pieces. This way you won't accidentally move it out of place.
Now use the foam pads to add the circle transparency and the Portrait.
I knew the Figure Stand was going to be a heavy weight against the Portrait so I slipped a bingo chip behind her shoulder to support it. Once this photo was taken, I pushed the bingo chip all the way in so you cannot see it.
Now slip the Figure Stand into the slot that was cut previously. I added glue behind the clover and under the stand base.
A little added cheesecloth or Mummy Cloth and the slot disappears. You don't need much.
Here is a shot of the placement of the other items. I ended up choosing the square vial and just added a few small pearls from my stash, along with some string around the neck of the bottle. I also added the date on the ruler (from the Snippets Number Strips Pack) and another metal leaf on the right side. You can see it much better in the next two photos.
Once everything was in place, I did add a splatter of white acrylic paint over the top. I put a post it note over her face so I didn't get the splatter on it.


I hope you will give this a go. It was fun to make and those stamps are so awesome to work with!

Now carry on,
paula

Monday, May 20, 2024

Tonic Recoil Scissors

Hello friends,

We are celebrating the launch today of a new collaboration between Tim Holtz and Tonic Studios
(which we all know make great tools that last). 

Introducing two sizes of Recoil Scissors (7” and 9.5”). The scissors non serrated blades provide smooth cutting, with a comfort grip handles for ease of use. I love the flip latch that keeps your scissors closed even without the cover…and the handle, well that just fits perfectly in my hand! 

There will also be a YouTube Live on Saturday, May 25 (9AM PST) where Tim will cover all the features of the new scissors. Don’t miss it!

Tim Holtz/Tonic 
Recoil Scissors and Recoil Scissors Snips


Now carry on,
paula

Sunday, May 19, 2024

Paper Strip Vignette Panel

Hello Friends,
Today I am sharing another project from yesterday's idea-ology Live. The structure here is a small Vignette Tray which is 9" tall and works perfectly with the Paper Strips. The new smaller Stencil Chips are a wonderful size. It was easy to spell the word TRUE across the small tray.
To begin, I adhered the Paper Strips to the back of the small tray. You might notice that even though the strips are long enough to reach across the tray, I chose to cut some of the row short so I could have more than one strip per line. Once the Paper Strips were complete, I flipped the tray over and used a cutting knife to remove any excess paper (I save those of course). I added a layer of Collage Medium over the paper to seal the surface.
This photo its really about the Walnut Stain Distress Crayon that I added to the edges, but what it also shows is how the paper has been pieced across the surface. 
I used a blue Photo Studio card as my grounding point above the word TRUE. Cello Sticker Tape and a stamp from the new Postmarked sticker book were added to the blue card.
The woman is from the new Posed Paper Doll pack. The flower, library card and seal (behind her head) are all from the Field Notes Ephemera pack,
This is an easy make, really, just a few hours. I also love that when you make the collage on the "back" of a tray, you instantly have a way to hang it on the wall. 
I have a large vintage frame in my hallway. When I make anything using the small tray, I know I can switch out. Once my tray comes back to me from Tim, it will take the place of the small tray that is currently there.
Remember, you can watch a replay of the Live to see all the projects that our Makers made. Just go to Tim's YouTube channel or his blog (there will be a link to watch).
Now carry on,
paula

Saturday, May 18, 2024

File Folder Book

Hello Friends,

So happy to be here today celebrating the release of spring idea-ology! Today I am sharing a book I made with the new File Folders. The File Folder pack comes with 6 File Folders: 3 large and 3 small. The cover was handmade. I normally show step-out photos first, but in this case I think its easier to understand how the book was put together if you see the book first. So I'm going to walk you page by page through the book, then I will show you some step out photos. I have also linked below to a very good tutorial that has step-out photos of the pamphlet stitch I used. Please view that before you start poking holes in the cover or the Folders. 
Also, all the ephemera is from the Palette Ephemera Pack. So here we go!

Collaged front of the first large File Folder.
Inside the large File Folder is the first small File Folder pocket

Add a 1/4” wide piece of Scor-tape to the bottom of the small File Folder and close to secure, creating a pocket that is open at the top and right side.
The new Layer Frames-Montage, have different shaped openings and still come with the signature stitching so it looks like you sewed them into the book.
I added ephemera behind the transparency window so there is interest when you pull the tag.
For each tag that goes into the pocket, I used a photo from Snapshots 2. 

I chose photos that could be easily isolated with the white ink from a POSCA paint pen.

Once I isolated each image with the ink and let it dry, I added Collage Medium over parts of the surface to add Collage Paper to add some interest over the white surface. Another layer of Collage Medium over the Collage Paper surface, then dry with the heat tool. Add stitching and vintage lace to the top.

Collage hidden behind the pocket.
All Paper Dolls in the book are from the new Poses pack.

Collaged front of the second large File Folder.
Do you not love the new Cello Sticker Tape!!!! I used it in every sample I made for the idea-ology Live! I LOVE it so much!
Inside the large File Folder is the second small File Folder pocket.

I use basic Scotch Tape to add the clear plastic to the inside of the opening/window. If you choose to add something like this butterfly on the outside, use Scor-tape so it appears as if it is floating. When the pocket is closed you will never see the inside and no one will know how you taped the clear transparency into the center.

Collage hidden behind the pocket.


Collaged front of the third large File Folder.
Again, the Cello Sticker Tape is a star!
Inside the large File Folder is the third small File Folder pocket.

Collage hidden behind the pocket itself.

Putting it together...

Small Folders

Each small File Folder was sprayed with Antique Linen Distress Stain Spray. Most of the surface will eventually be covered by a Collage Frame or Backdrop Paper, so don’t worry too much about this step. Although the bare tab does look better and more cohesive when it is sprayed and inked since it does show.

Close each small File Folder so you have a distinct front and a back to work with (no tape or glue yet).
Adhere a Collage Frame to the front. Adhere Backdrop paper to the back. NOTE: I made the tabbed side of each small folder the front, making the shorter side of the folder (with no tab) the back. The back is where the Backdrop paper goes.

Once the Collage Frame is secure, use a cutting knife to remove the center of the frame. Only cut through one side of the File Folder! Repeat steps on the other 2 File Folders.


Large Folders

Use Collage Medium to adhere Backdrop papers to each side of the large File Folders, front and back. I made sure the fold was not covered by paper on either side, so the the File Folder could easily close.


This is the outside of each folder

This is the inside of each folder

Once the window has been cut, open the Large File Folder and lay the small File Folder on the seam. Stitch the two piece together using a longer stitch on the machine.
This is what two of the sewn folders look like. The pocket has not been closed yet...and I am till testing ephemera in the background at this point.
Add words to the tabs.
I also used Remnant Rubs to add more interest.
Cover

NOTE: I used random Backdrop papers from volumes 1-3 for the inside of the book. If you are specifically looking for the paper used on the cover - it is in Backdrops vol 2. 


I used one piece of Backdrop paper for the front of my cover making it 6 x 10”. The fatter your book, the more length you will need. Meaning, if you want to add a lot to the inside, you might need a paper cover that is 6 x 11” or 6 x 12” depending on the thickness of the book.


Anyway, I took one Backdrop 6 x 10” and adhered two cut pieces of Mixed Media Heavystock 6 x 4 3/4" for the front and back covers, leaving a 1/2" open as the spine.

Adhere Backdrop paper cut the same size as the Heavystock...still leaving the spine open.
pink paper - volume 3
blue paper - volume 1
Then I added Fabric Tape over the spine area to give the spine strength and flexibility.

If you need help with the pamphlet stitch (to sew the large Folders to the cover), please use this excellent tutorial (link to Starpointe Studio). I repeated it three times - one for each folder.

Once your 3 File Folders are complete, you will poke 3 holes in the fold (again, see the Starpointe tutorial).
Flip the cover over and poke 3 holes at the top, center and bottom, matching the ones you just poked in the folders. You will need one set of holes for each of the 3 Large File Folders. Line up the holes and sew the folder to the cover using the pamphlet stitch. Repeat for each folder.
NOTE: I have the cover ephemera temporarily adhered to the cover so I know what is the front of the book. I will eventually sew around it and adhere it with Scor-tape at the top and bottom so a fabric band can slide underneath.
The fabric band was made from Linen Tape. I just pressed it onto some muslin, then cut around the tape. I stitched around it to secure the tape to the muslin. This band runs under the "album" ephemera (Palette Ephemera Pack). The stamp is from the new Sticker book "Postmarked". The button is vintage.
The band is secured in the back with Scor-tape and it covers the knots/strings where I bound the folders to the cover.

I just used scissors to cut a slit for the button. You could make a real button hole with a sewing machine if you choose. I figured the slit was sufficient.
Remember, you can watch the replay of Tim's Live once he posts it on his blog to see the book up close. He shows every page and how the book is hooked to the cover. Nothing like seeing it on camera! 
And if you have any questions don't hesitate to email me. 
Now carry on,
paula

I added the products I used in the book at the top. 
Other new idea-ology products are listed in the bottom portion.