I had the opportunity to create a 12 x 12 layout for the recent show. If you follow my blog, you know that is an anomaly for me. So even though I know you don't come to this blog for 12 x 12" layout inspiration, I hope sharing it will give you some ideas to use the same products to create cards, journals or mixed media artwork.
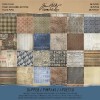
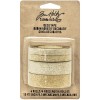
I am using paper from the
Dapper Paper Stash (
don't you love the rulers?) I chose an Instagram picture we took at the Remnants of the Past Antique Show, that matched the browns and blues of the Dapper paper line.
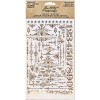
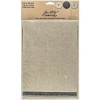
The grey/blue ticking paper is a nice break from the tape measures. It also gives me a smaller working area (which I wanted) yet still allows the tape measure paper to shine.
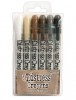
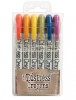
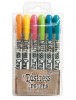
I cut 4" strips of
Deco Tape to match the size of the photo, then used pinking shears to create the sawtooth edge. The Deco Tape is self adhesive so once it was trimmed, it was easy to add it to the edge of the photo. You can also see where I added
Remnant Rubs - Gilded Accents below the photo.
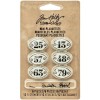
A quote from the
Pocket Cards (mounted on black Core'dinations cardstock) was used as journaling message. For those of use who are not so confident in our handwriting, the pocket cards are an easy alternative. I did mount the quote on foam squares to raise it up.
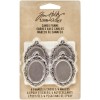
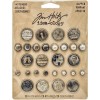
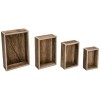
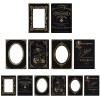
A cluster of new embellishments was added: A
Cameo Frame,
Mini Plaquette (
that I talked about in my last post) and a
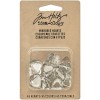
Mirrored Heart.
Just a few words on the
Cameo Frame...I colored the metal frame with a combo of Weathered Wood Distress Paint and Gold Alcohol Ink to tie it back to the glittery Deco Tape. I used the Tim Holtz
Oval Punch to punch a piece of Dapper paper for the center and added the words from an old book (
because that just makes me happy). You might notice there is a bit of sparkle on the oval. I did that by adding a small amount of
Mercury Glass Stickles Glitter Glue to the paper, THEN adding the epoxy over the top (
the epoxy comes with the Cameo Frame). When pressed into place, the epoxy disperses the Stickles creating this fun embellishment (
don't tell anyone how easy it was to make).
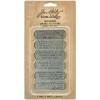
I also added the some of the new Design Tape and Fastener to the top of the paper.
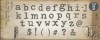
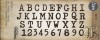
For my title, I adhered a piece of metallic Core'dinations Cardstock (
my favorite product of 2015) to a piece of chipboard and ran it through the Vagabond using the new alphabet
Typo. At first I had all upper case but it was just a bit tight on the layout. I am VERY lucky that I own both upper and lower case Typo so I was able to mix them to create my title. Lucky indeed.
More often than not, I knock back the shine just a bit with fine grit steel wool.
As I said in the beginning of this post, I'm happy for the opportunity to do a layout. The kids love looking through them and remembering good times...just like this day at the flea market.
Now carry on,
paula