Showing posts with label Found Relatives. Show all posts

Tuesday, February 2, 2021

Kitsch Flamingo Etcetera Tag

Hello Friends! 

I'm happy to be here today to share my first Kitsch Flamingo project! If you missed the Live and would like to watch the replay, you can find that HERE on Tims blog.  It's about 50 minutes long and so worth it to hear him talk about the different color mediums and how they work on surfaces (plus see the samples that were created).

The first project I'm sharing is a Small Etcetera tag watercolored with Kitsch Flamingo Distress Ink using the easy no-line watercolor technique.  Let's get started!

You will need a few supplies:
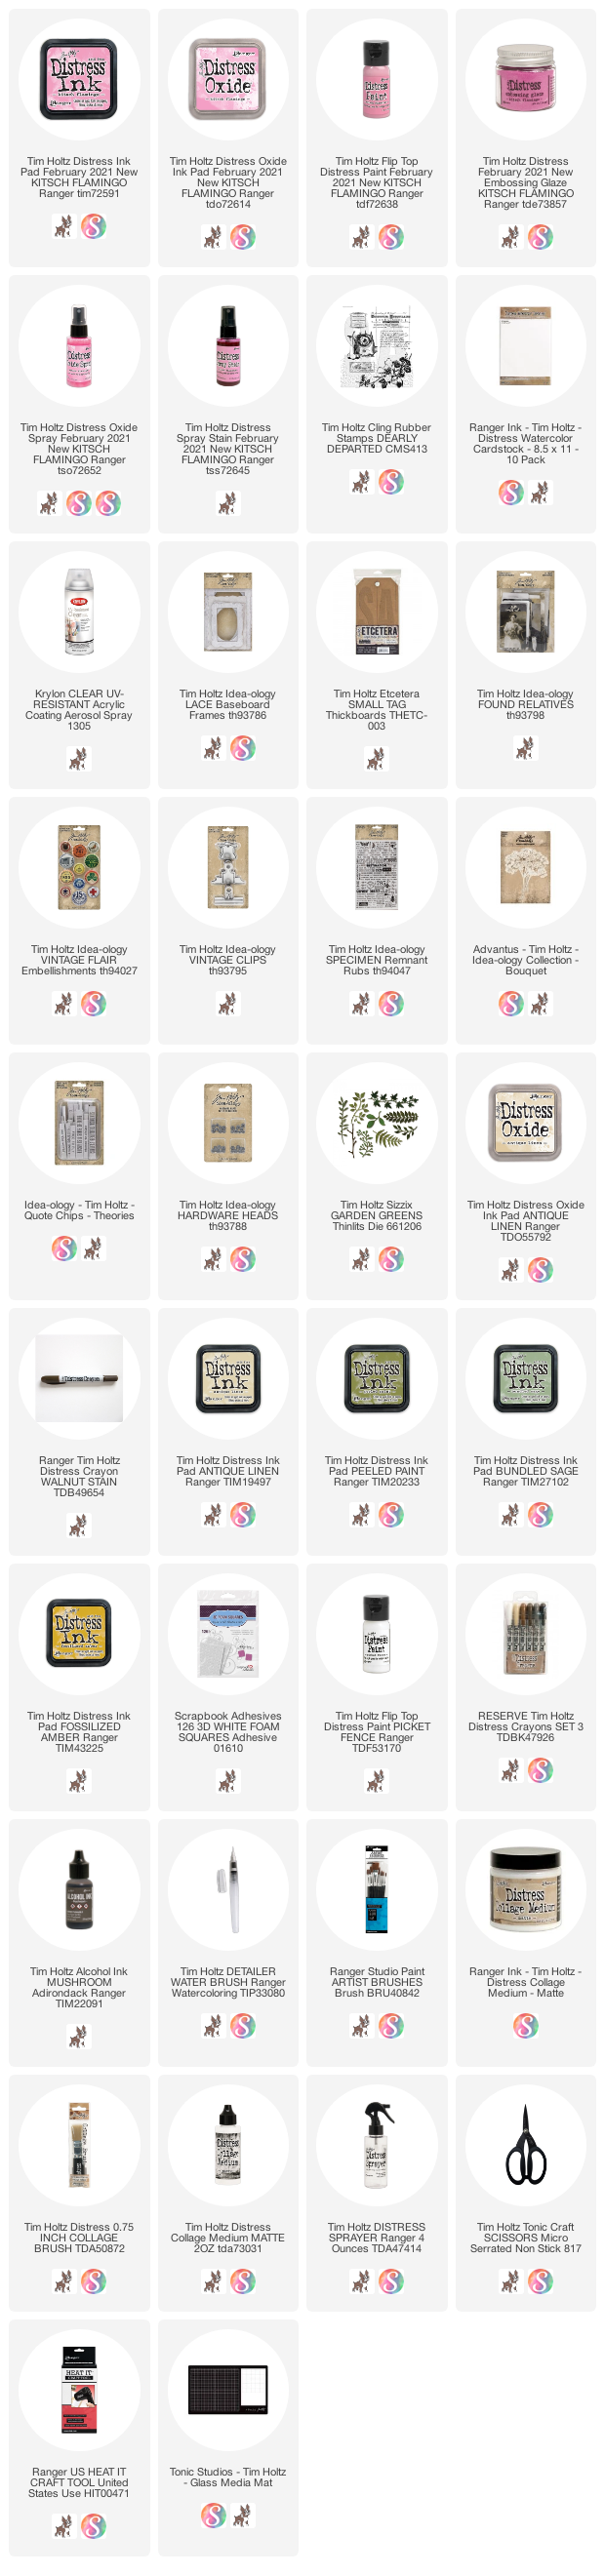
Small Etcetera Tag 
Distress Watercolor Cardstock - I used the smooth side (8 1/2 x 11")
"Dearly Departed" stamp set

Adhere Distress Watercolor Cardstock to the Etcetera Tag with Collage Medium.  
Flip tag over, onto a self healing mat to cut away excess paper with cutting knife. 
Using the flower from the Dearly Departed stamp set + Antique Linen Distress Ink, stamp a "pattern" over the entire surface of the tag.  The stamping should be light so the lines disappear during the watercoloring process.
I'm using the Glass Media Mat so I am able to make a palette of ink directly on the glass.  I am using just a small brush for todays project but you can also use a Water Brush.
I began coloring each flower with Distress Ink Kitsch Flamingo.  Each flower was given a light wash of color and then built up form there. 
NOTE: I did stamp a flower on a scrap piece of Watercolor Cardstock so I could practice before I started on the real thing.
After the pink was dry, I started on the leaves using Peeled Paint and then Bundled Sage. The tiny brush came in handy to easily color the stems and tips of the leaves.
The center of the flower really could be any color.  I chose Fossilized Amber then followed up with dots of Walnut Stain when the Fossilized Amber was dry.
I used another stamp from Dearly Departed for the text.  This time I changed ink to Antique Linen Oxide. Since it's a mix of dye and pigment it will work better for such fine text.
I did not use a block, but rather hand "rolled" the stamp where I needed it.  This way it is easier to only use portions of the stamp.
So here is where you need to make a choice.  You can leave the tag as is, or you can distress the surface just a bit to give it more of an aged look.  My favorite way of do that is using Distress Crayon, but you CANNOT use a Distress Crayon unless you SEAL the surface of the tag.  Distress Crayons need a slick surface.
OPTIONS:
1. Leave tag to dry for a day, then lightly paint a thin layer of Collage Medium over the top to seal.  I have done this many times with very little or no smudging of the ink.  The dry time is very important since if you add the Collage Medium right away you have much more chance of smudging the ink (you can always test a corner or an area that will be covered to see if it is dry)

2.  When I am in a hurry (or just impatient), I will go outside and spray aerosol Fixative over the surface.  I have used many brands over the years like Prismacolor, Krylon and Grumbacher.  I don't have a favorite but Krylon is usually the cheapest and it does a fine job sealing the surface.  You don't need multiple coats, just a good 'once over' making sure you got all areas will suffice.  Once you have sprayed the Fixative, you are able to add the Collage Medium right away with no smudging.  Hence why there is a can of Fixative in my garage at all times.

After the surface was sealed with CM, I scribbled around the tag with Walnut Stain Distress Crayon. I rubbed it with my fingers, then pounced over the crayon with a damp wet wipe (as apposed to a wet, wet wipe - I swear there is a difference).  Remember, this surface is sealed, if you hate it or you get it too brown just wipe it away, dry the surface and start over.
Aging the surface can be very subtle and really enhance the depth of your surface.
A Found Relative was taped to a Lace Frame and added to the tag surface with Foam Squares to raise it up.  You can use any kind of leaves - mine are cut using the Garden Greens Sizzix die.  The Bouque Flowers were sprayed with Kitch Flamingo Distress Spray Stain.  If you don't want them so bright, just add a little Antiqued Linen to the mix.
The Vintage Flair button is from idea-ology as well as the Velvet Ribbon that I had left from Christmas.  I did use a hot glue gun to add the ribbon to the frame.  The netting is vintage.
The words Free to fly are from Quote Chips.  I cut the dovetail on the left end and added a Hardware Head to the right.  It was added to the surface with Collage Medium.  I thought the saying went with the Vintage Flair pin.
The Vintage Clip has been painted with Picket Fence Distress Paint then once dry, I added Mushroom Alcohol Ink over the surface.  The 1929 comes from the Remnant Rubs sheet.

I hope you liked the first of the Kitch Flamingo projects.  I love the painting part of this one because watercoloring is calming to me (even though I am far from being an expert). The flower from Dearly Departed is just perfect for this kind of watercoloring.  Lots of open space to even mix colors on each petal.

now carry on,
paula

<!

Saturday, May 23, 2020

Nice Girl From a Good Home

Hello friends,

What a fun week we have had seeing the excitement surrounding the the new color Speckled Egg!  Everyone seems so excited about the color itself and using it in their makes.  I love the color too!

My second project using Speckled Egg is a great for the beginner or the seasoned crafter.  Follow along and I'll show you the steps to make your own.
I am using the largest of the Vignette Boxes for this project but any size would work by adjusting the things inside.  To create the detail on the front, I used idea-ology Ball Chain.  You will need a decent layer of Collage Medium on the lip edge to keep the Ball Chain in place but probably not as much as you might think.  You can see in the picture that the Collage Medium is white under the chain but it's not sitting in globs of glue.  Use your Tonic Scissors to clip the chain at each corner.  You can adjust the chain after laying it into the glue but one you have it in place, leave it alone to dry.  Drying time will always depend on your climate and how much Collage Medium you used.
You can see here that the Collage Medium has become transparent during the drying time.  I know it looks like the Ball Chain is just sitting on the edge on the Vignette Box, but it's absolutely secured by the College Medium.  At this stage you are ready for paint.  Of course I chose to use the new Speckled Egg on both the box and Finial.
Once the paint was completely dry, I sanded the paint on both the box and finial.  Once I wiped away the dust, I scribbled on Walnut Stain Distress Crayon (even over the Ball Chain) and rubbed it in with my fingers and a damp paint brush.  
The background paper is a great grid pattern that can be found in the Dapper Paper Pad.  I adhered it to the very back of the box then painted a layer of Collage Medium over the top, which allowed me to color the background with Walnut Stain Crayon.  You might even be able to see, just up the in the top right, that I sprayed over the Crayon with Speckled Egg Oxide Spray.  I did not add water because I wanted it to just sit right on top of the brown Crayon work.  Small detail are worth it!
The Finial was glued to the top and left to dry in place (at least 20 minutes). 
While the Finial was drying, I chose a Found Relative to use in my project.  I used the Distress Embossing Pen to color her dress with Speckled Egg Embossing Glaze.  The Embossing Pen is PERFECT for getting into tight spaces like the ruffle around her neck and the flowers on her dress.  The Embossing pad or Dabber could never give you that kind of control.  I tipped the card up to see the shine of the ink (and make sure I had her dress covered), then followed the basic steps of using Embossing Glaze; pour, tap off, melt.  I painted the Flowers and the background with Distress Crayons and a detailer Water Brush.
I also used Distress Crayon and the Bubbles stencil to add a whimsical layer over the background.
A Baseboard Frame that I colored with Distress Crayons was added to the Found Relative before being placed into the Vignette Box.  I added the words, "nice girl from a good home" that can be found in the Clipping Sticker book.
The Adornments Floral are very cool metal flowers.  I think they get overlooked a lot because they are metal and not a pre-colored flower.  After I saw Tim using Embossing Glaze in one of his Saturday sessions I knew I wanted to use that technique on the flowers.  I chose three flowers from the group + three leaves, two small and one large.
I followed Tim's technique (which you can find HERE...it's right after the 1 hour mark) to Glaze the flowers.  As you can see, my flowers are three different colors.  Glaze is a translucent medium so it is effected by the layer or color underneath.  This makes it even more exciting to use, since you can very easily change up what a color looks like.  I rubbed the larger flower with white paint and let it dry before the Glaze layer was added.  The small flower on the left was rubbed with Speckled Egg Paint and the flower on the far left was rubbed with Evergreen Bough.  In this process, much is dependent on how much paint you use...it's a process of experimentation! Each flower came out wonderful with the added Glaze, but it was much easier to see the impact with the larger flower (or the butterfly Tim demonstrates in his technique video).  Again, be sure to watch Tim's technique for adding Glaze to metal before beginning the process.
I added the tiniest of faux pearls (colored with Mushroom Alcohol Ink) to the center of each flower and let dry before adding them to the box.  
The Thimble was colored with Gold Alcohol Ink Mixative, then rubbed with Walnut Stain Distress Crayon to create the aged appearance.  It works perfectly with the flowers and the Vintage Flair button.  I have to say, I love this detail shot! 
The last thing I added was the string on the Finial, that allowed me to add the Story Stick (love) and the Antiqued Gem dangle.  The Gems are one of my favorite little details to add to any project because we have made them to look old, no shiny metal here! 
Glad you have stopped by to view todays project.  I'll be back again next week to share more on Speckled Egg!
Now carry on,
paula

Friday, April 17, 2020

Wishful Thinking

Hello friends,

I posted a photo a day ago stating that my ode to Collage Paper was still going on!  Well it has been a fun week in studio creating with it (I'm not sure I'm done yet), making another Collage piece with a grungy background.  Follow along and I'll show you the steps.
(click on picture to enlarge)
I'm starting with a large Vignette Tray (6 x 12") that I have turned over to use the back side.  I used Collage Medium to adhere pieces of Worn Wallpaper to the surface then added a layer over Collage Medium over the top to seal (do not skip this step).  Let dry.
Today I'm using Botanical Collage Paper for the big flowers.  I used a Detailer Water Brush to draw a line of water around the flower that I wanted.  The paper easily pulls apart along the water line.
First, add Collage Medium to the surface where the flower will go, then lay the flower directly into the glue.  It is very important that there is CM under all areas before you start the top layer of glue.  Collage Paper is porous but it will never become as translucent as it could be unless there is glue underneath.
For the top layer of Collage Medium, working quickly, start from the center and work your way out to the edges of the paper until it is secured to the surface.  This is the best way to avoid wrinkles.
You can LIGHTLY rub the Collage Paper into the surface IF there are any white areas. You need to be very careful not to tear the Collage Paper as it will be at its weakest stage until the CM dries.  I find it helps if you make sure you have a bit of glue on your fingertips so they do not stick to the surface.  If they stick, you can rip the paper.  We all know Collage Medium is very fast drying when it comes to paper to paper contact, so this step must be done right away or not at all.
You can see in the next two pictures how translucent the Collage Paper has become over the patterned Worn Wallpaper.  Having a patterned paper background, even if it is subtle, can make all the difference in the final outcome.

Once the Collage Paper is dry, lay a stencil (Rosette) over random parts of the surface to add more pattern.  I'm using Crackle Texture Paste to add more visual texture.  Much of the center will be covered with a collage so I'll concentrate on the edges.
I'm using the tray horizontally so now I'll add a few numbers here and there using the Digits Layering Stencil.
The Texture Paste dries pretty quickly, about 30-40 minutes is usually good where I live in CA.  Drying time will range depending on where you live.
Once dry, I scribbled Walnut Stain Distress Crayon on my glass mat then picked it up with a damp paintbrush to color over the paste.  I also scribbled directly over the edges that did not have paste.
The last thing I always do when using Crayons is pounce over the surface with a wet wipe.  This takes away the brush strokes and gets rid any super dark areas.
This is the finished left side of the tray.

For the next step you will need a few colors of Distress Crayons to color the flowers (I'm using Seedless Preserves and Fossilized Amber).  Scribble a bit of color onto each petal as shown.
Then take a small brush (damp) and blend the colors together, still keeping it sheer enough to see the patterned paper underneath.
I chose Peeled Paint and Pine Needles to color the leaves in the same manner.  Your colors will fade slightly (or maybe I should say become more mellow) as the crayon dries.
I used a cotton swab to color the berries.
Now that the flowers are done, I'm turning my attention to a simple collage for the center of the tray. I need a focal point and I have chosen one of my favorite Found Relatives.  I cut away the card background using scissors and a cutting knife (between the arms and the body).  I love this lady because of the hat and flowers! So, so fun to color with the Distress Crayons and the Detailer Water Brush.
dress: faded jeans, peeled paint
flowers: aged mahogany, worn lipstick, peeled paint
buttons: peeled paint
hat: brushed corduroy 


Now to choose some Distress Embossing Glaze.  I made a swatch book so I can easily see what color would look best.
I thought this would be the perfect phrase to use during this time of social distancing and self-quarantine.  As for the glaze, I used the Distress Embossing Dauber to quickly rub across the surface of the Quote Chip then poured the glaze particles over the top.  Melted as usual with an embossing gun, you get this great pebbly texture over the surface.
Adding the brown from the Distress Crayon fills in the gaps in the glaze. The black dot on the end is just my mark to add a Hardware Head later on.
This card is from the Urban Layers pack. I stamped an image from Faded Type (CMS397) with Embossing ink, then added Peeled Paint Glaze over the image and repeating the embossing technique.
So here are all the the pieces I think I might use in the collage:
Found Relative
Butterfly and Private Collection - field notes ephemera
Transparency slide - vintage
2 hour time limit - Urban Layers
Buttons - vintage
Quote Chip
Lined card - Urban Layers
Metal Gate - painted white then Alcohol inked with Mushroom
green threads
Start the bottom layer by adhering the Metal Gate and the ephemera.  The 2 hour time limit has been added with thin Foam Squares - as you know, I like Scrapbook Adhesive brand.
I added the lady with double stacks of regular Foam Squares so she is higher than the 2 hour time limit.  I also decided to add the tiny key around her wrist.  Kinda like she has the key to get out of the gate but she can't leave (her face says it).
Now add the Transparency slide (because her face is saying it all - very transparent - like I'm waiting to leave!), buttons, Quote Chip, Stitched Scrap and the green string.
Here are some close up shots of the collage elements.  You might notice I ended up coloring the transparency slide - it was just too white and stuck out like a sore thumb.
I added the Hardware Head to the end of the Quote Chip and the Stitched Scrap (so easy to use)...take out of bag, glue on project, done (no sewing involved).
And of course, a little Clippings Sticker sarcasm underneath.

(click on photo to enlarge)
The Collage Paper Flowers become part of the entire collage even though they are in the background.


This is an absolutely doable project for any level.  The Collage Paper/Crackle Paste background is what makes the simple collage work.  The background technique could be used on a myriad of different projects and with so many variations...skys the limit really.

Tim had a Facebook Live last Saturday where he talked about and demoed Collage Paper.  If you missed it, you can catch the replay HERE.

Have a great weekend .  I'll be "staying home together".
now carry on,
paula