Showing posts with label vignette box. Show all posts

Wednesday, April 23, 2025

Wonder-FULL

Hello friends,

Happy to be sharing a colorful mixed-media wood panel made with the largest of the square Vignette Boxes. I had the idea to use the Mini Marquee letters over the colorful inked background with the words Full of Wonder. However, as I began placing the letters, a playful idea sparked. I decided to break the word "Wonderful" onto two lines and intentionally add an extra "L," creating "Wonder-FULL." It became a visual reminder to not just experience wonder, but to be truly FULL of it in our lives. I love how a small shift in perspective can add a new layer of meaning to a piece.

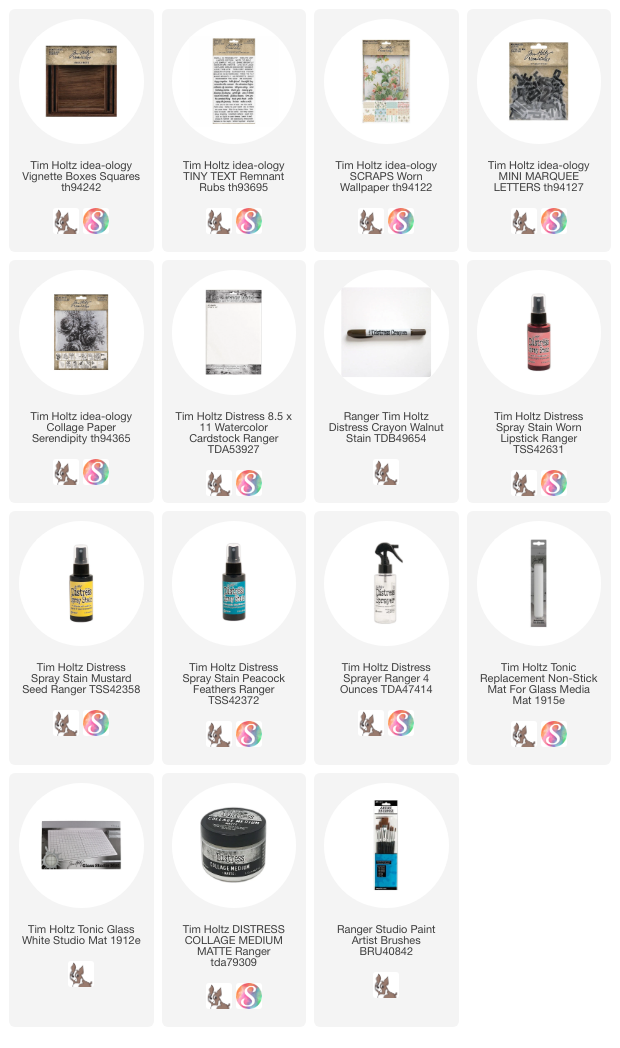
I started by painting the sides of the largest Square Vignette. I used Worn Lipstick, but the are many colors in the Distress Line that will work. Anyway, I painted two coats over the sides of the box and let it dry overnight. When I came back in the morning, I sanded it heavily with a sanding block to reveal some of the wood beneath the paint. You can add a layer of Collage Medium over the paint to give it a more polished look, but that is up to you.
I cut a 5 1/2 x 5 1/2" piece of Distress Watercolor Cardstock to use for the top of the Vignette. 
Next, I sprayed three colors of Distress Spray Stain (Worn Lipstick, Mustard Seed and Peacock Feathers) on a Tonic Replacement Mat.
I lightly sprayed my Watercolor Cardstock with water, then began the process of dipping into the ink spray, tapping off and drying with a heat tool. Little by little the colors came together after repeating the process over and over until I was satsified.
Add a good amount of Collage Medium to the top of the Vignette Box (it takes a good amount to secure the heavy Watercolor Cardstock). 
Add the cardstock to the Vignette. If you have a small brayer or a bone folder, both can be used to help secure the cardstock.
Just a shot of the Vignette with the cardstock applied.
I cut up a sheet of Serendipity Collage Paper to add to the surface.  The colorful background makes it easy to hide the edges of the Collage Paper. If you need a refresher on using Collage Paper, here are the basic steps:
  1. Use water brush or scissors to "cut out" the image you want.
  2. Add Collage Medium to the surface where the image will go.
  3. Lay the image into the Collage Medium and press into the glue.
  4. Cover the image with Collage Medium.
  5. Dip your fingertip into water, and lightly wipe over the surface before the glue dries. If you are working on a vintage piece, you can dip your fingertip into a ink/water mix.
I wanted to share this photo to show that the Collage Paper can be cut (I used a Water Brush to do that here) to suit your needs.  The small vine that has already been added is "as is". I cut the flower from another part of the image and added it to the panel where I wanted it.
I cut up vintage paper + Worn Wallpaper Scraps to create a pinwheel of sorts. I kept it very neutral so the colorful background would still be the star. Once I had it glued down, I added a layer of Collage Medium over the top. You need the slick surface it creates so you can add crayon after it is dry.
I used a Picket Fence Distress Crayon to highlight the pinwheel. I used it heavily so the crayon could build up around the pieces. 
I grabbed a circle die and a Stabilo pencil to create the circles around the pinwheel. I also used my Tonic clear ruler to create the lines. So easy to see exactly what you are doing.
Now use your fingertip to smudge random lines so it looks more organic. You don't need water, just touching a damp wet wipe will do.
NOTE: Once the lines were drawn, I sprayed the surface with a clear sealer. I wanted to seal the Pencil lines from the layers that will come next. 

Adding the Mini Marquee is easy. Just wipe some Collage Medium onto the back and press into place.
I still need to add the dash between the words. There is no dash in the package, so I just cut an L down to use as the dash.
You could leave well enough alone, or keep going (which is what I did). I added words from the Remnant Rub sheet (Tiny Text) to the pinwheel.
Next I added a few pieces of Cello Sticker Tape (because, why not?)
I decided to add a few paper dots to the mix. 
Once the dots were glued on and Collage Medium was added, I added more Picket Fence crayon just like I did over the pinwheel.
I also added crayon to the edges of the Mini Marquee.
I love this little panel. 
All the bright Distress Ink colors make for such a fun background. 

Now carry on,
paula

Friday, December 6, 2024

Pastel Christmas Box

Hello friends,

I'm happy to be sharing my Pastel Christmas Box with you today. I made this project as part of the Tim Holtz idea-ology Christmas LIVE but just sharing the how-to's now that December has rolled around. I didn't take too many step-out photos of the project because when I'm making for a LIVE, I just keep pushing forward to get as many projects done as possible. Not much time for picture taking!
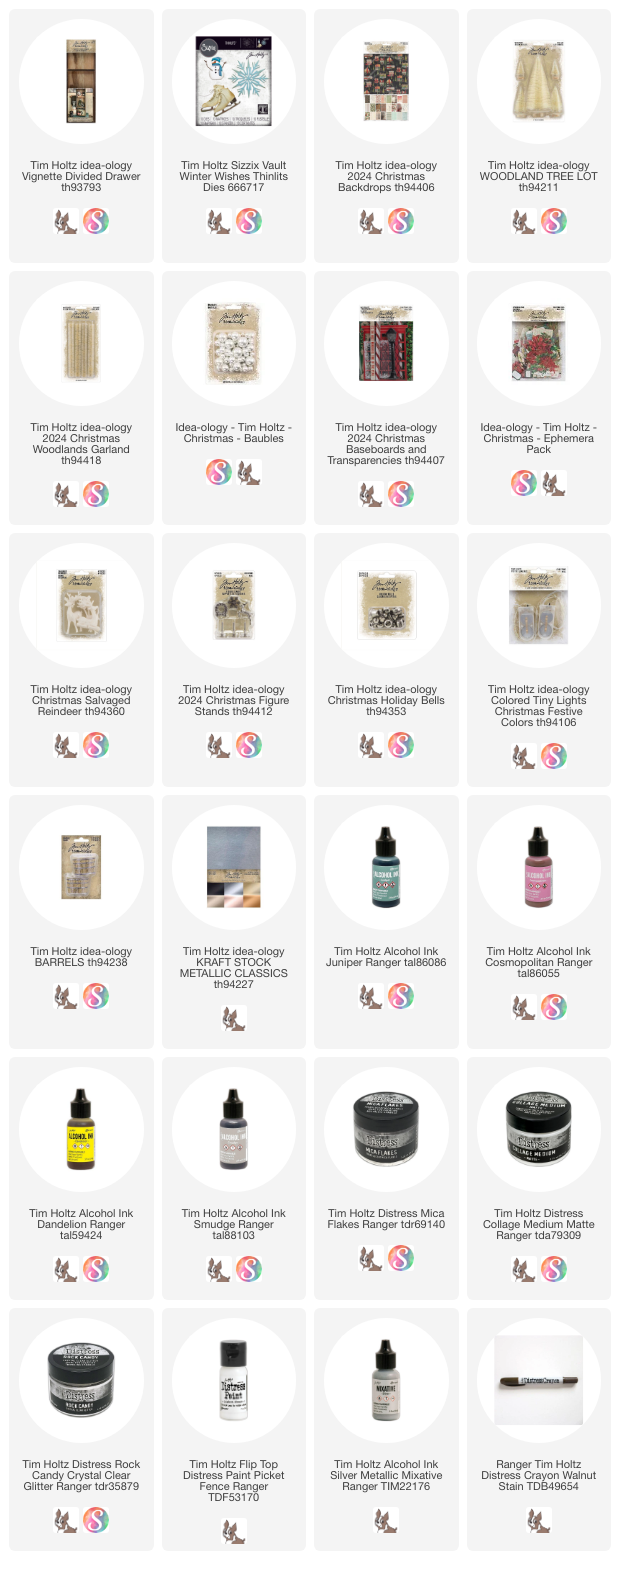
I started the box with the outside so I could let it dry while I worked on all the inside pieces. Honestly, you could just add paper or paint and be done, but I wanted to take it further by adding snowflakes to the outside. So first I painted the entire out side of the box with Distress Paint in Picket Fence. Next, I used the snowflake from the Vault Winter Wishes pack, cutting about 9 snowflakes from Distress Watercolor Cardstock. Once the paint was dry, I used Collage Medium to add the snowflakes to the box. This took some time to add the snowflake and make sure each little piece was adhered well.
I also matched the snowflakes on the sides so they appear to wrap around the box. 
And just to "gild the lily", I decided to paint over the entire outside of the box with Texture Paste Sparkle. It is hard to see in the photo but in person it looks like old fashion glitter has been added. Once the Sparkle Paste was dry, I sprayed a small amount of Distress Spritz Weathered Wood for more silvery shine. 
NOTE: I left the box overnight to completely cure before starting on the inside.
The next day I drilled a hole in the bottom corner to add the Tiny Lights.
Woodland Tree:
I used a hot glue gun to add a Woodland Tree to an idea-ology Barrel. The Barrel is the perfect size for the tree and once I add some "snow" (paint) it will fit right in.
Next I colored Baubles for the Woodland Tree using Alcohol Inks in Juniper, Cosmopolitan and Dandelion. I also added a bit pf Smudge over each color to make them look vintage. Again, hot glue was used to add the Baubles into the tree.
I wiped Collage Medium over the tree with my index finger, then sprinkled Mica Flakes over the top so they fall into place, rather than tamping them down with your hand.
Bottom Compartment:
For the inside of the Divided Drawer, I used light colored paper from the Christmas 2024 Backdrops pack in keeping with the pastel theme. 
Once the paper was in place, I took a large window transparency from the Christmas 2024 Baseboard Pack and added 1/4" Scor-Tape to the long sides (where the green line is below). I placed the transparency into the box so the transparency is flush to the back wall, but then wraps up the sides, so there are no hard edges. Once you have the right placement, you can press on the Scor-Tape to adhere to the sides of the box. I loved the way the window looked but I wanted to mask some of the print from the Backdrop paper. I decided to paint a thin layer of Collage Medium directly on the transparency then sprinkle with Rock Candy. Once dry, you can dump out the excess (I let mine dry naturally since using a heat tool may warp the transparency). You will never see the bottom third of the compartment so the Rock Candy does not have to reach the bottom of the box.
As for the other pieces in the compartment, I used 3 small wood blocks that I covered with ephemera or painted and stamped with my favorite Stampers Anonymous Polka Dot stamp. These and the small Baubles helped to disguise the Tiny Light wire running behind the tree and lamp post.
Once the wood boxes are secure, add the Snowflake Figure Stand and the small Baubles.
NOTE: I did add a small wood block to the back of the lamp post to keep it steady.
Top Compartment:
Add pastel paper to the compartment with Collage Medium. I also used Distress Crayon to aged the pink paper.
The large Salvaged Deer was covered with Silver Mixative (you could also use Foundry Wax). Then I rubbed a bit of Mushroom Alcohol Ink over the top (you could also use Walnut Stain Crayon if you don't have Mushroom AI).
I cut a piece of Woodland Garland to fit around the neck of the deer. Once I had the right length, I cut off the back bristles so the garland would lay nicely around the deer's neck. I wrapped the garland around the neck, then hot glued the ends together before adding a pink bow.

The ephemera in the background and foreground are from the Christmas 2024 Ephemera pack. The back piece (postcard), I aged with ink then crumpled when wet. Once dry, I painted both sides with Collage Medium (for stability)...the CM will really help the postcard keep its shape over time. The sentiment in the front was just painted with Collage Medium on both sides (again for stability). The Rock Candy was added only to the front side then added to the structure.
I hope you like my pastel Christmas Box. I know it is different than the traditional Christmas colors but it still seems like it could fit in some homes at Christmastime. I really love the way the Tiny Lights hit the Rock Candy and make the entire background glow! That part is just perfection to me!
Now carry on,
paula

Sunday, November 20, 2022

Holiday Greetings

 Hello Friends,

Popping in with a quick explanation of putting my Holiday Greetings project together.  Many people thought this was a card, but it is really a wood Vignette Divided Box that I flipped over (7 x 10").  So this project is big enough to hang on our wall!  There are lots of choices to be made when building the background and the tree, based on what you have on hand.  So lets get started and I'll give you some options as we go along.

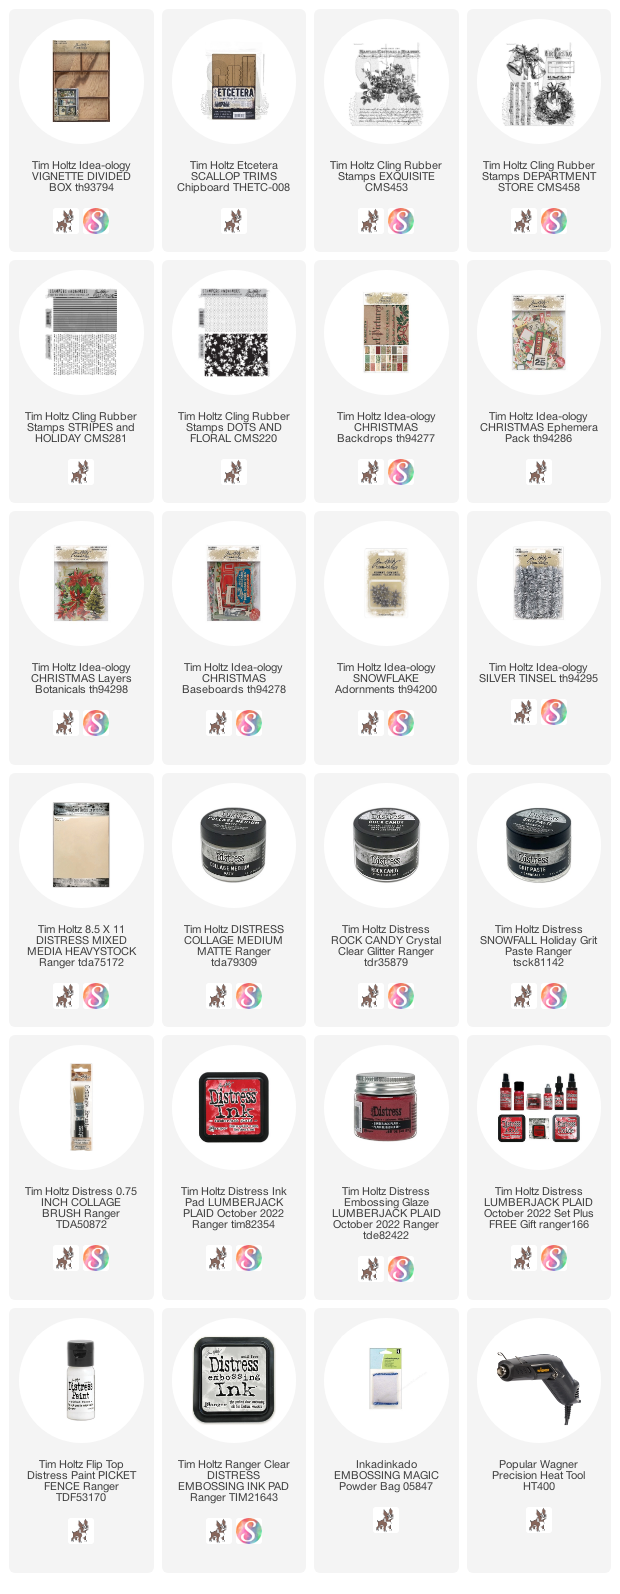
This is how I started. I turned the Vignette Divided Box over and just laid out as many pieces of the Christmas 2022 ephemera pack as possible.  I knew I wanted to use my favorite piece from the pack as the base (or trunk) of the tree.  Then I started laying them out in order of size from large to small.  I knew I would not use all of the strips, but this gave me the possible order to put them in.  At this point, I had not even thought to add the Scallop Etcetera Trim, so that is not pictured here.

I moved all the ephemera pieces to the side (still in size order) and began working on the background.  I created a stamped background using Lumberjack Plaid Distress Ink, but if you want to simplify the project, you could just use paper from the Christmas Backdrops paper pack.
STAMPED BACKGROUND
I cut a piece of Distress Mixed Media Heavystock paper to fit the back of the Vignette Divided Box. Then stamped with Lumberjack Plaid Distress Ink.  I used two stamp sets to create the background: Exquisite (floral and text) and Dots & Floral (polka dots)
The floral stamp images were added first, then the polka dots and finally the script.
I added multiple patterned papers to the edge of the Divided Box, followed by the stamped paper to the top (there is a better photo of the side of the box at the end).
I inked most of the ephemera with Gathered Twigs (still not knowing which ones I was going to use). Then set them aside while I prepared the scalloped trims.
The Etcetera Trims have two widths - I used both, then cut to length.

These are mine, but you can cut any length you need.  I just cut off the scallops I didn't need with my Tonic scissors.
I found that I got the best stamped image by adding a thin coat of Collage Medium over the dry paint.  Maybe it smooths out the painted surface? not sure, but it works.
Use Embossing ink on your stamp, press onto surface and add Lumberjack Plaid Embossing Glaze.  Tap off excess and emboss.
I will say, the other item I used with great success is the 'ole Embossing Magic Powder Bag.  I've used one of these for years and it works perfectly to get a clear image (the embossing particles only stick to the inked image).  Just pounce over the surface before stamping.  It's just that easy.
All three came out really good!
I had a few more things to add to the tree.
I added Clear Rock Candy to the large star before adding it over the red circle.  Both from the Baseboard pack.  The button is vintage and the snowflake is idea-ology.
The green label is from the ephemera pack and the 25 is from the Stampers Anonymous Department Store stamp set.
Now you can see how it came together.
As you can see, I didn't need as many ephemera strips as I thought I would to create the tree.  Adding the scallop trim change that.  The trims really helped to create dimension. I also used chipboard behind a few strips and 3D foam squares. 
The added holly is from the Ephemera Botanicals pack (a must have in my opinion).
The lace trim is vintage.
I added the silver Tinsel with hot glue (i gave it a trim on one side before gluing to the tree).
And you might notice that I added Snowfall Grit-paste to the top of the scallop trims.
Here you can see the dimension and the side of the project.
I had a fun time making this, since anything goes! You could make this tree 10 times and it could look different every time!

Now carry on,
paula
(and happy holidays!)