
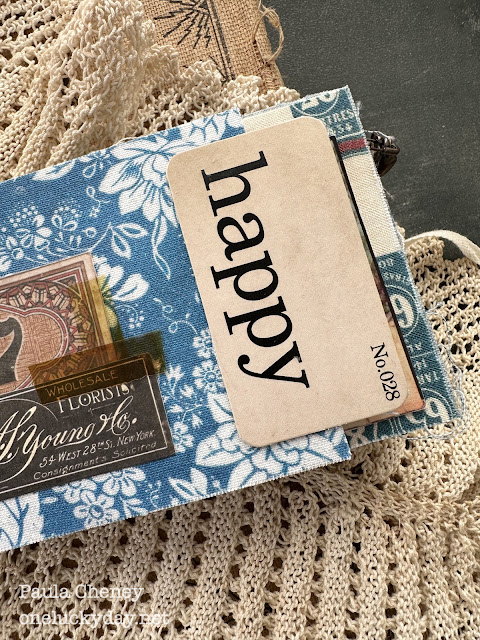
Today is all about Palette Blue and the little project I created using the Tim Holtz Palette Blue fabric for Freespirit. I say little because this sweet little book is only 3 x 4.5". Such a fun size! This little book was made using Collage Medium - so it's a no sew project! Now could you add stitching to it? Absolutely. But I will show you it can be done with just Collage Medium.

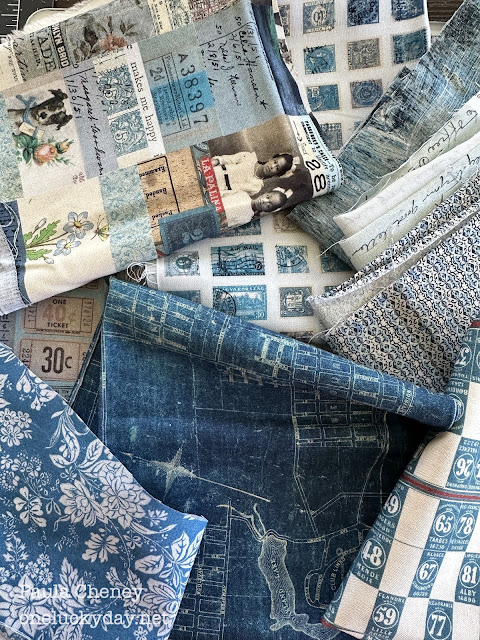
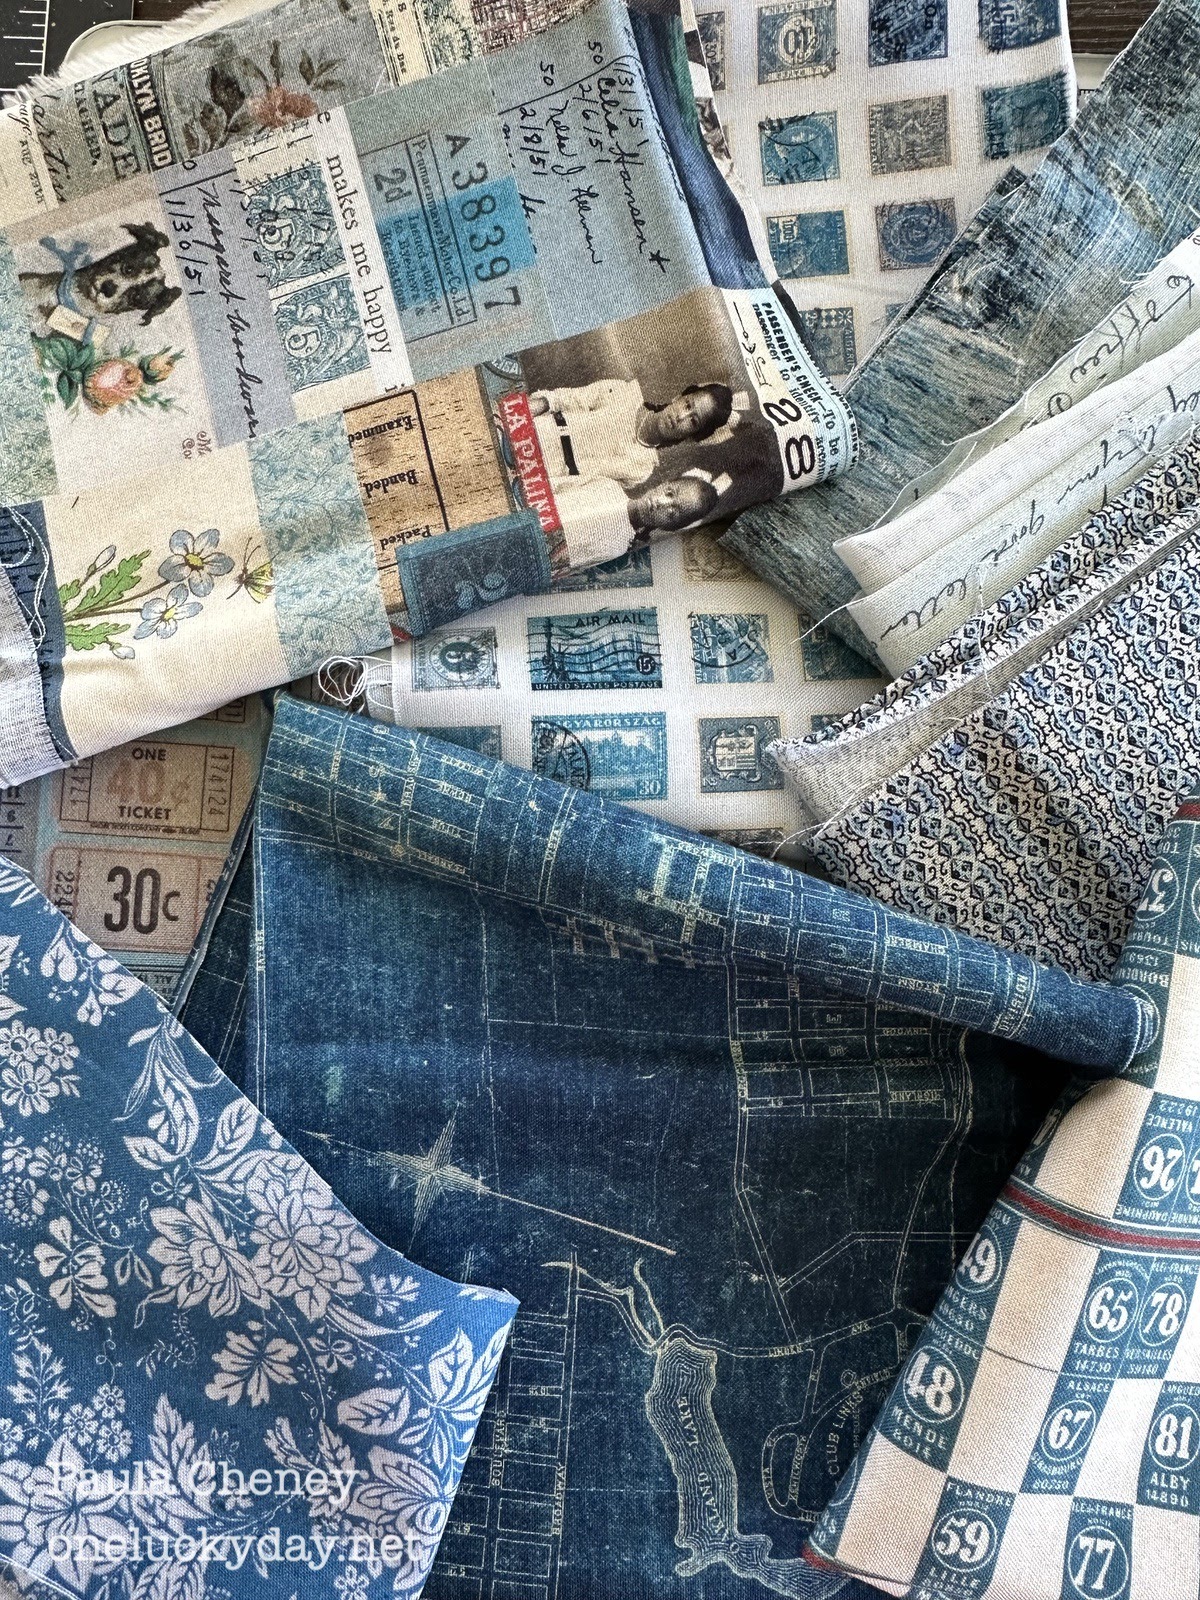
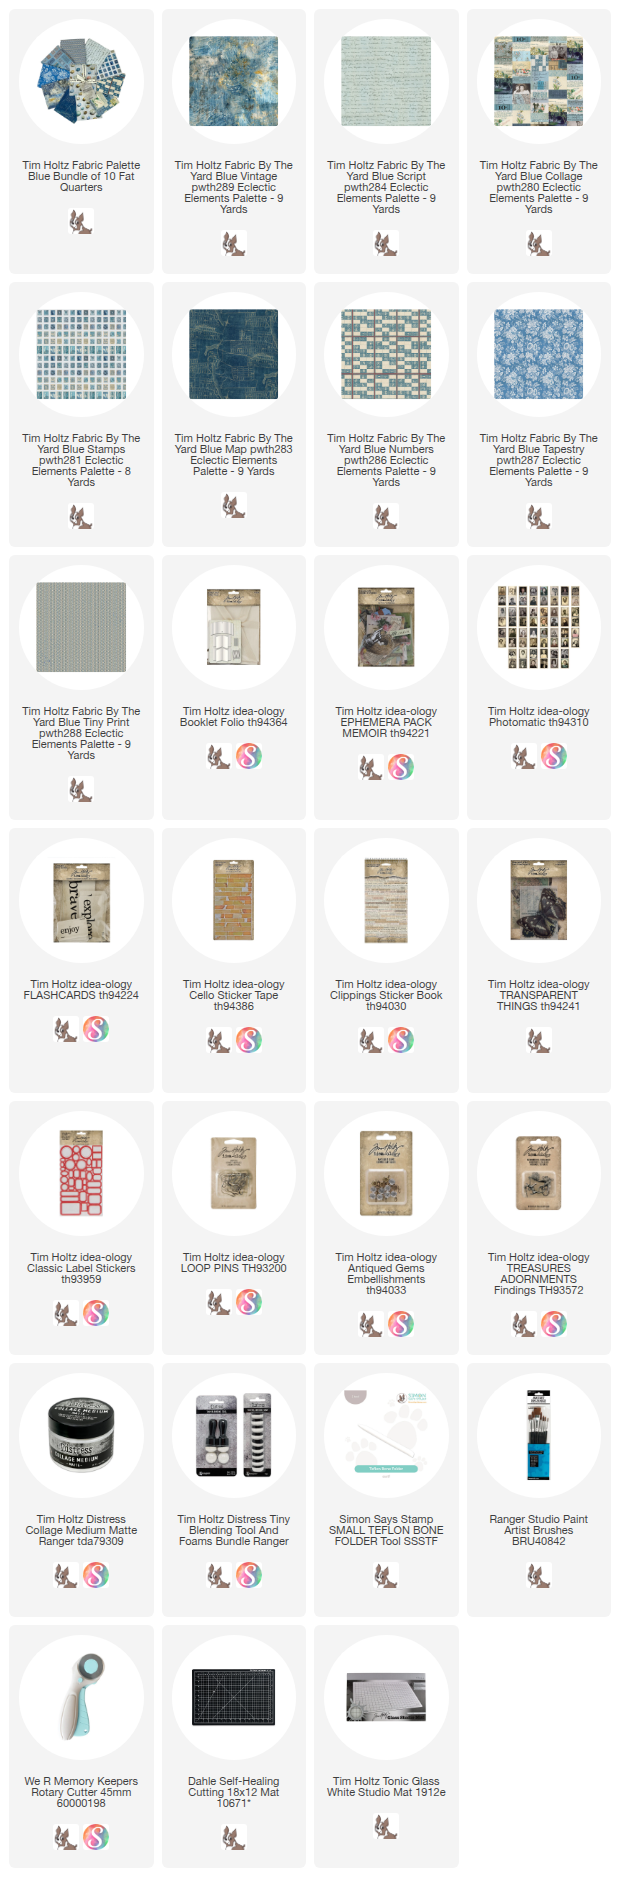
There are of course 10 Palette Blue fabrics and I think I used all but two for the book.
Collage
Vintage
Tiny Print
Vintage
Tiny Print
Stamps
Tickets
Tapestry
Numbers
Eggs
Eggs
Script
Map

How do you start? Well I started with the the idea-ology Booklet Folio. It comes in a package with a cover and two stitched booklets. I used ONE of the booklets to create my small book by cutting one of the stitched booklets in half making two signatures. We will only be using these two signatures so you can put the second booklet and cover back in the package.
 Next, I gathered the Blue Palette fabric. A fat quarter bundle would work perfectly for this project because a fat quarter is 18 x 22" and this project needs multiple pieces 4 x 10".
 I covered the inside of each booklet (3 different fabrics per booklet) with a strips of Palette fabric.

NOTE: we are covering the inside pages, the cover will be at the end.
Each set of pages was done following these steps:
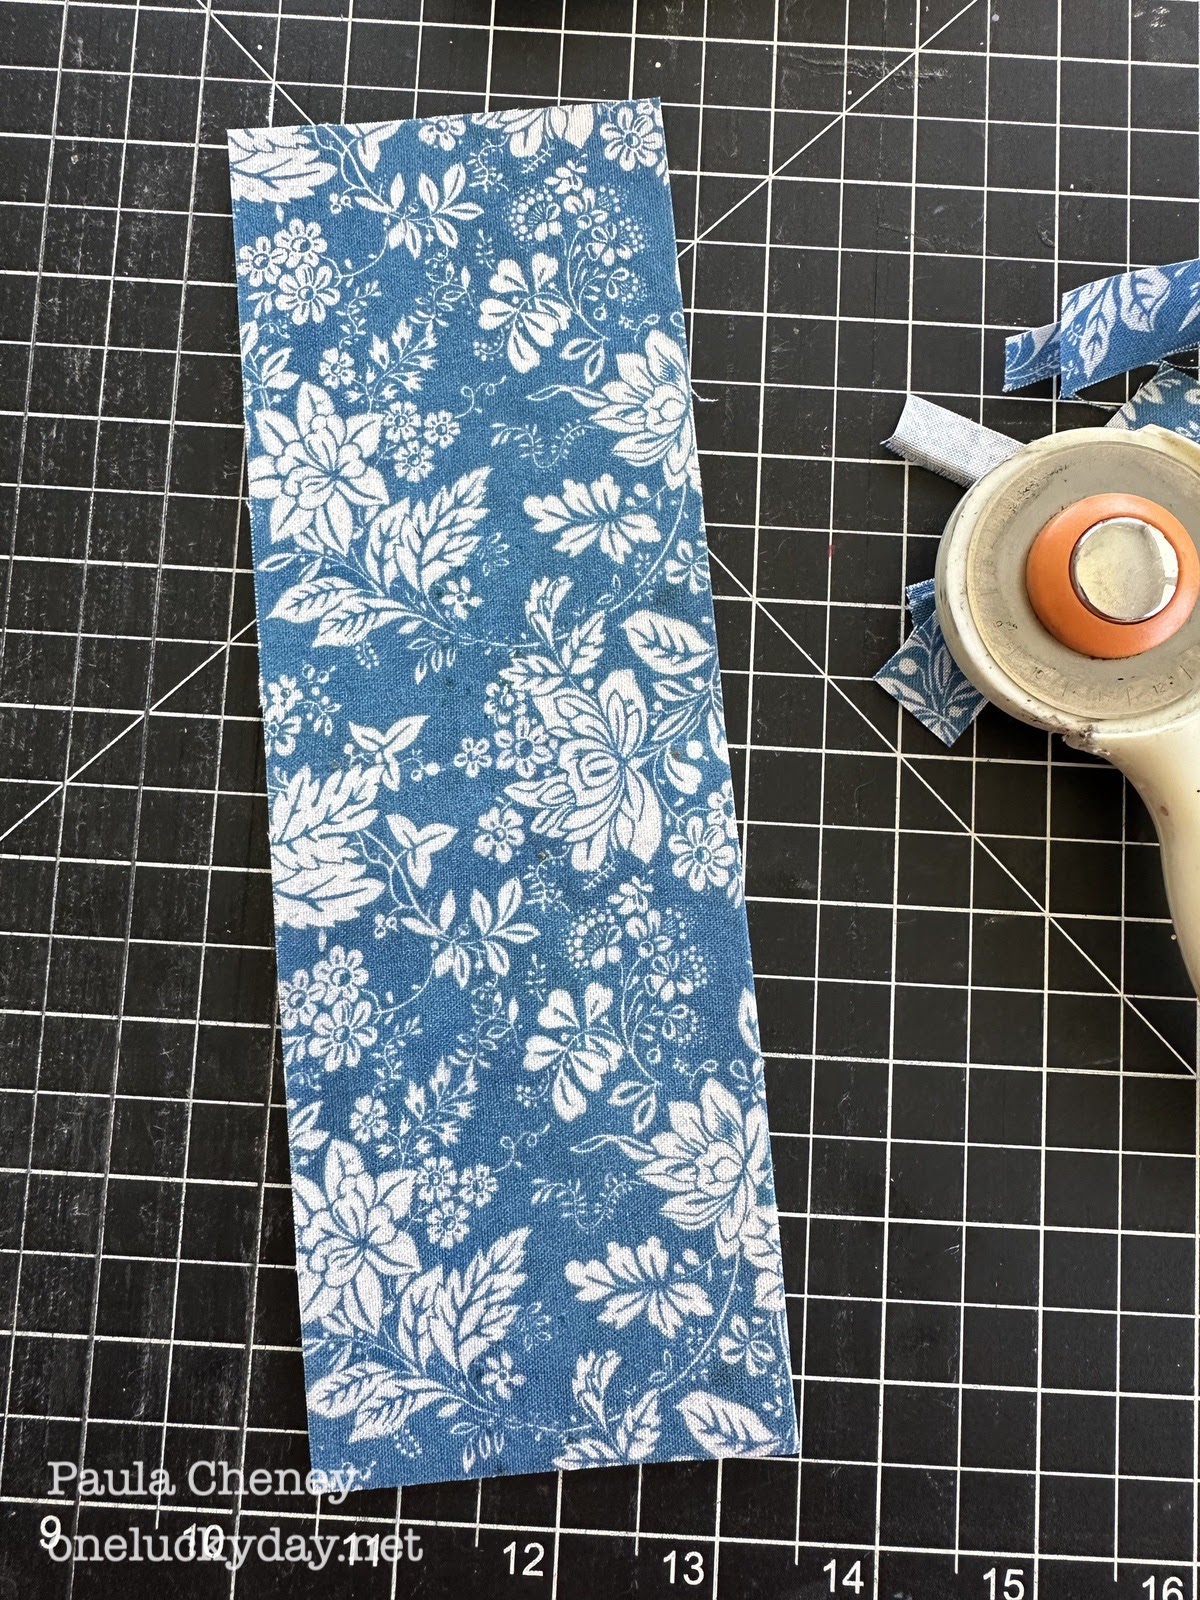
1. Cut a strip of fabric approximately 4 x 10".
2. Use Collage Medium to add the fabric to the first set of pages. NOTE: I placed deli paper between the pages of the booklet so the glue would be contained to the pages I was working on. Once the fabric was adhered, I removed the deli sheets.


CENTER INSIDE
Lay the booklets end to end.
Cut a piece of fabric 2 x 3". This will be the hinge for the two signatures.

Adhere the fabric strip with Collage Medium. DO NOT leave a gap between the signatures.
Dry with heat tool before bending.


OUTSIDE
Once the fabric in the center is completely dry, close the book. Cut another hinge for the outside.

This time, the hinge is wrapped around the end of the book when it is closed. Make sure the hinge is FLAT on the end of the book. Dry with a heat tool before opening the book.


Here you can see the fabric wrapped around the end of the book covering the fabric hinge. I used a heat tool to dry the fabric when the book was closed.

Here is the end of the book - you can see the two signatures with the fabric wrapped around the outside.


Turn the book over and add a piece of ephemera to the back. Make sure only the edges of the ephemera have Scor-tape or glue on the edge so the twill tape can pull back and forth freely. Add a few pieces of Cello Tape.

Gather supplies for the inside -
Clippings Stickers
Classic Stickers
Flashcards
Memoir Ephemera
Photomatic images
Transparent Things
Cello Tape


Page 1-2

I added fabric on the back of each flashcard before adding the card to the page with 1/2" Scor-tape.


Page 3 - 4
Easy page - just layered ephemera - the Numbers fabric was just too good to cover up.

Page 5 - 6
All stamps were made with the Stamps fabric. I used the same technique I have been using since the beginning of the Palette Series - Painting Collage Medium onto the back of a fabric piece, then drying with a heat tool. Once dry, the fabric becomes stiff but still flexible. This makes it very easy to cut the stamps out with sharp scissors. Then just glue into place. All the ephemera is from the Memoir Ephemera pack. I coated the top of the ephemera/Cello Tape with a bit of Collage Medium (dries totally clear). Once dry, you are able to add Distress Crayon over the Cello Tape and get that great grungy edge.
 I added an eyelet to the edge of the page so I could add a Loop Pin with two charms: a clover and an Antiqued Gem.


Page 7 - 8
I love this fabric called Vintage. I think I could have whole book made with it!As for the ephemera flowers, I coated them with Collage Medium, then painted them with Distress Crayons and Detailer Water Brush.
 Again, another shortened page.

 The large blue label is from the Classic Label pack (red, blue, pink and black labels). All the words are from the Clippings Sticker Book.


Page 9 -10
I wanted add add something travel related on the page with the Stamps Fabric. I found the two ephemera pieces in the Memoir pack. 
You can also see the back of the Flashcard on the left.


Page 11
The Tiny Print background is super busy so I wanted to cover some of it with ephemera and this large Transparent Butterfly. That did not stop me from layering on a pointed finger and a Thought Token.
Page 12

Page 13
This shot shows the back of the Flashcard covered in fabric. I love this view with three fabrics showing at the same time.
Page 14
My favorite little cluster. I cut the flower from a card in the Memoir pack and also cut away some the leaves and rosebuds to make it fit the page. Everything looks so pretty over the top of the Script fabric.
I hope you like this cute little book. I have one more booklet left so I think I might save that for a Seasonal Book using either Halloween or Christmas fabric!
Now carry on,
paula

This is really fabulous, Paula!!!!
ReplyDeleteI like it very much!!!!
ReplyDelete