Showing posts with label Freespirit fabrics. Show all posts

Tuesday, September 2, 2025

Palette Collection Tag: The Perfect Purple

Hello friends,

It's September, and that means it's time for a new Palette Collection tag! This month's color is purple, which I think is a perfect fit for the season. It makes me think of beautiful autumn leaves in deep shades of orange, green, and brown, with hints of purple mixed in.

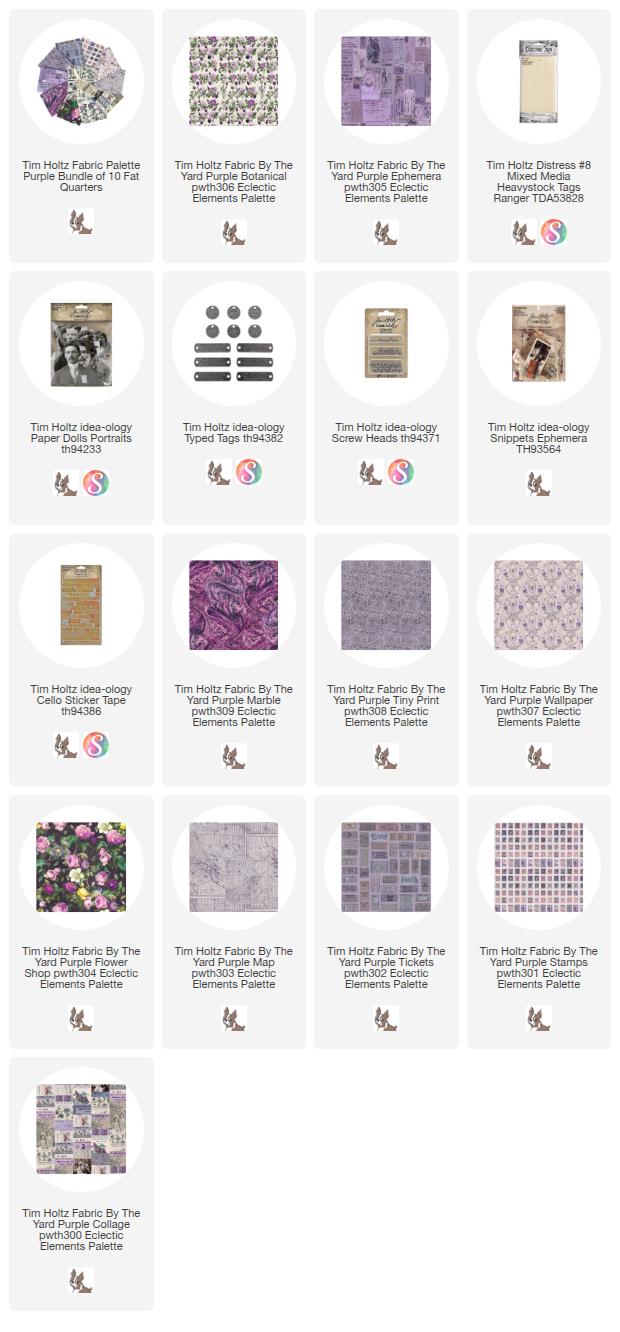
For this tag, I used Palette Purple: Botanical and Ephemera fabrics for the background. I tinted a Portrait figure with Distress Crayons and added it using thin foam squares for dimension. I also used Collage Medium to attach a few Snippets Ephemera pieces and some bits of Cello Tape. To finish, I added a Typed Tag with Screw Heads on each end.
Even though this is a simple tag, I love how it highlights the beautiful botanical fabric in the background!

Now carry on,
paula

Thursday, August 21, 2025

Treat bags

Hello Friends,

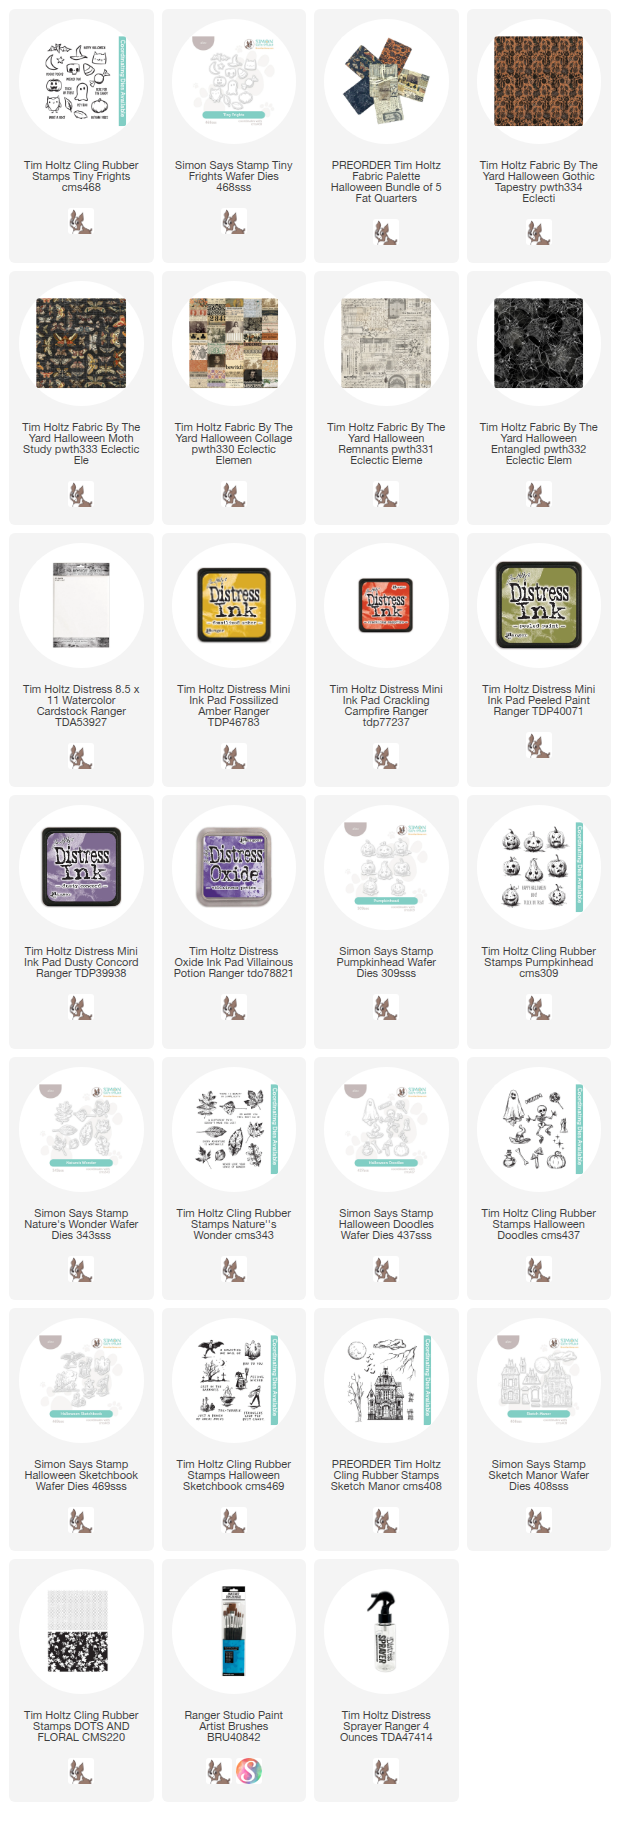
Popping in to share a quick post about some Halloween treat bags I've made using Palette Halloween fabric from FreeSpirit. I've paired the treat bags with tags featuring the Stampers Anonymous Tiny Frights stamp set + the matching wafer dies from Simon Says Stamp. 
You can make the treat bags any size, depending on what you want to use them for (or how big the treat is). There are plenty of tutorials for drawstring bags on YouTube if you don't know how to make one. I admit, the smaller the bag the more challenging it is to sew. But still a beginner project and oh so cute!
TAGS: I stamped the Tiny Frights on Distress Watercolor Cardstock, then colored them in with Distress Ink and a paint brush. I always find this part so relaxing! 
Once they were dry, I used the matching wafer dies to cut them out. SO EASY!

I added the Tiny Frights to each tag with the Thin Foam Square so they are slightly raised. 


I think the Palette Halloween fabric is perfect for this kind of bag. Something any Halloween enthusiast would love!

Now cary on,
paula

Tuesday, August 12, 2025

Palette Indigo Vignettes

Hello Friends,

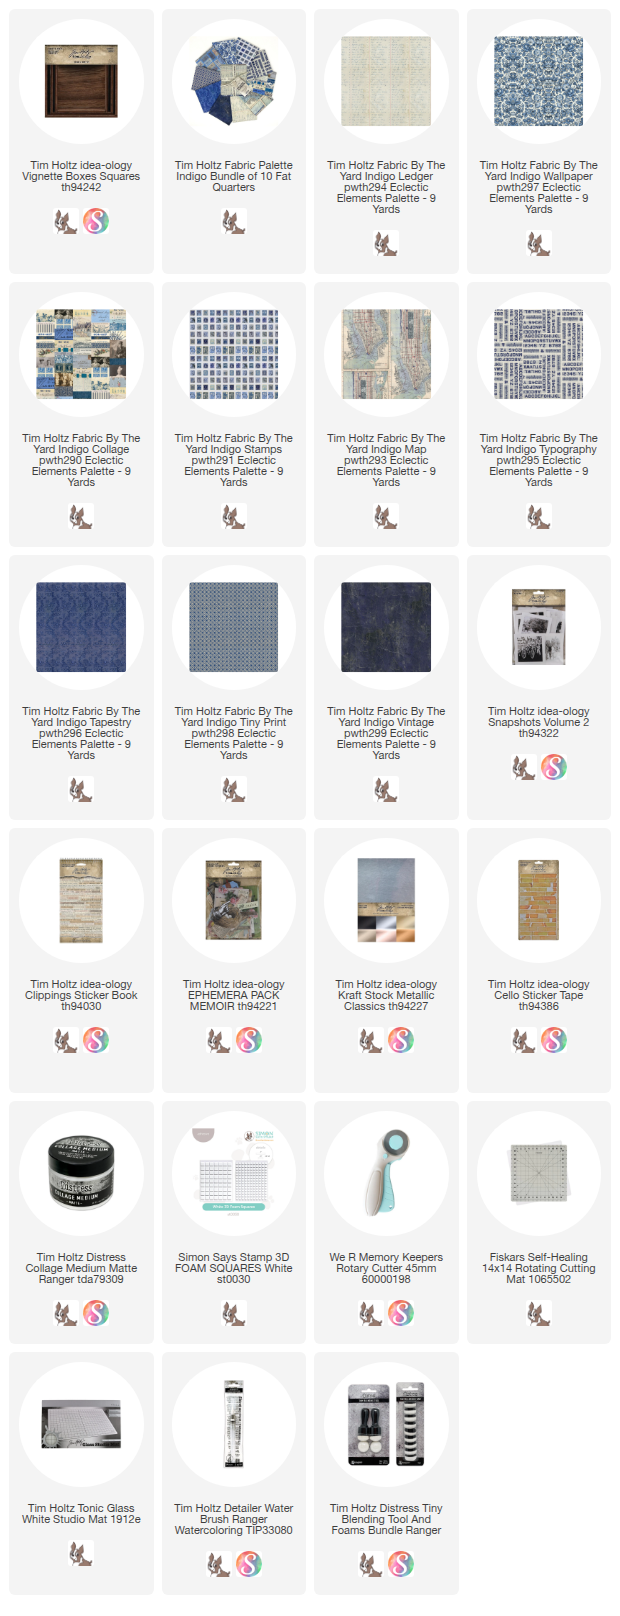
Today I'm sharing one of my favorite new fabric collections: Palette Indigo from Tim Holtz and made by FreeSpirit. This shade of blue is so versatile, working beautifully in both light and dark patterns. As I was looking through the collection, I couldn't help but notice how perfectly the patterns worked together. There were so many great choices, that I knew I had to use multiple patterns together for my project. An idea popped into my head to create little scenes that look like postcards, using multiple indigo fabrics, layered on idea-ology Vignette Squares. So that is just what I did! Follow along and I'll show you how easy it was to create these fun little scenes!
Honestly, everything I did was just "going with the flow", adding the fabrics with Collage Medium one layer at time. Sometimes I cut the fabric to size and other times I glued the fabric down, then once it was dry (I used a heat tool) I flipped the vignette over and cut off the excess with my rotary cutter. Let me walk you through the basic steps:
1. Cut a piece of fabric (Palette Indigo Map) and adhere it to the Vignette with Collage Medium.
2. Cut another piece of fabric (Palette Indigo Wallpaper) and adhere it to the bottom half.
3. Adhere yet another wave of fabric (Palette Indigo Ledger) and let it dry for a time. Before it was totally dry, I used my secret weapon for fraying the edge of the fabrics, a Tiny Blending Tool. Works like a charm every time! If any of the edges come up, just add a little more Collage Medium and glue it back down.
4. Choose a photo from the Snapshots pack (NOTE: there are two packs of Snapshots - these came from the Snapshots Volume 2).
Fussy cut as best you can around the photo of your choice.
5. Use Distress Crayons to add a bit of color. The patterns and color of the fabric are bold, so I kept the colors muted.
6. Use 3D foam squares behind the Snapshot so it is raised from the surface.
7. Add embellishments:
You can add anything that goes with your photo. I cut a circle using Metallic Kraft-stock to mimic a sun. I also added stamps cut from the Indigo Stamp Fabric. I had previously cut a 4 x 6" piece of the Stamps fabric and added Collage Medium to the back and let it dry. So each time I needed stamps for my "postcard" look, all I had to do was cut them out with sharp fabric scissors and glue them on.  Super easy!
8. Clippings Sticker - Each Vignette has some sort of sentiment that was pulled from the Clippings Sticker Book. I dipped the sticker in a puddle of ink/water to age it and dried it with a heat tool. I added it to the Vignette with Collage Medium and finished it with a Cello Tape Sticker.
SMALL VIGNETTE
For the next Vignette, I followed the same steps but I started with the Snapshot. That helped me to know how I needed to cut the fabric.
First fabric - Tapestry
Second fabric - Tiny Print
Third fabric - Typography
Then I added the ladies (3D foam squares), the stamps and the Clippings.
This one needed something more, so I added a blue tag, slipping it just behind the second layer of fabric. FYI: The blue tag is from the Memoir Ephemera pack.
LARGE VIGNETTE
I started by picking the Snapshot would work best on the largest Vignette Square. I chose this line up of men because I thought they would look great across the box. Again, I kept the colors light.
 
So this is how I laid it out. I cut the waves in the fabric a little wider than needed so I can move them back and forth till I decide where the waves work best. So in this shot, nothing is glued down...as I was just working out the placement.
Once the decision was made, I started the gluing process (fabrics Ledger and Vintage).
Then I added the last layer of Indigo Collage. 
The men have foam squares behind their backs/heads, but I also added Collage Medium to the bottom edge of their legs so they will stay under the fabric.
The necessary stamps to make it look like a postcard.
I didn't like the image in the left corner so I patched over it with the Queen Victoria stamps. That patch helped tie in the Indigo 'Vintage' fabric behind the men. Collage Medium is perfect for adding the patches since it dries clear!
The 404-4 strip is also an added patch (just for a more detailed look).
I love the forced perspective of the men with the house in the distance. That ledger fabric is my favorite!
Just some final shots.


Hope you liked these as much as I do! Something about making them was just so fun! Maybe because all the wave cutting was just done by chance, no pattern, no thought...just cutting. Maybe I should do more of that!

Now carry on,
paula

Saturday, August 9, 2025

Home Panel featuring Palette Indigo Fabric

Hello friends,

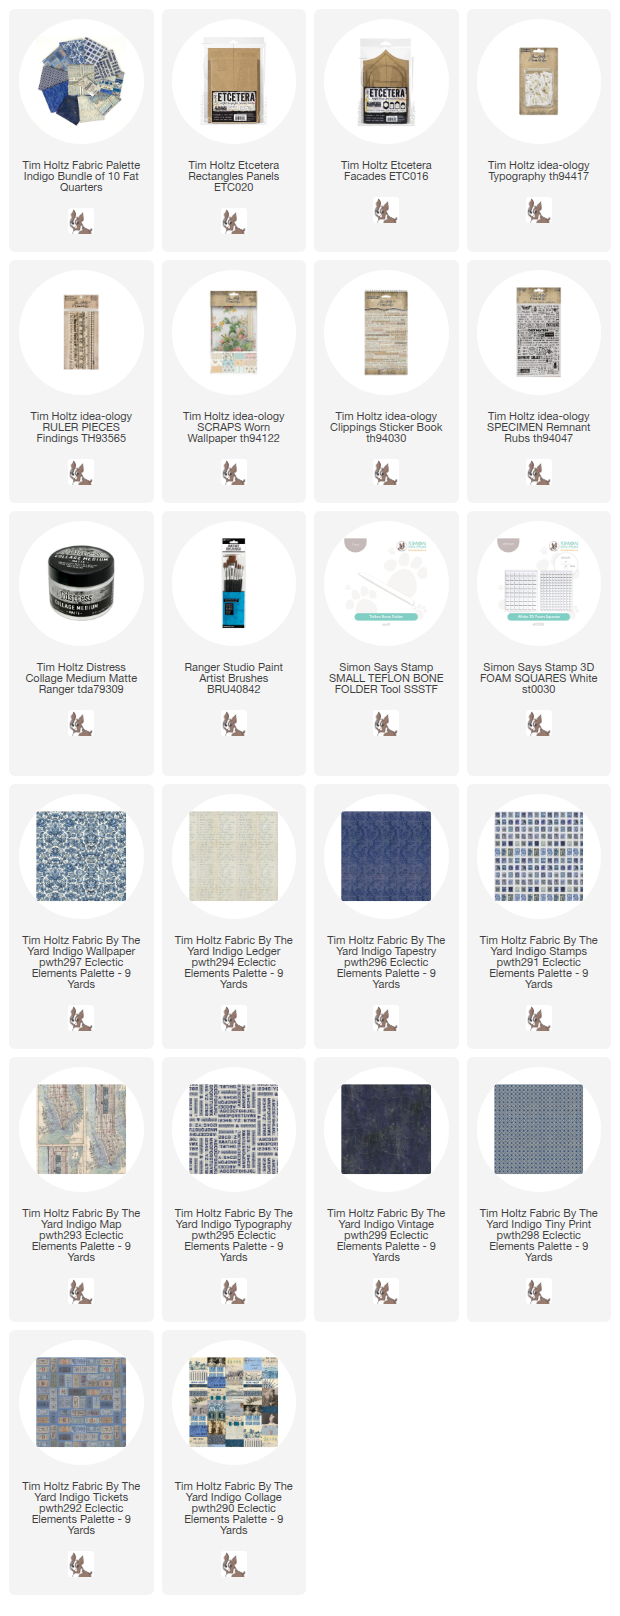
I'm glad to be here today sharing a special make for Simon Says Stamp using beautiful Palette Indigo fabric from Freespirit. I love how the rich indigo contrasts the light ledger background. This project can be created with or without sewing so it really is for anyone! What you might notice is the "frame" on this project. The Etcetera Panels do not come with a frame, so I created one from something that might surprise you! If you are interested in the project tutorial (or how I created the "frame"), it can be found on the Simon Says Stamp blog. Click the link and it will take right on over!
Now carry on,
paula

Tuesday, July 15, 2025

Palette Blue Book

Hello friends,

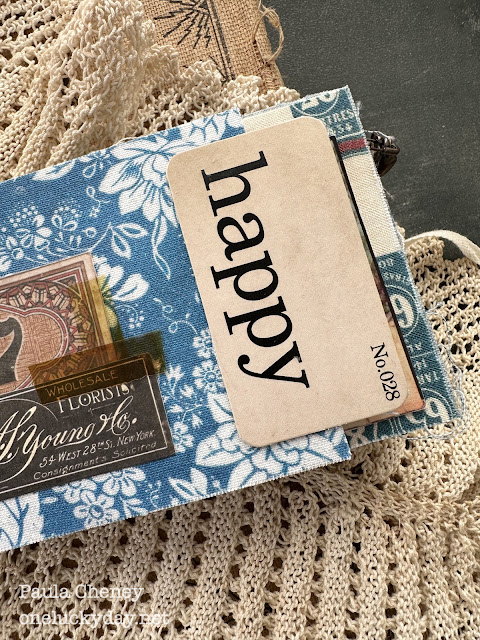
Today is all about Palette Blue and the little project I created using the Tim Holtz Palette Blue fabric for Freespirit. I say little because this sweet little book is only 3 x 4.5". Such a fun size! This little book was made using Collage Medium - so it's a no sew project!  Now could you add stitching to it? Absolutely. But I will show you it can be done with just Collage Medium. 

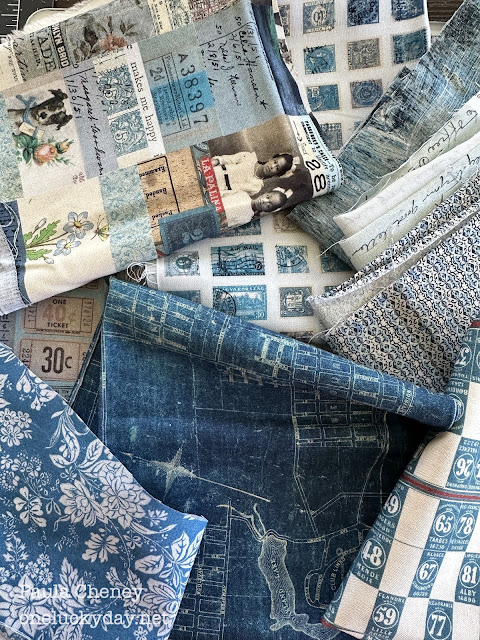
There are of course 10 Palette Blue fabrics and I think I used all but two for the book.
Collage
Vintage
Tiny Print
Stamps
Tickets
Tapestry
Numbers
Eggs
Script
Map

How do you start? Well I started with the the idea-ology Booklet Folio. It comes in a package with a cover and two stitched booklets. I used ONE of the booklets to create my small book by cutting one of the stitched booklets in half making two signatures. We will only be using these two signatures so you can put the second booklet and cover back in the package.
Next, I gathered the Blue Palette fabric. A fat quarter bundle would work perfectly for this project because a fat quarter is 18 x 22" and this project needs multiple pieces 4 x 10". 
I covered the inside of each booklet (3 different fabrics per booklet) with a strips of Palette fabric. 
NOTE: we are covering the inside pages, the cover will be at the end.

Each set of pages was done following these steps:
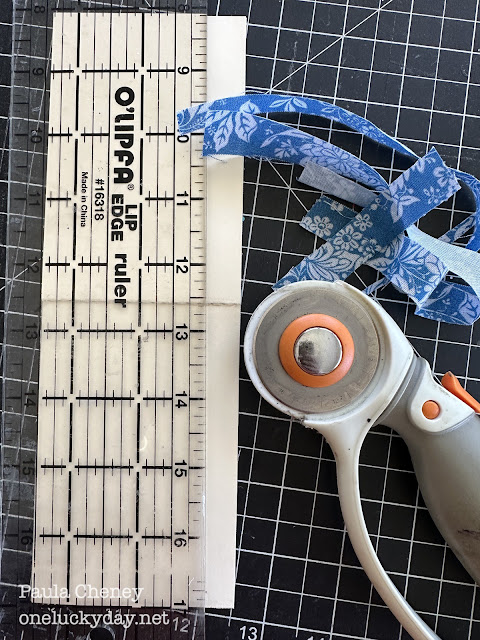
1. Cut a strip of fabric approximately 4 x 10".
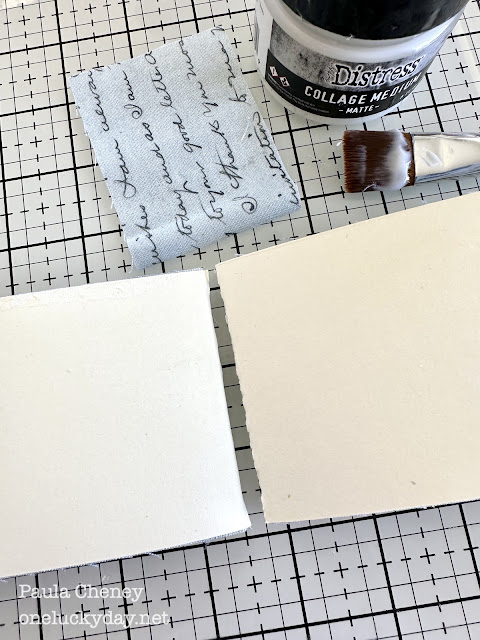
2. Use Collage Medium to add the fabric to the first set of pages. NOTE: I placed deli paper between the pages of the booklet so the glue would be contained to the pages I was working on. Once the fabric was adhered, I removed the deli sheets.
3. Use a bone folder to secure the fabric to the paper.
4. Dry fabric with a heat tool. It is best to hold the page away from the other pages so the heat can pass through.
5. Use a rotary cutter to cut away the excess fabric (of course you could hand cut the fabric but the rotary cutter is so easy!)
And there you have it - your first set of pages. I swear there is a fold in the booklet but you sure can't see it in this photo!
Continue on till you have the inside of both signatures covered with fabric.
CENTER INSIDE
Lay the booklets end to end. 
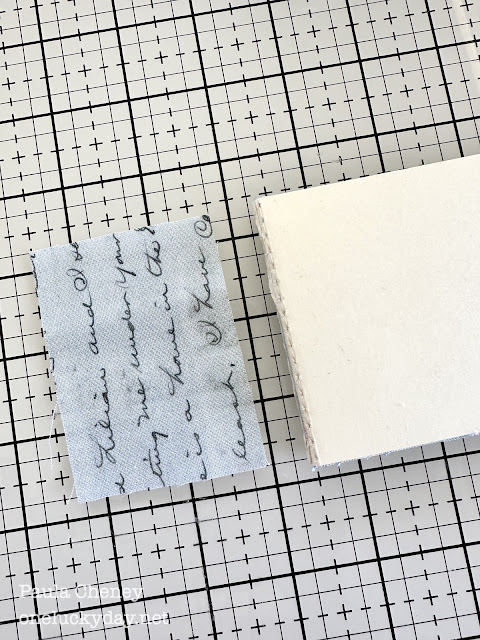
Cut a piece of fabric 2 x 3". This will be the hinge for the two signatures.
Adhere the fabric strip with Collage Medium. DO NOT leave a gap between the signatures.
Dry with heat tool before bending.
Cut another 4 x 10" strip and adhered it right over the top, completely covering the center hinge.
OUTSIDE
Once the fabric in the center is completely dry, close the book. Cut another hinge for the outside.
This time, the hinge is wrapped around the end of the book when it is closed. Make sure the hinge is FLAT on the end of the book. Dry with a heat tool before opening the book.
Cut your choice of fabric to fit your cover. I saved the Collage Fabric for the cover so I could have the words, "makes me happy" on the cover. I added the cover fabric just like the outside hinge, by wrapping the fabric around the cover when the book was closed. Cut off any excess fabric.
Here you can see the fabric wrapped around the end of the book covering the fabric hinge. I used a heat tool to dry the fabric when the book was closed.
Here is the end of the book - you can see the two signatures with the fabric wrapped around the outside.
And now for the magic tool for fraying the edges! The Tiny Blending Tool with a clean foam is my favorite tool to create the perfect frayed edge.
Turn the book over and add a piece of ephemera to the back. Make sure only the edges of the ephemera have Scor-tape or glue on the edge so the twill tape can pull back and forth freely. Add a few pieces of Cello Tape.
Gather supplies for the inside -
Clippings Stickers
Classic Stickers
Flashcards
Memoir Ephemera
Photomatic images
Transparent Things
Cello Tape
I started by coloring three images from Photomatic. I used one more photo in the book but it was already tinted.
Here are photos of each set of pages. There are really no rules - other than balance. Balance left to right, small scale to large.  All of those things matter. For me, a linear visual line must prevail through the book for continuity. I just don't do crooked, it doesn't sit right in my brain. But you do you.
Page 1-2
So you might notice that I shortened the page on the right? I cut 1" off each page where I added a small Flashcard. So in my book that was three shortened pages.
I added fabric on the back of each flashcard before adding the card to the page with 1/2" Scor-tape.
Page 3 - 4
Easy page - just layered ephemera - the Numbers fabric was just too good to cover up.
Page 5 - 6
All stamps were made with the Stamps fabric. I used the same technique I have been using since the beginning of the Palette Series - Painting Collage Medium onto the back of a fabric piece, then drying with a heat tool. Once dry, the fabric becomes stiff but still flexible. This makes it very easy to cut the stamps out with sharp scissors. Then just glue into place. 
All the ephemera is from the Memoir Ephemera pack. I coated the top of the ephemera/Cello Tape with a bit of Collage Medium (dries totally clear). Once dry, you are able to add Distress Crayon over the Cello Tape and get that great grungy edge.
I added an eyelet to the edge of the page so I could add a Loop Pin with two charms: a clover and an Antiqued Gem.
Page 7 - 8
I love this fabric called Vintage. I think I could have whole book made with it!
As for the ephemera flowers, I coated them with Collage Medium, then painted them with Distress Crayons and Detailer Water Brush.
Again, another shortened page.
Page 9 -10
I wanted add add something travel related on the page with the Stamps Fabric. I found the two ephemera pieces in the Memoir pack. 
The large blue label is from the Classic Label pack (red, blue, pink and black labels). All the words are from the Clippings Sticker Book.
You can also see the back of the Flashcard on the left.

Page 11
The Tiny Print background is super busy so I wanted to cover some of it with ephemera and this large Transparent Butterfly. That did not stop me from layering on a pointed finger and a Thought Token.
Page 12 
Page 13 
This shot shows the back of the Flashcard covered in fabric. I love this view with three fabrics showing at the same time.
Page 14
My favorite little cluster. I cut the flower from a card in the Memoir pack and also cut away some the leaves and rosebuds to make it fit the page. Everything looks so pretty over the top of the Script fabric.

I hope you like this cute little book. I have one more booklet left so I think I might save that for a Seasonal Book using either Halloween or Christmas fabric! 
Now carry on,
paula