Hello friends,
Lot's going on behind the scenes here. I just finished up a project for Simon Says Stamp that will post on Sunday the 9th on their blog. I also have a Palette Orange fabric project for next week and it is so fun. Who knew how much I would love orange!
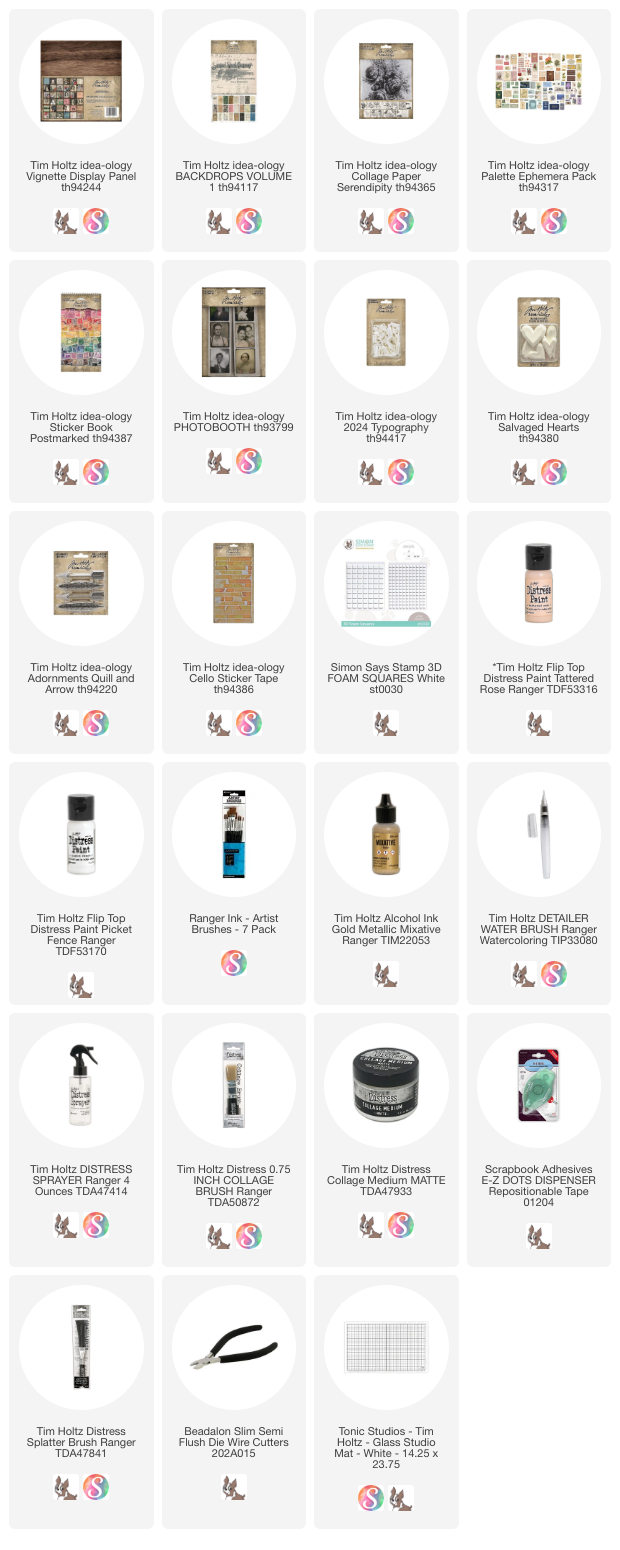
Well anyway, back to todays post...Today I'm sharing a project focused on love, featuring Salvaged Hearts and Typography! Let's get started and I'll show you how I created the Display Panel from scratch.
I chose paper from Backdrops Vol 1 for the front of the 9 x 9" Display Panel. You can also add paper or paint to the sides of the panel - totally up to you. Adhere the paper with Collage Medium, then add a layer over the top to seal the paper. Let it dry while you work on preparing the Collage Paper.
I decided to add a floral from the Collage Paper Serendipity pack to the left side, over the green paper.
I used two methods of eliminating as much of the background as possible. First, I used small scissors to fussy-cut around the larger areas. For the areas around the small leaves, I used a Detailer Water Brush to draw a waterline and to pull the paper away from the image. Both ways are easy, but it might take a little longer to fussy-cut.
Add Collage Medium over the entire area that the Collage Paper will touch. Lay the floral into the glue. If you palm is clean (glue free) then you can press the paper right into the glue.
Pick up Collage Medium on your brush and immediately start to brush over the paper (I like to work from center out).
I add Collage Medium to my finger tip and repeat the process to embed the Collage Paper into the glue. Again, I work from the center out until it is adhered and transparent.
You can leave it as is if you like a clean look.
Or you can add Distress Ink with your finger to give it some color variation.
Here is the result.
Once the surface was dry, I used a Walnut Stain Distress Crayon to add definition the edges of the Panel and the seam between the two papers. Scribble it on, rub with a damp fingertip, then pounce over the crayon with a wet wipe. If you wipe too much away, just add more crayon.
Paper Embellishments -This card from the Palette Ephemera Pack was very clean looking so I painted over it with Collage Medium...
And while still wet, dipped it an ink puddle I made on my Tonic Studio Mat.
I pounced over some of the really wet areas with a wet wipe as I was drying the card with a heat tool. Set aside while you work on other embellishments.
Next up, the Photobooth photos. I cut out three I had never used before + a long strip of pink Backdrop paper (about 1 3/4" wide)
Next I colored the Photobooth with Distress Crayons, using both a water brush and a cotton swab to add the crayon.
NOTE: Normally I do not seal Photobooth, Photomatic or Paper Dolls, but because these were going to be handled and sewn over, I decided to spray them with a clear Spray Fixative. You can find it at any craft store in the art department. The crayon is not effected by the spray and will not wick. Once the fixative is dry, the crayon will be permanent. Be sure to spray in a well ventilated area or outside. I put images on a paper plate and once they are sprayed, it's easy to carry them back to my craft room.
I used E-Z Dots (my favorite repositionable tape) to adhere the images to the paper strip.
Then sewed around each photo.
Next, I used a Mini Blending Tool to add ink to the edges of the paper.
I also inked a tag (
found in the Palette Ephemera pack) just like the card with the pink roses. I also added an eyelet and some string.
I used hot glue to add a couple Salvaged Hearts to craft sticks
So much easier to paint when its on the stick! And you just pop the heart off the craft stick once the paint is dry.
I am only going to use one Salvaged Heart for this project, but I just wasn't sure which size was right at this point.
I left them to dry for quite a while, then lightly sanded the edges.
If you want a more aged heart, scribble Distress Crayon over the top and rub it around (a wet wipe will help).
Arrow - I used gold Mixative to color the metal arrow. You might ask why gold Mixative instead of Foundry Wax? Well, you could use Foundry Wax, but I wanted an aged looking gold over the metal and that is easily accomplished with Mixative.
- Shake the bottle till you hear the mixing ball.
- Add the Mixative to a Blending Tool with felt or just pour some over the arrow (I used a combination of both).
- Use the felt to make sure the arrow is covered.
- Use a paper towel to rub the arrow removing some of the gold from the arrow (It should reveal some of the metal underneath). The ability to remove some of the gold by rubbing is something you could not do with Foundry wax which is permanent.
TAKE NOTE: This next step is optional. It is dependent on the size heart you use. Use wire cutters to clip the arrow in half if you want to "extend" the size of arrow under the heart.
Add a
DOUBLE STACK of small 3D foam squares to the back of the heart. *The arrow pieces will slip in between the foam.
So let's gather all the pieces that will be added to the Display Panel.
I added a piece of chipboard to the back of the card with the roses to give it more stability before adding it to the panel with 3D foam squares.
The tag was added with thin 3D foam squares.
I also added a thick chipboard piece to the back of the photobooth strip for stability. Then added 3D foam squares on the right side (
so the foam attaches to the panel, not the roses)
Add the photo strip, the stamp from the Postmarked sticker book and the slide frame from the Palette Ephemera pack.
The Salvaged Heart goes on next.
Then slip the arrow pieces under the heart. I used Scor-tape on the tip of the arrow, along with a small 3D foam square where it leaves the photo strip. There are two small 3D foam squares under the feather end.
You can add any kind of sentiment with Typography. I thought Yours Truly was perfect for this piece. It is so easy to use...just glue it in place with Collage Medium. There is plenty of time to adjust the letters before the Collage Medium dries.
Just a couple more steps...
Cello Sticker Tape for the win! Perfect for adding a vintage touch to any project!
And last but not least, cover the photo strip with post-it notes. Then use a Distress Splatter Brush to flick Picket Fence Distress Paint over the panel.
And that's it! Let the paint dry and you're good to go!
I hope you have learned something in today's tutorial. I also hope you'll take what you learned and make something fun for February!
Now carry on,
paula