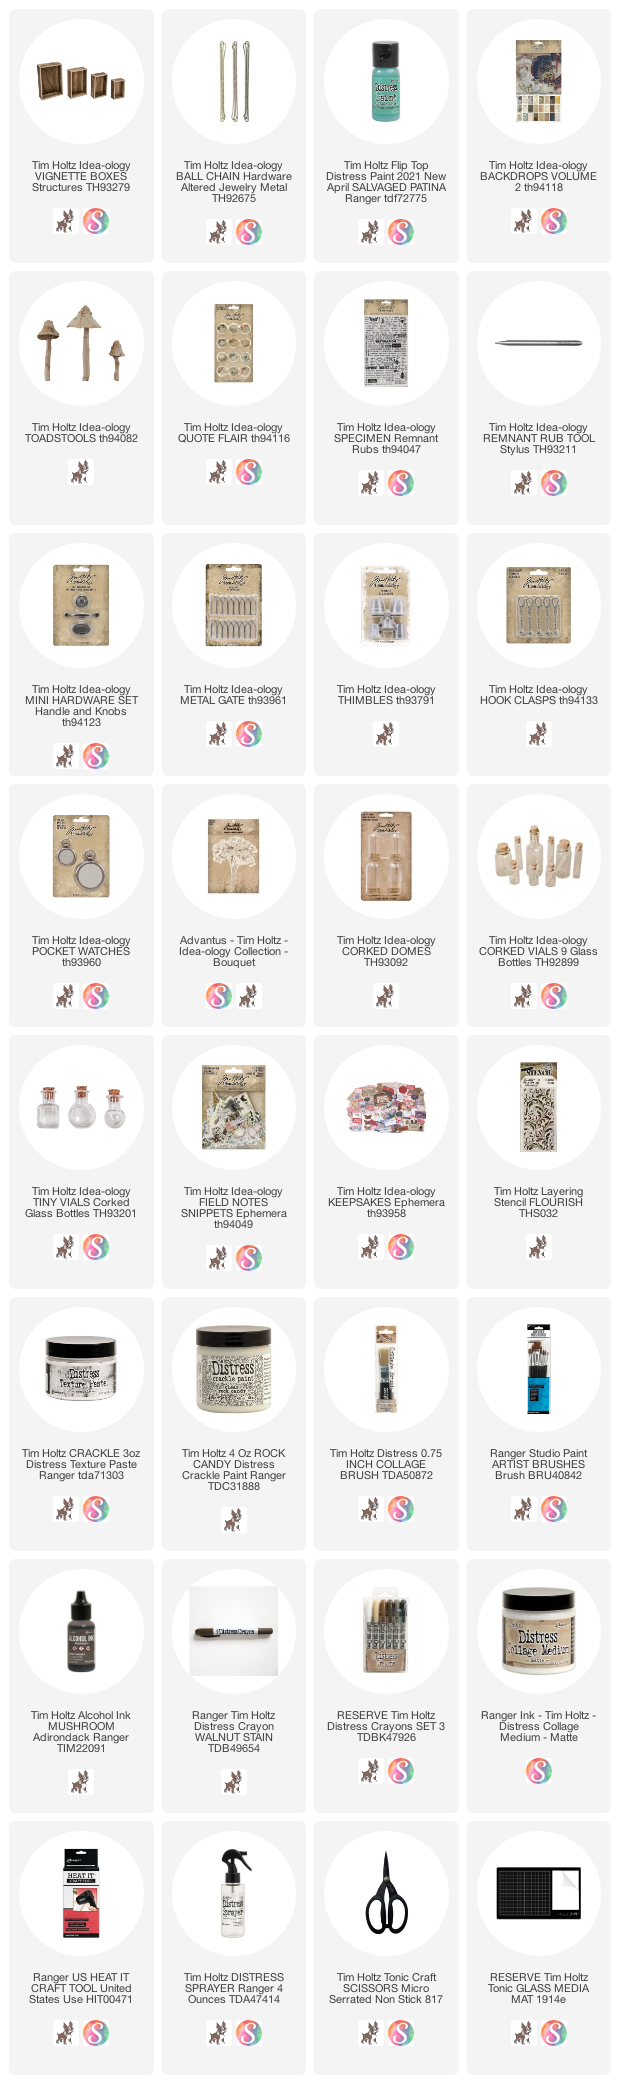
I'm excited to be here today sharing another project from the Salvaged Patina launch. This time I created a Vignette Box project filled with idea-ology trinkets, all with a nature theme.


Adhere idea-ology Ball Chain to the lip edge of the box with Collage Medium. Let dry completely then brush more paint the top. Randomly wipe away the paint in spots to reveal the metal of the chain. Let dry completely.


I decided to add the handle from the Mini Hardware Set to the right side of the smaller box before the two boxes are glued together so the small box could stand on end while the handle is drying in place. Here is how I did it:
- Add Hardware Heads to the the handle with Collage Medium so it will looked like the handle is screwed into the box.
- Paint the entire handle with Salvaged Patina Distress Paint.
- Once dry, pounce Rust Alcohol Ink over random parts of the surface.
- Add the handle to the box with Collage Medium. Let dry.
- Add a tiny tag with a number from the Remnant Rubs sheet.

Start the bottom compartment (while the handle is drying)
Coat the top of each Toadstool with Salvaged Patina Distress Paint. Pounce with a wet wipe to take away some of the color in the lower half to reveal some of the tan color underneath. Let dry.

Lower right section:
Cut the smaller Toadstool so it will fit under the larger one. Use Collage Medium to adhere the Toadstools to the box (the larger Toadstool also has glue at the back where the blue part touches the back of the box). Let dry while you work on other pieces like the small bottles.
I used two of the small bottles from the Tiny Vials as well as a larger bottle from the Corked Bottles pack. I treated all bottles with the same technique:
- Rub a layer of Collage Medium over the glass. Let dry.
- Rub a layer of Distress Paint Clear Rock Candy over the glass. Let dry.
- Drip Mushroom Alcohol Ink over the cracked surface to color.
Shred some cheesecloth. Paint a little Collage Medium around the Toadstools, then wrap them with the shredded cheesecloth. Keep it very light and airy - do not push it into the glue.

- Wipe a bit of white paint onto the surface. Let dry.
- Pounce surface with Mushroom Alcohol Ink.
- Drip or rub Rust Alcohol Ink sparingly over surface, taking care not to cover all the paint.
Pull the ephemera you will need for the project from the Keepsakes Ephemera Pack. Add the flower basket and written card to a piece of chipboard for strength. Adhere flower card to the background with foam squares. The word LOVE comes from the Clippings Sticker book. The written card and other pieces will be saved for the top compartment.

Add Remnant Rubs 78 to the larger bottle and glue to the right side of the box.
Add a Quote Flair to a Mini Pocket Watch (it fits perfectly) and close up the back.
Use Collage Medium to glue a small wood block to the back of the Mini Pocket Watch (this will allow the Pocket Watch to stand upright).
Once the wood block is secure, add the Hook Clasp to the top of the Mini Pocket Watch. Let the chain naturally drop to the surface of the box. I used a small paint brush to add Collage Medium to the chain so it would stay in place. It dries clear so you can't even tell there is glue under the chain. 24 hours later it will be solid as a rock.
Add the Thimble in the space between the watch and the gate.
Adhere the Metal Gate piece to left side behind the Toadstools (I slowly curved the gate till it broke, otherwise the gate is too long to fit).

 The top compartment is an easy one. Add the ephemera card to the compartment with Collage Medium (remember the chipboard we added previously will help the card maintain its shape. Make sure you test how far out the card comes on the left so the Corked Dome will fit against the back on the right. To be honest, I believe I cut off about 1/2" on the card on the right so it would fit better and not push the dome out more. Once the card is secure, add the green seal to the top (text is from the Remnant Rub sheet). The butterfly was obviously cut out and then glued to the card with the wings slightly pulled forward.
Glue the two boxes together with Collage Medium and leave to dry. The back of the top box is flush with the back of the bottom box.
To create the Corked Dome, I sprays one bunch of Bouquet flowers with Salvaged Patina and Antique linen Spray Stain. Once dry, I pushed the stem into the cork and added moss to make is stand up in the dome. I added some very tiny faux pearls (colored with Mushroom Alcohol Ink on a previous occasion) to the dome then added the cork. Once the dome is turned over the pearl cascade into the flowers. The label here is very tiny. It is from the Field Notes Snippets pack (lots of tiny labels in that pack!). The label has been simple tied on with a string.
The last thing to add is the tiny bottle that was colored earlier. I guess I should also mention that the tiny label here, and on the bottle with the 78, came from an old pack of brown Apothecary bottles. I had a sheet of leftover labels that come with that pack in my stash so I used them here.


This was a fun piece to create. I worked on it a little each day for about 3 days to complete it. Once I finished the outside and had the boxes glued together is was easy to come up with the nature theme of project. Really, this set up could be any theme you want and that is what makes it so interesting. Thank you for stopping by to see my work. I really appreciate the time it takes to go to a blog and read the tutorial. That is not lost on me.
now carry on,
paula

paula