Showing posts with label vignette boxes. Show all posts

Tuesday, April 7, 2026

Do All the Good You Can

Hello friends,

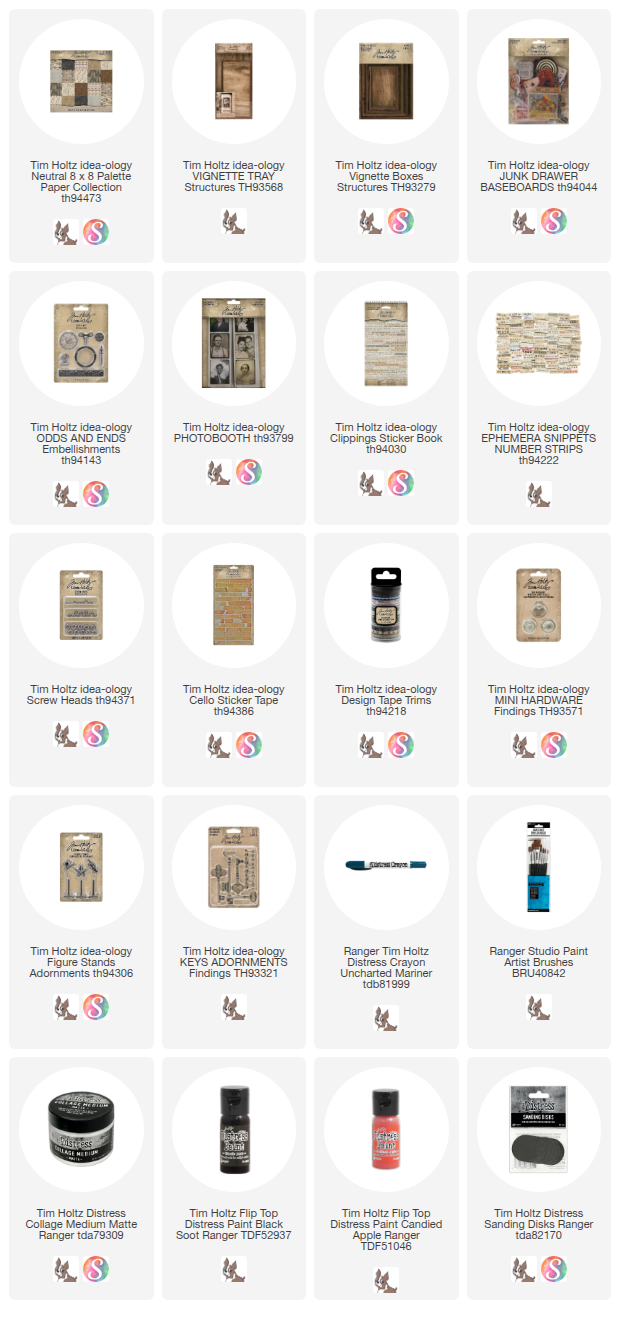
Stopping by with another Vignette project this week. I dug out an old SKU called Baseboard Junk Drawer for this one. I have always loved that SKU but only used pieces here and there over the years. Well today is different because I have use 7 pieces from the pack! Can you find them all before we get started?
Cover the small Vignette Tray with Palette Neutral Paper. This is one of my favorite packs because I truely love all the prints that come in the pack. I chose the Collage paper and the Map paper for the inside of the Tray. 
NOTE: the tape on the lip edge is from Design Tape Trims.
I chose the black gears paper for the sides and most of the back.
I created my own patchwork on the back to show off some of the other prints.
Once the Collage Medium over the paper was dry, I was able to add Walnut Stain Crayon over the seams between the paper inside the Tray.
I also painted two Vignette Boxes in Black Soot. At this point I wasn't sure how I would use them so I just painted the entire box. NOTE: these are the two smallest boxes from the Vignette Boxes pack.
Then sanded the edges with a Blending Tool with an added Sanding Disk.
So now that I have had some thinking time, I decided to add paper to the inside of the larger box and the "back" of the smaller box.
I used Collage Medium to glue the Vignette Boxes into the Tray. There are more way you could add them but this seemed like a good configuration for my purposes. Set aside to dry.
This little by will be my focal point. He is from the Photobooth pack.
I added the boy to a piece from the Baseboards Junk Drawer pack that fit nicely inside the larger box. A Clippings sticker was added to the bottom. 
Before I placed him in the Vignette Box, I added a bingo chip to the back so he sits forward in the box.
Now let me show you how I added all the other elements that make up this piece. There are SEVEN pieces from the Baseboards Junk Drawer pack (including the piece behind the boy). The others are: the elephant, the universal dominos, 65 tag, the black ruler piece, red star in a circle and the pencil case. 
I had the idea to have the elephant look as if he is turning the wheel with his head to raise the chain to bring the star up to him. I hope you can visualize it too!
Another pack that I used three pieces is: Odds and Ends. That includes the wheel, the porthole at the bottom and the metal Transfer Button on the Dominos Baseboard piece.
The 65 tag was added with Collage Medium then two Screw Heads were added to appear as if the tag is screwed into the box.
The strip of paper is from the snippets pack - Number Strips. I added some Cello Tape to the top of the strip.
The star is painted Candied Apple and is from the first Figure Stands pack. Again, the wheel that I painted bloc is from the Odds and Ends pack.
The bottom half is simple.
The jumble in the right corner is just that, a jumble. I cut the pencil case shorter so it would fit in the box. The key was just scribbled on with Distress Crayon and the string wrapped multiple times around the neck and tied in a bow. I glued the red star to the metal "porthole" that also had scribbled on with crayon. Then with decent amount of Collage Medium I piled everything together and just let it dry. Could not be any easier than that!
For the little boy I added the ruler at the back and some paper at the bottom for more interest. I might go back an add something else here, but for now I can't seem to thing of what. Maybe something from my vintage stash? I guess it's going to the be a work in progress.


Now Carry on,
paula
 

Saturday, January 24, 2026

The Art of Thinking

Hello friends,

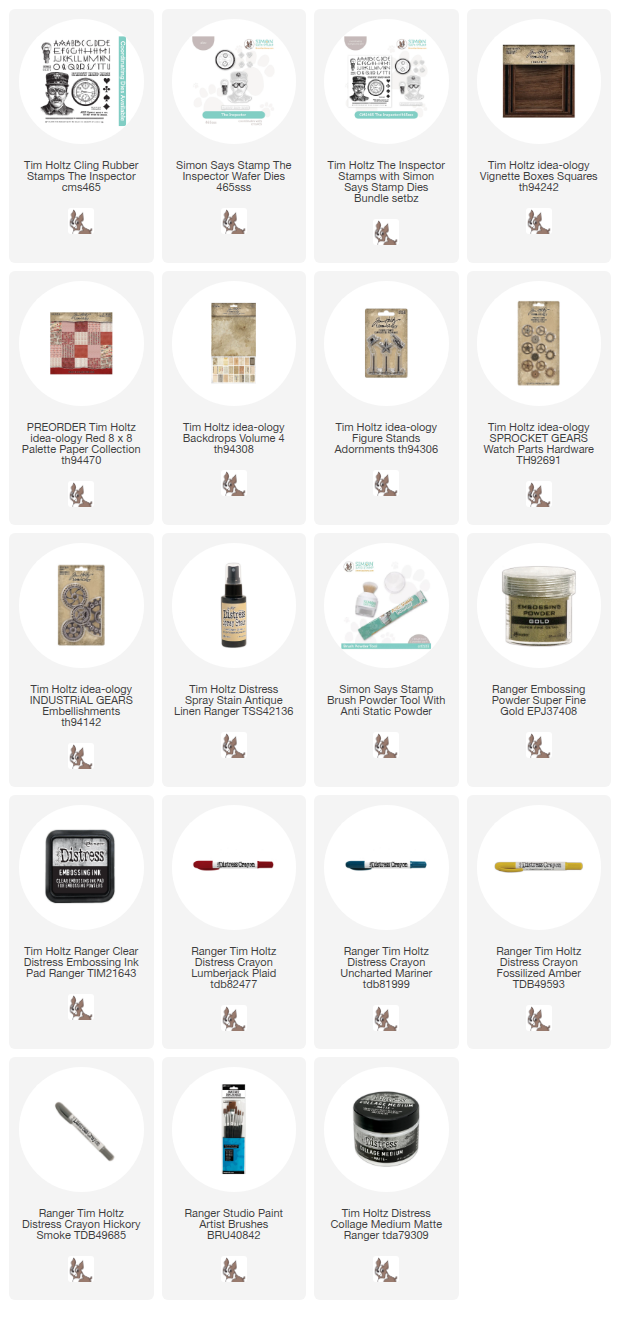
I have a fun project to share today! I’m diving back into a classic with The Inspector stamp set, but giving it a major upgrade using the brand-new matching Wafer Dies.

The Inspector has always been a fan favorite, but Simon Says Stamp has officially upped the game. These all-new wafer dies are designed specifically for this set, meaning no more fussy cutting—just perfectly crisp edges that take your projects from 'handmade' to 'pro' in seconds. To show them off, I’ve used the largest Vignette Square Box to create a dimensional scene that really lets The Inspector shine.

As you can see on the right, the die set cuts many of the basic pieces. It also has added dies to cut out several layers like his googles, the ring and clocks on the gauge, and the body of the lamp.

To get started on the Vignette Box structure, I added neutral paper from the Backdrops #4 paper pack. This is a small box so you can cover the inside with one sheet of Backdrop paper. I also added Collage Medium over the top of the paper to seal it. Now, you could set the box aside to dry naturally... but if you’re impatient like me, a heat tool is your best friend. 
You might use Design Tape to cover the lip edge of the square Vignette, but I decided to just paint it for a rustic look. If you get any paint on the inside, just wipe it off. NOTE: Since the paper is sealed with Collage Medium so you can easily wipe any excess paint away with a wet wipe.
Once the paint is dry, sand the painted edge with a sanding block to give it an aged appearance.
For the outside of the Vignette, I chose the stamp print from the 8x8 Palette Red paper pack. Adhere it just as you did on the inside, Collage Medium under to adhere and over the top to seal.
For the inside:
I stamped the images from The Inspector with Archival ink. The Inspector was stamped with Black Soot and the gauge with Hickory Smoke. I also re-stamped the gauge with Embossing ink and embossed with Ranger Superfine Embossing Powder (gold). That gave me the layering pieces for the gauge.  
All the coloring was done with Distress Crayons and fat brush (that can hold water) from the Ranger Paint Brush set. Hickory Smoke and Stormy Sky Distress Crayon were used on the gauge.
His glasses are Fossilized Amber and the jacket and hat are Uncharted Mariner. Much easier to see the layering in this shot!
I also wanted to use a few Industrial Gears in the background so I added Long Fasteners to the center of each gear, then smashed it with the Texture Hammer. I painted the gears with Speckled Egg Distress Paint and let dry. Then I rubbed Black Soot Distress Paint over the top of the Speckled Egg. The last step was to sand a bit with some steel wool to bring back some of the metal.
Everything I cut out or worked on was added to the Vignette Box using Foam Squares and small wood blocks to raise the inspector from the Vignette.
I added the Clippings sticker, "the Art of Thinking" to the Inspector, as well as Sprocket Gears and string to the bottom of the box.
I also added a Figure Stand that I painted in black and white + a little Mushroom Alcohol Ink.
I also added the die cut piece, "Strictly Hand Made", to the top of the box after coloring it in with Lumberjack Plaid Distress Crayon. I think it makes the perfect finish.
The new Simon Says Stamp Wafer Dies are a total dream to use. I can’t tell you how much I appreciate skipping the fussy cutting! It made creating this fun, layered effect so much faster and gave the whole project such a polished look.
Now carry on,
Paula

Tuesday, August 12, 2025

Palette Indigo Vignettes

Hello Friends,

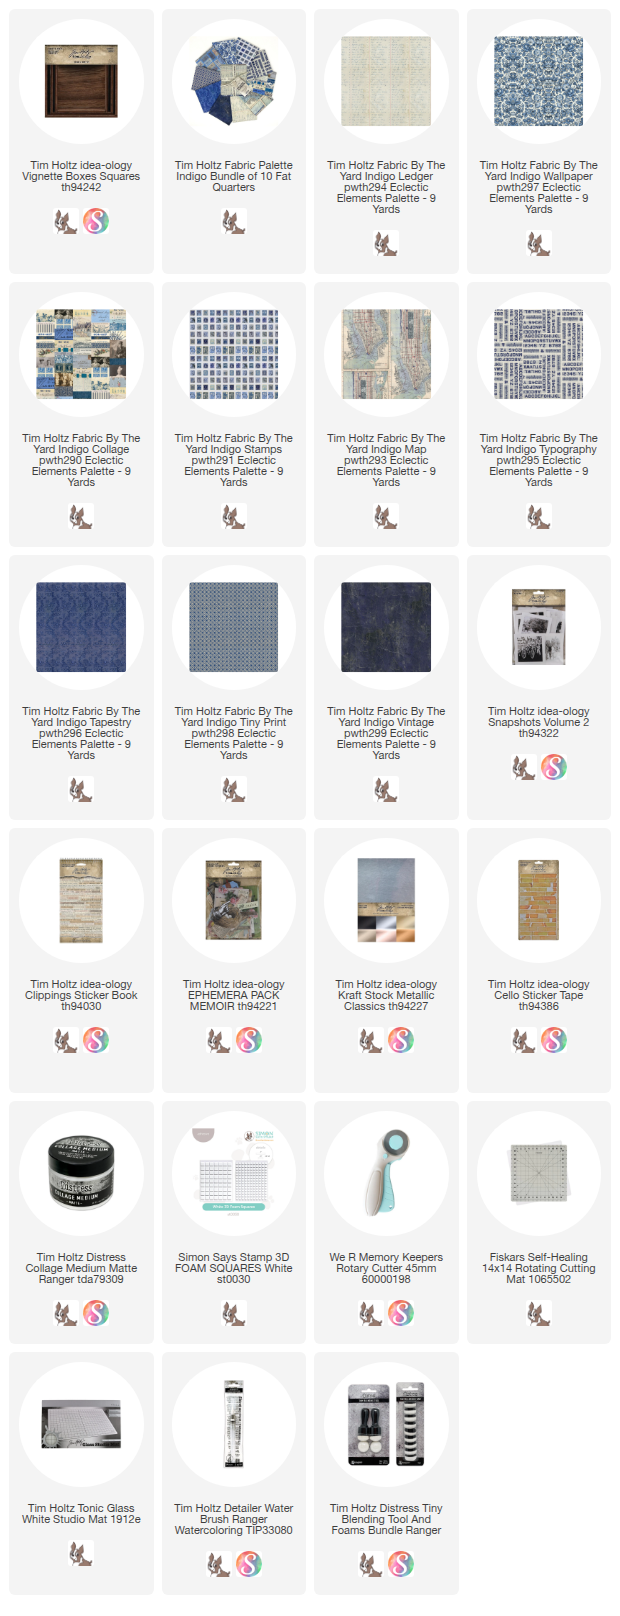
Today I'm sharing one of my favorite new fabric collections: Palette Indigo from Tim Holtz and made by FreeSpirit. This shade of blue is so versatile, working beautifully in both light and dark patterns. As I was looking through the collection, I couldn't help but notice how perfectly the patterns worked together. There were so many great choices, that I knew I had to use multiple patterns together for my project. An idea popped into my head to create little scenes that look like postcards, using multiple indigo fabrics, layered on idea-ology Vignette Squares. So that is just what I did! Follow along and I'll show you how easy it was to create these fun little scenes!
Honestly, everything I did was just "going with the flow", adding the fabrics with Collage Medium one layer at time. Sometimes I cut the fabric to size and other times I glued the fabric down, then once it was dry (I used a heat tool) I flipped the vignette over and cut off the excess with my rotary cutter. Let me walk you through the basic steps:
1. Cut a piece of fabric (Palette Indigo Map) and adhere it to the Vignette with Collage Medium.
2. Cut another piece of fabric (Palette Indigo Wallpaper) and adhere it to the bottom half.
3. Adhere yet another wave of fabric (Palette Indigo Ledger) and let it dry for a time. Before it was totally dry, I used my secret weapon for fraying the edge of the fabrics, a Tiny Blending Tool. Works like a charm every time! If any of the edges come up, just add a little more Collage Medium and glue it back down.
4. Choose a photo from the Snapshots pack (NOTE: there are two packs of Snapshots - these came from the Snapshots Volume 2).
Fussy cut as best you can around the photo of your choice.
5. Use Distress Crayons to add a bit of color. The patterns and color of the fabric are bold, so I kept the colors muted.
6. Use 3D foam squares behind the Snapshot so it is raised from the surface.
7. Add embellishments:
You can add anything that goes with your photo. I cut a circle using Metallic Kraft-stock to mimic a sun. I also added stamps cut from the Indigo Stamp Fabric. I had previously cut a 4 x 6" piece of the Stamps fabric and added Collage Medium to the back and let it dry. So each time I needed stamps for my "postcard" look, all I had to do was cut them out with sharp fabric scissors and glue them on.  Super easy!
8. Clippings Sticker - Each Vignette has some sort of sentiment that was pulled from the Clippings Sticker Book. I dipped the sticker in a puddle of ink/water to age it and dried it with a heat tool. I added it to the Vignette with Collage Medium and finished it with a Cello Tape Sticker.
SMALL VIGNETTE
For the next Vignette, I followed the same steps but I started with the Snapshot. That helped me to know how I needed to cut the fabric.
First fabric - Tapestry
Second fabric - Tiny Print
Third fabric - Typography
Then I added the ladies (3D foam squares), the stamps and the Clippings.
This one needed something more, so I added a blue tag, slipping it just behind the second layer of fabric. FYI: The blue tag is from the Memoir Ephemera pack.
LARGE VIGNETTE
I started by picking the Snapshot would work best on the largest Vignette Square. I chose this line up of men because I thought they would look great across the box. Again, I kept the colors light.
 
So this is how I laid it out. I cut the waves in the fabric a little wider than needed so I can move them back and forth till I decide where the waves work best. So in this shot, nothing is glued down...as I was just working out the placement.
Once the decision was made, I started the gluing process (fabrics Ledger and Vintage).
Then I added the last layer of Indigo Collage. 
The men have foam squares behind their backs/heads, but I also added Collage Medium to the bottom edge of their legs so they will stay under the fabric.
The necessary stamps to make it look like a postcard.
I didn't like the image in the left corner so I patched over it with the Queen Victoria stamps. That patch helped tie in the Indigo 'Vintage' fabric behind the men. Collage Medium is perfect for adding the patches since it dries clear!
The 404-4 strip is also an added patch (just for a more detailed look).
I love the forced perspective of the men with the house in the distance. That ledger fabric is my favorite!
Just some final shots.


Hope you liked these as much as I do! Something about making them was just so fun! Maybe because all the wave cutting was just done by chance, no pattern, no thought...just cutting. Maybe I should do more of that!

Now carry on,
paula