Showing posts with label baseboards junk drawer. Show all posts

Tuesday, April 7, 2026

Do All the Good You Can

Hello friends,

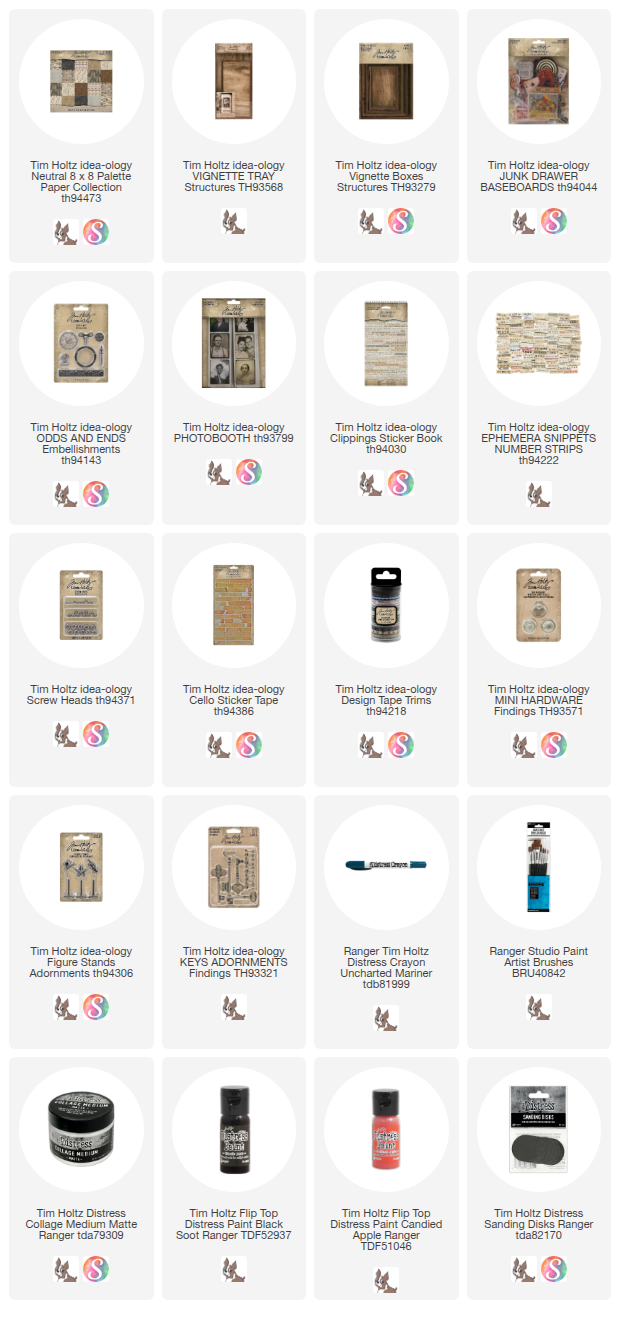
Stopping by with another Vignette project this week. I dug out an old SKU called Baseboard Junk Drawer for this one. I have always loved that SKU but only used pieces here and there over the years. Well today is different because I have use 7 pieces from the pack! Can you find them all before we get started?
Cover the small Vignette Tray with Palette Neutral Paper. This is one of my favorite packs because I truely love all the prints that come in the pack. I chose the Collage paper and the Map paper for the inside of the Tray. 
NOTE: the tape on the lip edge is from Design Tape Trims.
I chose the black gears paper for the sides and most of the back.
I created my own patchwork on the back to show off some of the other prints.
Once the Collage Medium over the paper was dry, I was able to add Walnut Stain Crayon over the seams between the paper inside the Tray.
I also painted two Vignette Boxes in Black Soot. At this point I wasn't sure how I would use them so I just painted the entire box. NOTE: these are the two smallest boxes from the Vignette Boxes pack.
Then sanded the edges with a Blending Tool with an added Sanding Disk.
So now that I have had some thinking time, I decided to add paper to the inside of the larger box and the "back" of the smaller box.
I used Collage Medium to glue the Vignette Boxes into the Tray. There are more way you could add them but this seemed like a good configuration for my purposes. Set aside to dry.
This little by will be my focal point. He is from the Photobooth pack.
I added the boy to a piece from the Baseboards Junk Drawer pack that fit nicely inside the larger box. A Clippings sticker was added to the bottom. 
Before I placed him in the Vignette Box, I added a bingo chip to the back so he sits forward in the box.
Now let me show you how I added all the other elements that make up this piece. There are SEVEN pieces from the Baseboards Junk Drawer pack (including the piece behind the boy). The others are: the elephant, the universal dominos, 65 tag, the black ruler piece, red star in a circle and the pencil case. 
I had the idea to have the elephant look as if he is turning the wheel with his head to raise the chain to bring the star up to him. I hope you can visualize it too!
Another pack that I used three pieces is: Odds and Ends. That includes the wheel, the porthole at the bottom and the metal Transfer Button on the Dominos Baseboard piece.
The 65 tag was added with Collage Medium then two Screw Heads were added to appear as if the tag is screwed into the box.
The strip of paper is from the snippets pack - Number Strips. I added some Cello Tape to the top of the strip.
The star is painted Candied Apple and is from the first Figure Stands pack. Again, the wheel that I painted bloc is from the Odds and Ends pack.
The bottom half is simple.
The jumble in the right corner is just that, a jumble. I cut the pencil case shorter so it would fit in the box. The key was just scribbled on with Distress Crayon and the string wrapped multiple times around the neck and tied in a bow. I glued the red star to the metal "porthole" that also had scribbled on with crayon. Then with decent amount of Collage Medium I piled everything together and just let it dry. Could not be any easier than that!
For the little boy I added the ruler at the back and some paper at the bottom for more interest. I might go back an add something else here, but for now I can't seem to thing of what. Maybe something from my vintage stash? I guess it's going to the be a work in progress.


Now Carry on,
paula
 

Tuesday, April 7, 2020

Destination Divided Box

Hello friends,

Today I am sharing a project I made for Creativation.  This was one of my favorite makes from the show and I toyed with teaching it as a class this spring...well as we all know flying somewhere to teach or even being in a group is out of the question so I've decided to share it here instead.
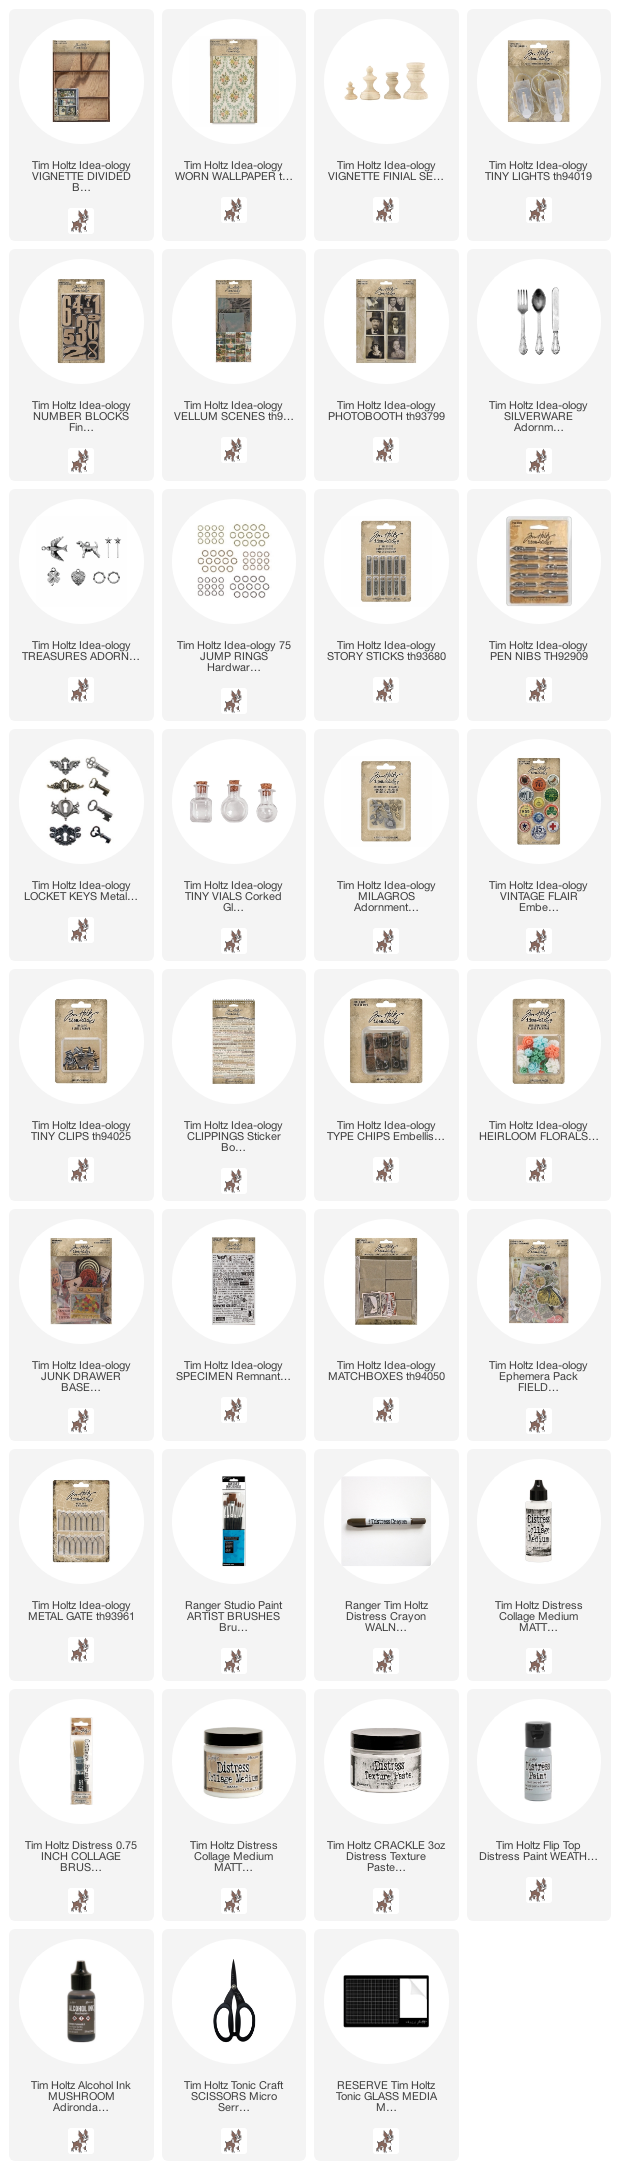
I started with a Divided Box, one of my favorite substrates because it is adaptable for so many projects.  I drilled a hole in the back of the center section for the Tiny Lights that illuminate the center section of the box (you could use an awl if you don't have a drill).
I painted the front edges as well as the inside of the top and bottom compartments with Weathered Wood Distress Paint.  After I waited for the paint to dry, I used Collage Medium to add layers of Worn Wallpaper to the sides of the box, overlapping as needed.  No rhyme or reason to the layering, I just used the paper I liked.  Once the Worn Wallpaper was added to the box,  I added a coat of Collage Medium over the top to seal the paper.  Do not skip this step because the Crayon needs a slick surface to work effectively and the Collage Medium will provide that.
Once the surface was dry I added Texture Paste Crackle to some of the edged of the box.  NOTE: Be sure NOT to add the paste to the center area because the Velum Scene will be glued directly to the center section.
Once the Texture Paste Crackle is dry, you can begin to add the Walnut Stain Distress Crayon over the surface.  Use as much or as little as you want.  I scribble it on and then use my finger to rub the crayon over the surface.  A small damp paint brush can be helpful to get it into the Texture Paste.  And I ALWAYS have a wet wipe near by to pounce over the surface to remove the excess.  
I threaded the Tiny Lights from the back of the tray to the front (so the on/off switch is on the outside of the box).  From there I wound them around in a circle and used scotch tape to adhere them to the back of the tray. NOTE:  I completed the rest of the box before adding the Velum Scene to the center section so I wouldn't get glue on it!  
Inside the top compartment are large wood numbers from the new Number Blocks pack.  I painted each of the three numbers a different color, then sanded them back once the paint was dry.  They are thick enough to stand up by themselves which makes them easy to stack.  The photo comes from Photobooth and the tiny name comes from the new Clippings sticker book (it now contains not only new sayings but many names).  Of course the popular Tiny Clip is holding the name in place.  The Mushrooms are from the Field Notes Ephemera (as well as the Specimen tag on the Finial).
I painted the Finial with Weathered Wood Paint and added the Texture paste just as I did on the box itself.
You may not even notice the tiny crown (from Adornments Treasures) in front of the photo.  I love that little crown and it just seemed to go there.  I've added more ephemera from Field Notes onto the background as well as the cute bird button from the Vintage Flair Pack (one of my favorite new products).
On the bottom right compartment I created a little garden scene.  First, Worn Wallpaper in the background with added Ephemera.  The bingo card is from Junk Drawer, which is a Baseboard product, meaning it is thick board that won't bend.  The butterfly from Field Notes was the perfect addition to the center.  I used bingo chips on the back to pop it out from the back of the box.
The Metal Gate was added after painting, adding Alcohol Ink and then bending until it broke into two pieces (it sounds hard but it's not).  I scribbled a bit of Walnut Stain Distress Crayon onto my mat and picked it up with a damp paint brush.  I used the brush to add the crayon over the Heirloom Florals as well as the inside corners of the box.  It ages the Worn Wallpaper and the Weathered Wood paint to marry the two together.  I had a stick on my desk so I broke off a small piece.  After gluing the fence into the box, I added the tiny piece to the one end as if it was the garden gate.  It was only AFTER I did this that I went looking for a Clipping Sticker to use under the butterfly.  I think what I found could not be more perfect for the scene...
On the bottom left I used an awl to create two holes for yet another stick.  You could absolute use a drill here but I just didn't want to walk out to the garage again.  I know...stubborn.
I created a bunch of embellishments with some random idea-ology pieces from my stash, a bit of chain and some jump rings. Idea-ology jump rings come in two sizes.  I used the larger size to go through the chain then slide down the twig.  
Here is the list of charms used (left to right):
key - Locket Keys
clover - Adornments Treasures
no.247 - Story Sticks
glass bottle - Tiny Vials
letter G - Type Chips
bird - Adornments Treasures
pen nib - Pen Nib
heart - Adornments Treasures
spoon - Adornments Silverware
stylized cross - Milagros
hand of friendship - Milagros
*all words from Clipping Sticker book
I used a bone folder to add the Remnant Rub to the Vellum Scene. It was only then that I added Collage Medium around the center compartment to adhere it to the box.  Three sizes of scenes come in the pack, this being the largest size of the group.  Each scene is different with both horizontal and vertical choices.
Well, I hope you were able to get the gist of this piece.  It's not hard to make, just very detailed so give yourself time if you try it.  I looks so cool when the light is on during the evening.
Thanks for stopping by!
Now carry on,
paula