Thursday, March 28, 2024

Wonder

 Hello Friends,

Just a quick post today on a project I created this week. I wanted something for spring and this was just the ticket. Follow along and I will show you how I created it.

Cover the back of a small Etcetera tag with Collage Strips, adding a layer over the top as well.
I need to change one of the sentiments because when I cut the paper, it left a word that wasn't too nice. Clipping stickers to the rescue!
Once dry, add Walnut Stain Distress Crayon to the surface.
Cover a Facade with Backdrop paper and cut away the excess with a cutting knife.
Splatter with paint (Faded Jeans).
Add a round Transparency with tape and a two stack of the little sticks (risers) that come in the Facades pack. Set aside to dry.
I added vintage lace to a Portrait + some very small pearls (cut from a vintage necklace).
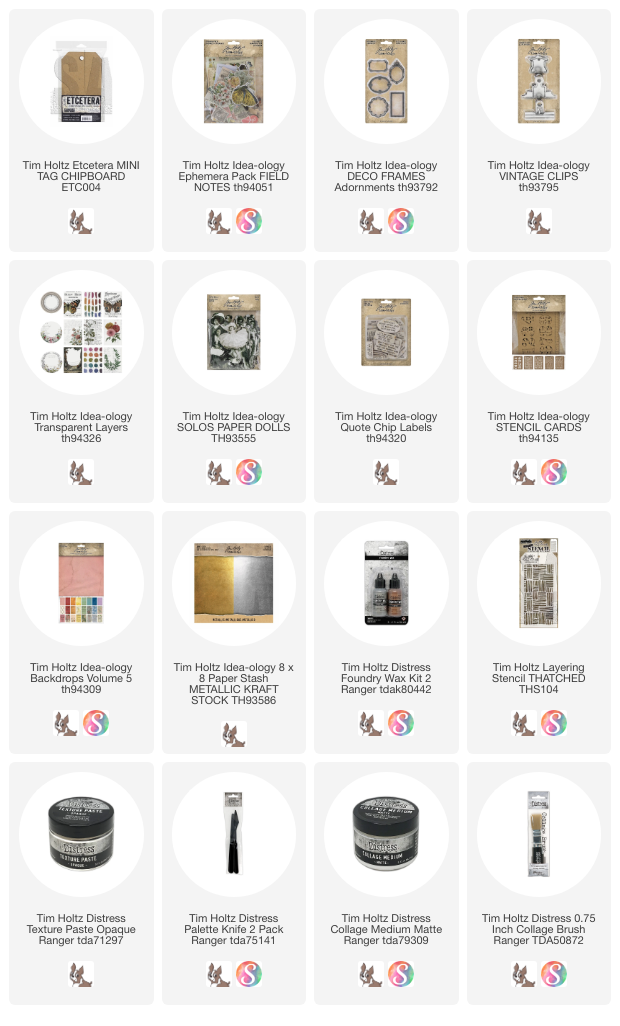
Add the Portrait to the center of the tag.
Then add the Facade over the top.
I also added a Quote Chip Label.
To add more interest, I painted two metal pieces with Faded Jeans paint.
I let them set for a couple minutes, then rubbed off much of the paint.
I highlighted with a Distress Crayon.
Then splattered both with white paint.
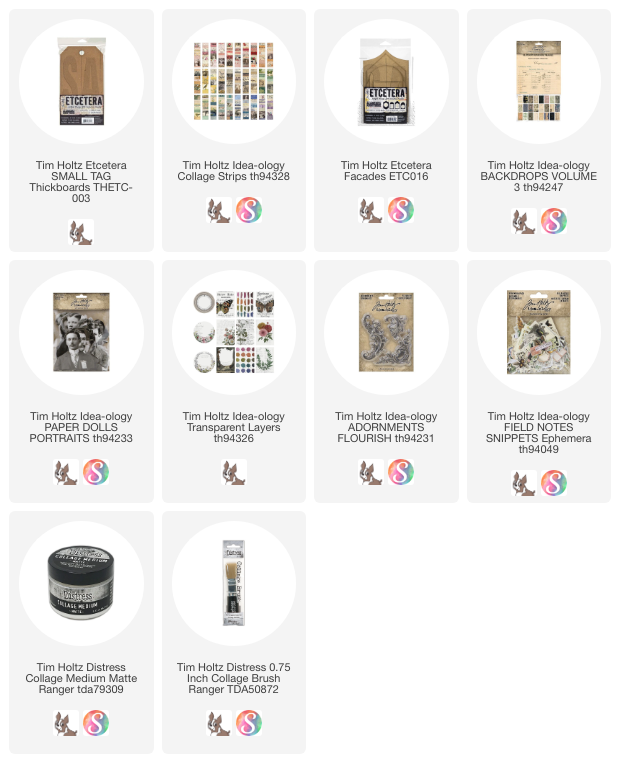
Once dry, I added shredded cheesecloth and the metal elements to the Facade with Collage Medium.
I followed that with more pearls.
And a butterfly from the Field Notes Snippets pack.
And there you have it! This one is a quick make that anyone could do!

Now carry on!
paula

Monday, March 18, 2024

As if I had Wings...

Hello Friends,

I've been working away at some behind the scenes project that I cannot share quite yet but I still got in a little time to create this Etcetera Tag using one of my favorite Paper Dolls and a few other embellishments. I actually created it over the course of a week, working on it between other projects.  I actually like creating that way because I love having time to think about a project between layers. Okay, so let me stop rambling so we can get onto the project itself.
*Please excuse the changes in color from photo to photo...whenever you photograph anything with metallic, it throws off the color balance!
This is a Mini Etcetera Tag (about 8" tall) that I have covered with paper from Backdrops Vol 5. 
*I also added a layer of Collage Medium over the surface.
I added Texture Paste Opaque through the Thatched stencil and set that aside to dry for about 30 minutes.
Once dry, I used my fingertip to add Foundry Wax Statue over the raised surface of the Texture Paste.
Once heated with an embossing gun, the Foundry Wax turns metallic. You can add Foundry Wax as many times as you wish.  The first time I didn't think I added enough, so I just added more and embossed it again. Just remember, Foundry Wax changes to a metallic finish very quickly, so watch carefully as you move across the surface with the embossing tool.
Next, I built a layered focal point using a Stencil Card with some inked paper underneath.  The Stencil Card was added to the tag with foam squares, then a transparent layer was added to the top. I used wide Scor-Tape behind the butterfly so no adhesive is showing.
If you look close, you can also see I added an eyelet on the left side for the 1/4" ribbon I dyed with Crackling Campfire and Scorched Timber Distress Ink.
Here is the Paper Doll that I was coloring last week. I started her a couple of times trying to get the color right against the butterfly background. In person, she has more color compared to the photo.  I added the Uncharted Mariner with a cotton swab so it would not be as bold as direct to surface. 
I added metallic cardstock to the back of a Deco Frame to create the halo. Admittedly, this covered up the orange in the stencil card that I loved (guess I could have added more orange on the right but I didn't). The Paper Doll was added with foam squares.
I also added a few more things. A bit of lace in her hair and some roses from the Field Notes Ephemera pack. I cut the transparency so the roses could slip behind the words at the top. 
I also added a Quote Chip Label so she had something for her hand to rest on.
The little bird was added (Field Notes ephemera) at the bottom, under the transparency. I wiped Collage Medium over the ephemera and dried it.  Then I colored the image with Distress Crayons (scribbled onto the glass mat, then picked up with a damp water brush). I stitched across the top, then added it to the tag with 2 foam squares.
I also tested out adding some lace to the top under the Vintage Clip. I decided to go with it (more is more), cutting the lace to three scallops for the final use.
A little white paint splatter and then I was done.

Well, now I need to go back to the other projects I'm working on but I'm secretly hoping to work in another project this week. We shall see how it goes and if I can make that happen! Cheers for a great week!
Now carry on,
paula

Monday, March 4, 2024

Introducing Mr Rabbit

Hi Friends,

We had a Stampers Anonymous release today. Mr Rabbit is the name of the new set and this handsome guy is just in time for Spring and Easter!
I chose a few color of Oxide Ink to use along with Black Soot Archival for Mr Rabbit himself.
I stamped Mr Rabbit onto the card front (with Archival Ink) and then I stamped him again on Masking Paper. I buy my Masking Paper from Simon Says Stamp. It is a white adhesive backed paper that is the perfect sticky/tacky for making masks! (sheets are 8.5 x 11" and come in a pack of 20). 
I placed the Masking Paper cutout over the Rabbit on the card front, then stamped repeatedly with different colors of Oxide Ink. The mask protects the rabbit until you are ready to peel the mask away, reveling the original image.  
The pattern stamps (plaid, dots, text) create the illusion of being "behind" the image when in fact they were stamped over the top (just with a mask protecting it).
I also used white embossing powder to enhance the plaid texture.
Then some simple stitching in pink around the sentiment (from the Noteworthy stamp). Perfect sentiment, right?
A little Rock Candy Glitter over his bow tie (just because he needed a little flash).
Simon Says Stamp had gone one step further and created a limited release die set that will cut out Mr Rabbit, his bow tie and his jacket. 

The team at Simon Says Stamp was able to make cards using this die set which gives you the ability to really bring him to life in 3D.
Created by Shari Carroll
Created by Caly Person
Created by Beth Opal
Created by Susan R. Opal
I hope you love Mr Rabbit as much as I do!
Now carry on,
paula