Showing posts with label etcetera tag. Show all posts

Monday, March 3, 2025

French Garden meets Distress Embossing Glaze

Hello Friends,

On Saturday Tim had an "Asked and Answered" YouTube Live that was all about Distress Embossing Glaze. Of course it was super fun and informative (like always) so I decided it would be appropriate to use some Glaze in my make today. 
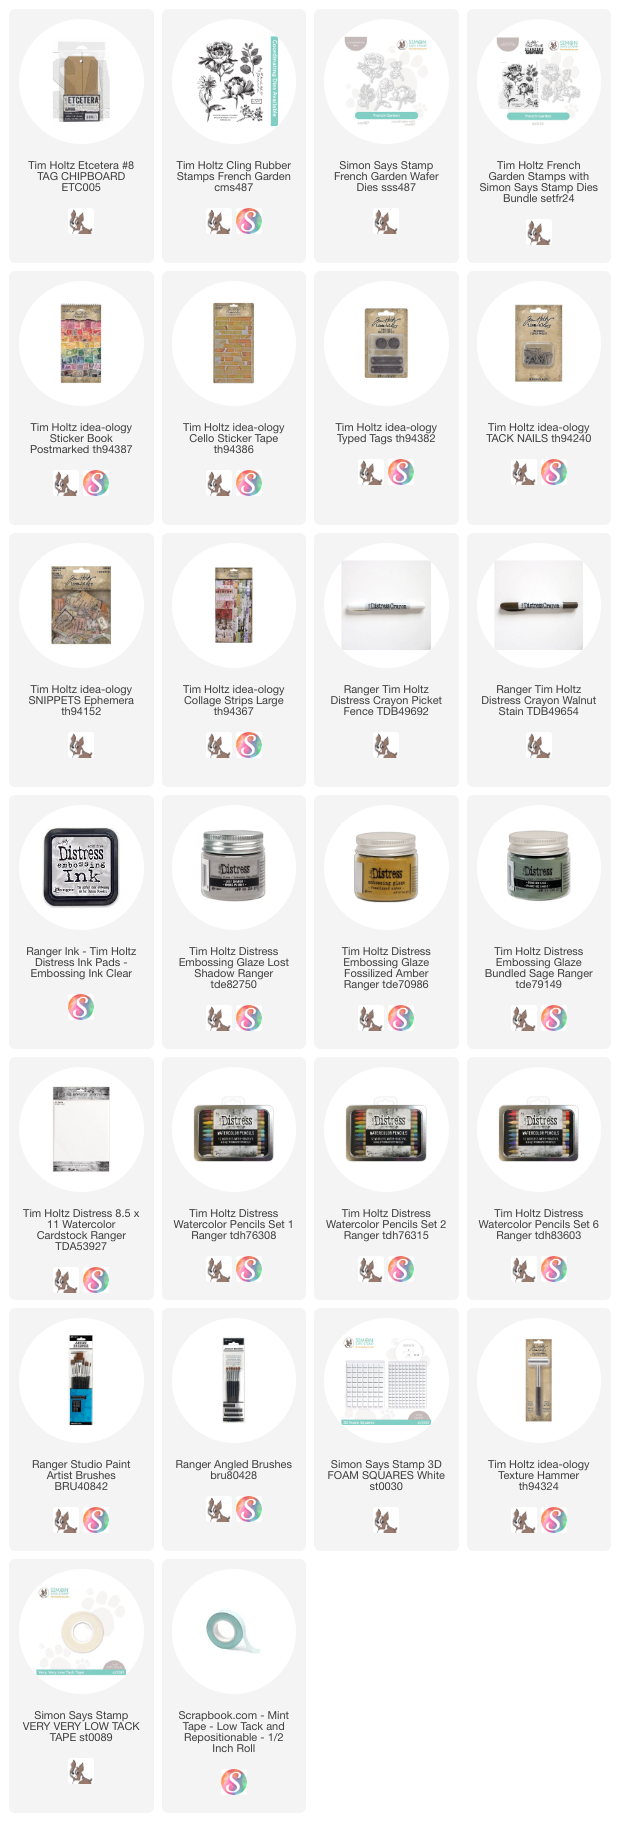
I created the tag as part of the "10 Ways to use Distress Crayons". 
First adding Collage Strips (large) to the #8 Etcetera Tag with Collage Medium. Once set, add another layer of Collage Medium over the top to seal the paper. Once the Collage Medium is dry, you can add the Walnut Stain Distress Crayon to distress the tag. If you get too much crayon you can adjust the color with a wet wipe.
So create our centerpiece, start with a piece of Watercolor Cardstock.
Use a stamp platform and Distress Embossing Ink to stamp. I'm using the French Garden stamp for this tag.
Add multiple colors of Distress Embossing Glaze over the image.
Then lightly tap the bottom side of Cardstock to move the Glaze away from the image.
Slowly slide the Glaze off the paper. 
Emboss the image. Remember, Embossing Glaze has a low melting point, so watch it closely so you don't over melt (you will know because the you will loose all the texture in the glaze). The key is just to tilt the paper so you can see when it melts and keep the the embossing gun moving.
Color the open areas with ink, Crayon or Watercolor Pencils. I used the dip method with Watercolor Pencils, then moved the color around with a wet angled brush. I buy these tiny Ranger brushes because I like that you can use the angle to get into tiny spaces.
Once dry, I used the matching die to cut our the flower.
I love how these matching dies cut so perfectly! 
Let's color some string. I love to use string in my makes (lots of string). I always make an ink puddle with either Walnut Stain or Gathered Twigs Distress Ink. Then cut a least a yard of cotton string (sometimes I do more so I have it on hand) and dip it into the ink. I like to swirl it around a bit but try my best to leave some light and dark areas and even some white spaces. If you use too much water you will just end up with string that is all one color. That's okay but I like it better with the variation of color.
Next is the Typed Token. I used Picket Fence Distress Crayon to fill in the recessed words.
I added 3D foam squares to the back of the flower and adhered it to the #8 tag. I nailed the Typed Tag to the Etcetera Tag using an idea-ology Tack Nail (I did not hammer on my glass mat, I just photographed it here). I also added Cello Sticker Tape over the paper and added Crayon around the Tape to grunge up the edges of the tape so you can see it better.
I wanted to a few more details so I added a stamp sticker from Postmarked, Snippets Curator ephemera and more Cello Tape.
This just makes me happy. If you wanted to cut out the hole at the top of the tag, you could just more the stamp to the side and cut the hole...say if you were tying to a gift.
I love the simplicity of the tag with the Embossing Glaze flower as the feature. That French Garden die set is awesome. I see more flowers in the future!
I'll be back later in the week with more tags (just a different kind!).
Thanks for stopping by.
Now carry on,
paula

Monday, March 18, 2024

As if I had Wings...

Hello Friends,

I've been working away at some behind the scenes project that I cannot share quite yet but I still got in a little time to create this Etcetera Tag using one of my favorite Paper Dolls and a few other embellishments. I actually created it over the course of a week, working on it between other projects.  I actually like creating that way because I love having time to think about a project between layers. Okay, so let me stop rambling so we can get onto the project itself.
*Please excuse the changes in color from photo to photo...whenever you photograph anything with metallic, it throws off the color balance!
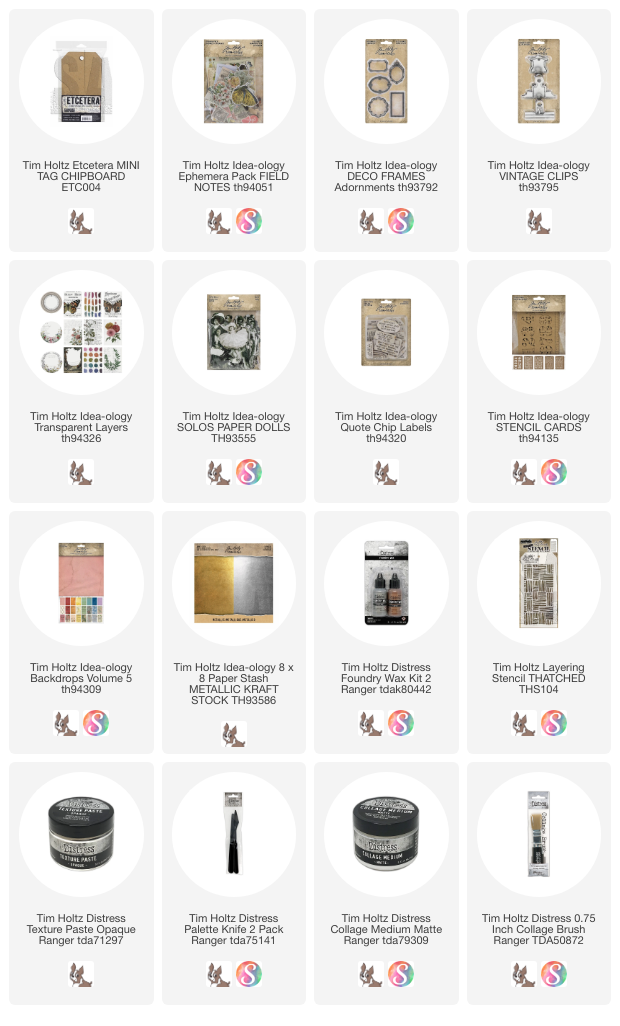
This is a Mini Etcetera Tag (about 8" tall) that I have covered with paper from Backdrops Vol 5. 
*I also added a layer of Collage Medium over the surface.
I added Texture Paste Opaque through the Thatched stencil and set that aside to dry for about 30 minutes.
Once dry, I used my fingertip to add Foundry Wax Statue over the raised surface of the Texture Paste.
Once heated with an embossing gun, the Foundry Wax turns metallic. You can add Foundry Wax as many times as you wish.  The first time I didn't think I added enough, so I just added more and embossed it again. Just remember, Foundry Wax changes to a metallic finish very quickly, so watch carefully as you move across the surface with the embossing tool.
Next, I built a layered focal point using a Stencil Card with some inked paper underneath.  The Stencil Card was added to the tag with foam squares, then a transparent layer was added to the top. I used wide Scor-Tape behind the butterfly so no adhesive is showing.
If you look close, you can also see I added an eyelet on the left side for the 1/4" ribbon I dyed with Crackling Campfire and Scorched Timber Distress Ink.
Here is the Paper Doll that I was coloring last week. I started her a couple of times trying to get the color right against the butterfly background. In person, she has more color compared to the photo.  I added the Uncharted Mariner with a cotton swab so it would not be as bold as direct to surface. 
I added metallic cardstock to the back of a Deco Frame to create the halo. Admittedly, this covered up the orange in the stencil card that I loved (guess I could have added more orange on the right but I didn't). The Paper Doll was added with foam squares.
I also added a few more things. A bit of lace in her hair and some roses from the Field Notes Ephemera pack. I cut the transparency so the roses could slip behind the words at the top. 
I also added a Quote Chip Label so she had something for her hand to rest on.
The little bird was added (Field Notes ephemera) at the bottom, under the transparency. I wiped Collage Medium over the ephemera and dried it.  Then I colored the image with Distress Crayons (scribbled onto the glass mat, then picked up with a damp water brush). I stitched across the top, then added it to the tag with 2 foam squares.
I also tested out adding some lace to the top under the Vintage Clip. I decided to go with it (more is more), cutting the lace to three scallops for the final use.
A little white paint splatter and then I was done.

Well, now I need to go back to the other projects I'm working on but I'm secretly hoping to work in another project this week. We shall see how it goes and if I can make that happen! Cheers for a great week!
Now carry on,
paula

Saturday, April 29, 2023

EMBARK Canvas Cloth

Hello Friends,

Grateful to be here today sharing my first make for the Embark Fabric release.  I love mixing idea-ology and fabric so this was a match made in heaven!

Lets start with the shaped center piece. 
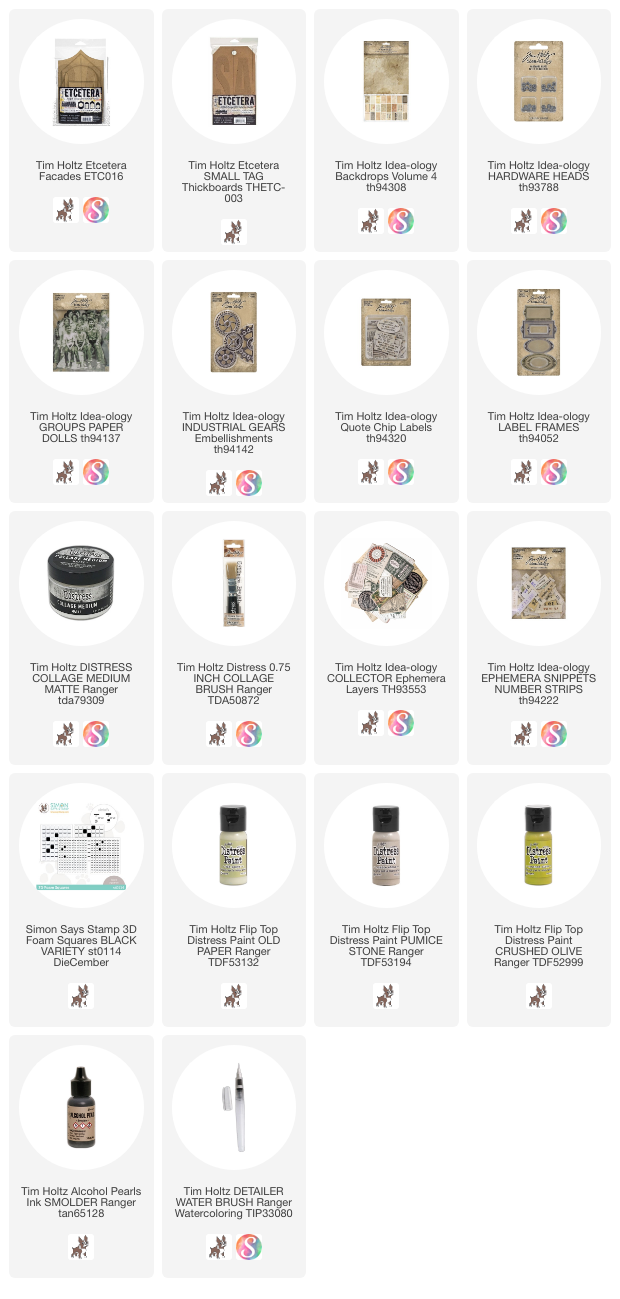
I used the shield shape from the new Etcetera Facades as a template, to cut one piece of fabric and one piece of matching Warm and Natural (cotton batting).

You can see that the shield shape has a hole in the middle - I'm going to fill that with the circle that comes in the same package (the shield can always be used with or without the center piece). 
FYI: I wanted more of the fabric to show, so I decided not to cut away the center.

FYI: If you are looking for "craft" size fabric pieces, Simon Says Stamp sells a pre-cut 6 piece bundle.  The bundle contains the 6 different canvas cloth designs of Embark, each cut square measuring approx. 10 x 10"  for $9.99.  They also sell previous collections - just type in Tim Holtz Eclectic Elements and they will populate.

This is a totally optional step - but I sprayed the batting piece with Sulky, a temporary adhesive to help the two pieces stay in place while I sew them together.  If you don't have this - just pin the fabric and batting together.
1.  Go to the sewing machine and stitch the two piece together around the outside edge.
2.  Stitch a diagonal line across the center. Use that stitching line to guide the presser foot, creating all the other lines.
You can see from the back that the lines are evenly spaced apart.  That is only because I use the edge of presser foot as my guide.
Use Collage Medium to adhere the fabric piece to the Facade. Press down until secure.
Turn over and replace the center circle.
I am using a small Etcetera Tag as the base for the project.  This paper is from Backdrops 4.  
Adhere paper to the small tag with Collage Medium.
Use a cutting knife to remove the excess paper.  
Add a layer of Collage Medium over the top to seal the paper.

Once dry, scribble Distress Crayon over the edges and rub in with damp fingers. Use a wet wipe to mottle the crayon and get rid of any fingerprints.
Use Collage Medium to add two of the "riser" sticks (they come in the Facades package) so the shield will sit up, off the tags.
Add Collage Medium to the "risers", then add the shield Facade. I put a book on top and let it sit for a bit till I knew it was secure.
I painted 3 Hardware Heads with Old Paper Distress Paint (one of the "from the vault" colors). Once dry, I pounced Mushroom Alcohol Ink over the top, then added them to the Facade with a dot of Collage Medium.
So, I have a couple more things to prepare before we can put it all together.
1. Industrial Gears: each have been randomly painted with the three colors of Distress Paint shown here.  Once dry, drip *Smolder Alcohol Ink over parts of the surface (*remember to shake first).
2. Paper Dolls Groups: I chose these boys for the focal point.  Quickly colored them with Distress Crayons and a Detail Water Brush to give some visual texture.
Now to put it together!
Add the Quote Chip "Labels" to a Label Frame and add to the top with Collage Medium.
Add a piece of idea-ology Layers Ephemera (I got this piece from the Layers Collector pack) to the fabric with Collage Medium.
Next up is to add the Paper Dolls. 
I doubled up on Foam Squares so the boys would sit higher than the Industrial Gears.
NOTE: the gear you see here has not been glued yet, it's just there so I know where to place the boys.
Start with the small gear. Use Collage Medium to adhere any heavy metal, as it will dry like cement in a few hours.
Then add the second gear so it fits right under the boys arm on the left.

I chose a Number Strip from the snippets pack and stitched it on one end.  My sewing machine made a big knot and left a bunch of string (as it does sometimes) - which was awesome in this case, since it looks as if I did it on purpose.  I wiped Collage Medium on the strings so they would stay in this crazy formation (something I do regularly with thread and string).  Once dry, I added a thin Foam Square .04 to the back and placed on the boys.
Well, thank you for stopping by!  Glad you are here to see this sample, as many more Embark samples to come in the next couple weeks - some need more skill than others and one is even no sew!  

now carry on,
paula