Thursday, December 20, 2018

Merry Christmas Tag

Hi everyone!
Happy Holidays!

I was asked by The Crafty Scrapper in Texas to be part of their 12 Tags of Christmas.  The only rule was you needed to use a Mini Etcetera Tag (which is 8" tall).  They are revealing the tags on their Facebook page each day leading up to Christmas!
Follow along and I'll show you how I created mine! (which I LOVE by the way)

As I said, I used a Mini Etcetera tag as the base for the project.  I used Collage Medium to cover the tag with paper from the Christmas Paper Stash.  A few pieces of ephemera from the Christmas pack were added before I painted on a thin coat of Collage Medium over the entire surface to seal.  Once dry (I used a heat tool) I scribbled Walnut Stain Crayon over the ephemera and rubbed it with my damp fingertip to spread out the crayon.
Then I pounced a damp wet wipe over the top to create a more random vintage look.
I used Grit-Paste and the Falling Stars Mini stencil (found in set #38) to add stars to the background.  Because I sealed the paper with Collage Medium in the beginning, I was easily able to wipe away stars that were not perfect or in the right place.
Remember to wash your stencil right away or at least drop it into a tray of water till you can get to it.
While they were still wet, I sprayed the stars with Spray Stain so they were not as white.
I wanted to use the wonderful Collage Paper for the feature in the center of the tag.   I love the design of this paper with the holly and the beautiful red bow.  I think you can turn it any direction and the design works!
To use the Collage Paper, paint a nice coat of Collage Medium over the surface of a Vignette Panel (when I say "nice", I mean you should be able to see the white of the glue).  As I have said here before, the trick to using CP is getting enough glue under it so it go sheer when you add the CM over it.  Wait for it to dry and then use a sander to remove the excess paper.
Once dry, I used a palette knife to add Ranger Opaque Texture Paste.  I like to leave it to dry for at least an hour if not more.
 I used two Ranger products to age the Crackle.  First I sprayed it with Antique Linen Distress Spray Stain and let it soak in for a bit, then padded off the excess.  Second, I scribbled crayon over parts of the surface and rubbed it in with my finger.
The ink and crayon works like magic over the Collage Paper and the wood of the Vignette Panel in the background.
Adhere thin foam pads to the back of the Vignette Panel and add to the Mini Etcetera Tag.
 
Now for the focal point, I colored a Ruler piece with Brushed Corduroy Distress Ink, sprayed it with water and patted it dry.  Once dry, I wiped Collage Medium over the surface to make the ink bloom (trust me on this). Dry with a heat tool then use pliers to break off each end of the Ruler Piece.
Color the word with a Picket Fence Distress Crayon and add it to the ruler with thick red craft string. I did add 1/2 of a foam square on the back of the Story Stick once I tied the bow.
 
This little guy is one of my favorites from the Paper Doll pack.  He is going to be perfect for an idea I have.  First a little Crayon for his cheeks (you know it's cold outside).  
I used a knife to cut right along his hand.
As you can see I have also colored a Mini Tree with Bundled Sage Distress Spray Stain, removed the base and given it a haircut so it lays flat.  I also added a bit of fine mica flakes.
Once the paper doll was cut, I slipped the wire of the tree into the slit and hot glued into place.  My gosh, it's a perfect fit!  I love when a random idea works.
Now one last thing...did you know that there are Christmas Milk Caps in our Milk Caps pack?  Well there are!  I aged it by sanding and inking the surface. I added another thin foam square to the back as well as a metal star that I covered in real German glass glitter.  I mean, every once in a while you have to use some glass glitter!
An here it is with all the pieces added!  The little boy is just so perfect for this piece.  One of the reasons I love Paper Dolls is finding the perfect setting!  This is an easy project with some fun techniques so I hope you give it a try.


now carry on,
paula

Monday, December 17, 2018

Fresh Baked

Hello!
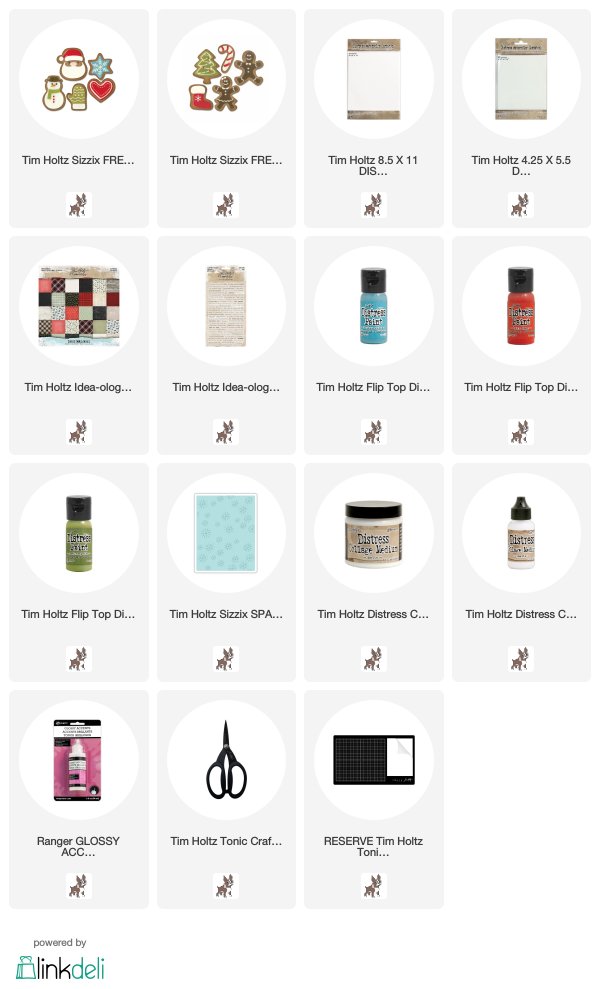
Last week when I was teaching at Whim So Doodle there were so many questions about how my Fresh Baked tags were created that I thought I would show how I did it here on the blog.
I cut double the images in kraft cardstock and glued them together to make them thicker.  You could also use Sizzix Paper Leather for this step.
 I cut the layering pieces in heavy watercolor paper and painted the pieces with Distress Paint.
I glued the pieces together which seemed hard at first, but turns out it wasn't hard at all.  I found it was very easy to pick up the tiny dots with a straight pin and move them into place.
You could also cut all the colored pieces out of colored cardstock.  I chose to paint them because I just liked the look.

Once everything was glued into place, I covered the image with Glossy Accents and let them dry.  I left them overnight and they were perfect in the morning.  (I did pop a few small bubbles with a straight pin before leaving them to dry)
I cut circles from Watercolor cardstock using the Stitched Circles die.  Then I used texture fades to create the embossed pattern on each one.  I used three patterns from my stash of Texture Fades.  
  Plaid
Sparkles
All the color added to the pattern was done with a Mini Distress Ink pad - no blending tool, just rubbing the pad directly over each of the raised patterns.
I also created a couple of small cards with the snowman and the Santa.  I was able to use stickers from the Clippings sheet for and easy sentiment.

Hope you'll give it a try!
Now carry on,
paula

Wednesday, December 5, 2018

Baby It's Cold Outside!

Hi Everyone,

Popping in with a fun Christmas project today.  I can't stop painting Salvaged Snowmen so I decided I better start making a few projects to use them on!
I have used a Mini Etcetera Tag to create my little Christmas scene.  Follow along and I'll give you a few tips on how I made it.
(click on picture to enlarge)

As I said, I used a Mini Etcetera Tag as the substrate.  I love this size and the fact that you get four in one pack.
I covered the tag with one of my favorite papers from the Christmas Paper Stash.  I also added a coat of Collage Medium over the top of the paper as well to seal it.
While that is drying, I cut a piece of packaging plastic and gather some supplies.  Grit-Paste, a palette knife and the Snowcap Layering Stencil.
I placed the plastic under the stencil and added the Grit-Paste in a rough manner.
So that when you remove the stencil it looks like snow!  Now to set aside to dry.
While the Grit-Paste is drying, I used the Sizzix Oval Framelit to cut two pieces - one thin chipboard, one woodgrain paper from the Christmas pad.
 I sandwiched them together with Collage Medium.
 Then for a very subtle look, I used Texture Paste - Transparent for the stars.  Once dry the glue will be transparent and only the Rock Candy will show.
I used Distress Crayon on the outside edges of the tag and added the center oval with Foam Squares from Scrapbook Adhesives.
The ledge was created by sandwiching two Ruler Pieces together (I cut them to size individually first) and using Collage Medium to set it in place.  Worked like a charm!
I also cut out the snowcap I created earlier and added it to the front of the ledge with Collage Medium.
One thing you won't notice in the picture is that I sanded off a bit of the snowman's booty so he sits flat against the back.  I used a face mask since he's made of resin and just rubbed it back and forth over the sand paper a few times.  This also helped him to fit on the narrow ledge much better.
This is a much better shot of the center.  The ledge and the snowman are securely attached.  I used some twigs from the garden to create a little scene in the back.  White paint on the trees give them the appearance of snow.  A little added Collage Medium so Rock Candy Glitter could be added.
I colored the Story Stick with Mowed Lawn Distress Crayon and added it to the scene with a Foam Square that had been trimmed.

I used a small brush to add the Distress Paint colors to the Snowman (Candied Apple, Black Soot and Evergreen Bough) and then let him dry.  I scribbled a bit of Walnut Stain Distress Crayon on my craft sheet and picked it up with a damp paint brush so I could paint it over the body to age it.
Once dry I added Glossy Accents over the top and sprayed Clear Rock Candy over the body using my Glitter Duster!

I created the "snow" for the ledge using my scratch tool and a small pieces of Warm and Natural (cotton batting sold in fabric stores).  Cut small pieces and scratch over it till it shreds and becomes fluffy.  Add the glue to the surface and then place the "snow" over it.  I have also added wisps to the twigs and used my Craft Pick to push it into the tiny tree.

I love this little tag - it would be an easy gift to make for a friend or neighbor and since the tags come in 4's and the snowmen come in 2's it's easy to create more than one.  I tell you once you paint the Salvaged Snowman you just want to paint another! 
(click to enlarge picture)
Now carry on,
paula