
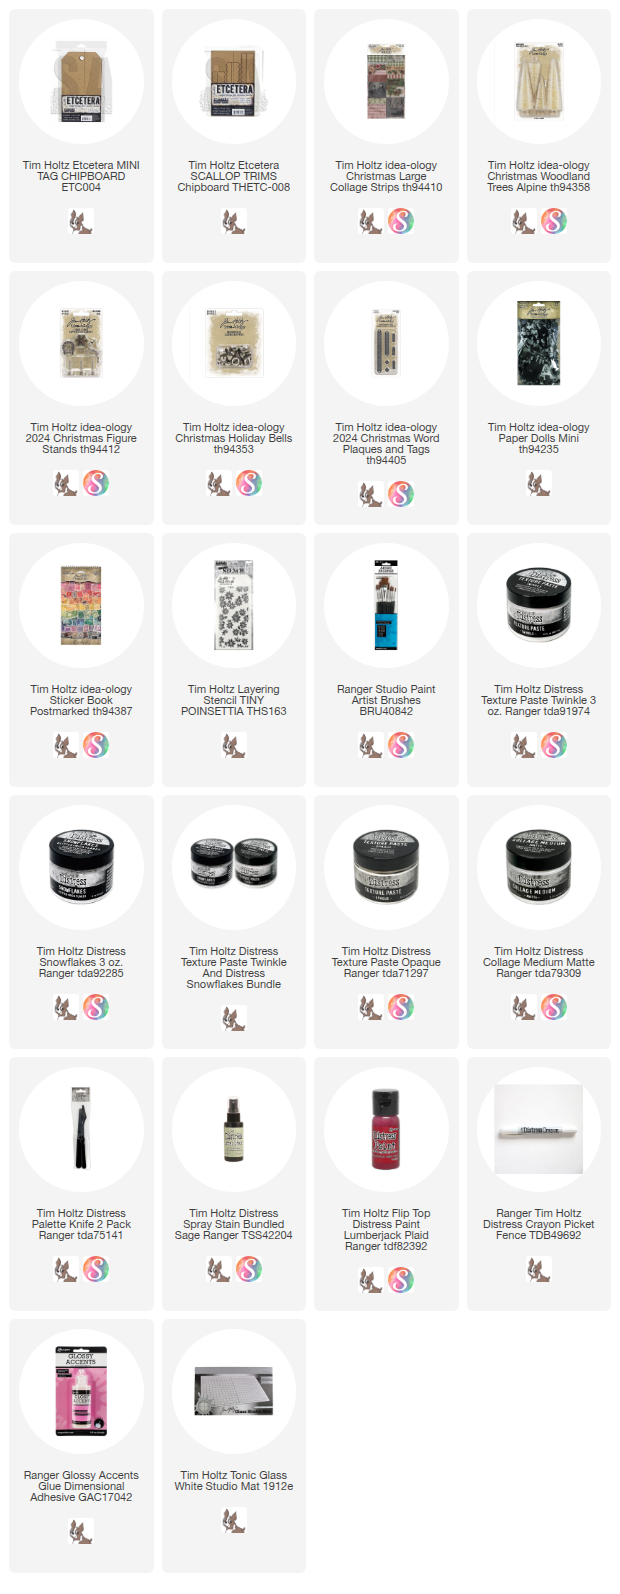
Today I am sharing a make featuring the new Distress products Twinkle Texture Paste and Snowflakes. I wanted to use the new products in as many ways as possible:
Twinkle over paper - the background
Twinkle through a stencil - with added re-inker
Twinkle over Distress Paint - the shelf
Twinkle over Distress Crayon - the Word Plaque
Twinkle over metal - the Figure Stand
Snowflakes over Distress Spray Stain - the Alpine Trees
Snowflakes over Texture Paste Opaque - the faux snow
Lets get started so I can give you all the details!
 I adhered the shelf to the tag once the poinsettias were dry.
 Then I added the Alpine trees (hot glue) + a Snowflake Figure Stand and some bells (some I painted red). To make the snowy effect I use a small Palette Knife to add Opaque Texture Paste (its thick) and then sprinkled Snowflakes over the top. If your Opaque Texture Paste is a bit dry, you can just paint on some Collage Medium before you add the Snowflakes. Now just wait for the mediums to dry, then shake off the excess.


 The sticker at the top is from the set I made last year using the blank page of stickers at the back of the Postmarked Sticker book. I made an entire sheet of them and still had plenty left after using some on Christmas cards in 2024. (see next photo for reference)
 I hope you have enjoyed this tutorial. Working on Christmas in August is not for the faint of heart, but I loved getting to know the two new products from Tim Holtz and Ranger. Experimenting with new products is always fun!

Use Collage Medium to adhere two Christmas Collage Strips to a Mini Etcetera Tag (4 1/2 x 8").
 Add a layer of Texture Paste Twinkle over the top of the Collage Strips. It will look a bit milky at first,
 ...but once dry, the paste will be clear and you will be able to see the random iridescent glitter that is a beautiful feature of the new Texture Paste.
 Off to the side, I mixed Twinkle with a drop of re-inker in Walnut Stain.
 Then use a palette knife and stencil to add small poinsettias to the surface.
 I was going for a vintage look, but you could use a re-inker in any Distress color to color the Twinkle Texture Paste. Just like the paste over the paper, the poinsettias look a bit milky at first.

 Spray 2 sizes of Alpine Trees with Bundled Sage Distress Spray Stain. Cut off the bases with Tonic scissors.
 Once dry, add Glossy Accents to the trees with your fingertip. Pour Snowflakes, which is a mix of clear glitter and Mica Flakes, over the trees.
 I LOVE the coverage you get with this product. The tiny clear glitter coats the tree and the Mica sits on the tips of the tree branches. Just perfect!! I dried the trees with a heat tool and they were ready to go in just a few minutes.
 Next, create a small shelf using Etcetera Scallop Trims. Trims come in different lengths and widths - this is the smallest size. I used a total of 3 trim pieces. I cut one scallop off the end of each piece to shorten them. Again, there are different width too. I used one wide one for the top and two narrow ones stacked together for the base - having two stacked helps the wide piece on top much more stable. Anyway, I glued the three piece together, then painted them red using Lumberjack Plaid Distress Paint. Once the paint was dry, I brushed on Twinkle Paste so I could get nostalgic 50's look with the glitter.


But when dry, the Twinkle paste becomes transparent and quite shiny + the iridescent glitter adds even more shine. Set the tag aside to fully dry while you work on the embellishments.


I needed just a couple more things to complete this project. I dug out my Mini Paper Dolls pack. This is a HUGE pack of tiny Paper Dolls - as you can see, this guy is only 2 1/2" tall. That is absolutely perfect for him to stand next to the trees. Hi clothing is dark so I went with dark colors and colored directly on the surface. Then I rubbed the Crayon till I had thinned it out. I added a few detail with my Detailer Water Brush.

I used a double stack of 3D Foam Squares to add the boy to the surface behind the large metal snowflake. I also added the dog (with a painted red collar) to the front of the trees. Like he's watching out for any trouble.

A Word Plaque was added at the top of the tag with some red and white twine. I used Picket Fence Crayon in the background of the Word Plaque (paint would also work). Then I added a wash of Twinkle Texture Paste to add a bit of shine. I love how it even works over the metal and the crayon!


If you are interested in the post about making the stamps, just click on this link.

Now carry on,
paula
Fabulous Paula !! Love, love, love Snowflakes and Twinkle paste. The tree is gorgeous !!!
ReplyDelete