Tuesday, September 26, 2023

Wonderland Cards

Hello Friends,

Today I thought I would share the three cards I made using Wonderland Fabric.

To start I cut three card bases 4 1/2 x 6 1/4" from Distress Watercolor paper. I love this paper as a base because the weight of the cardstock makes a great base to build on.
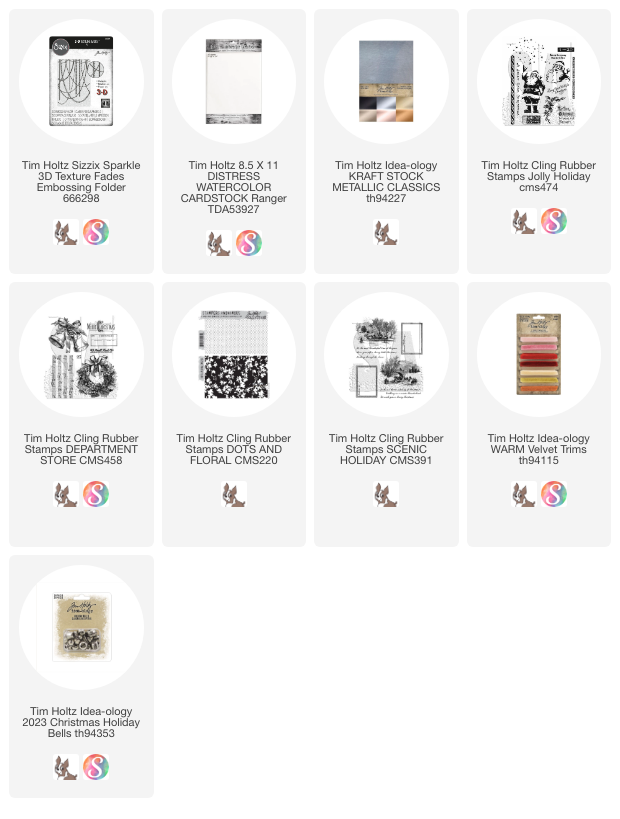
For the first card, I cut another piece of Watercolor Cardstock slightly smaller than my base so I could use the new Sparkle 3D Embossing Folder.  It worked perfectly as a backdrop for the flannel fabric strips.
I mounted the embossed paper to the card base using thin foam tape.  

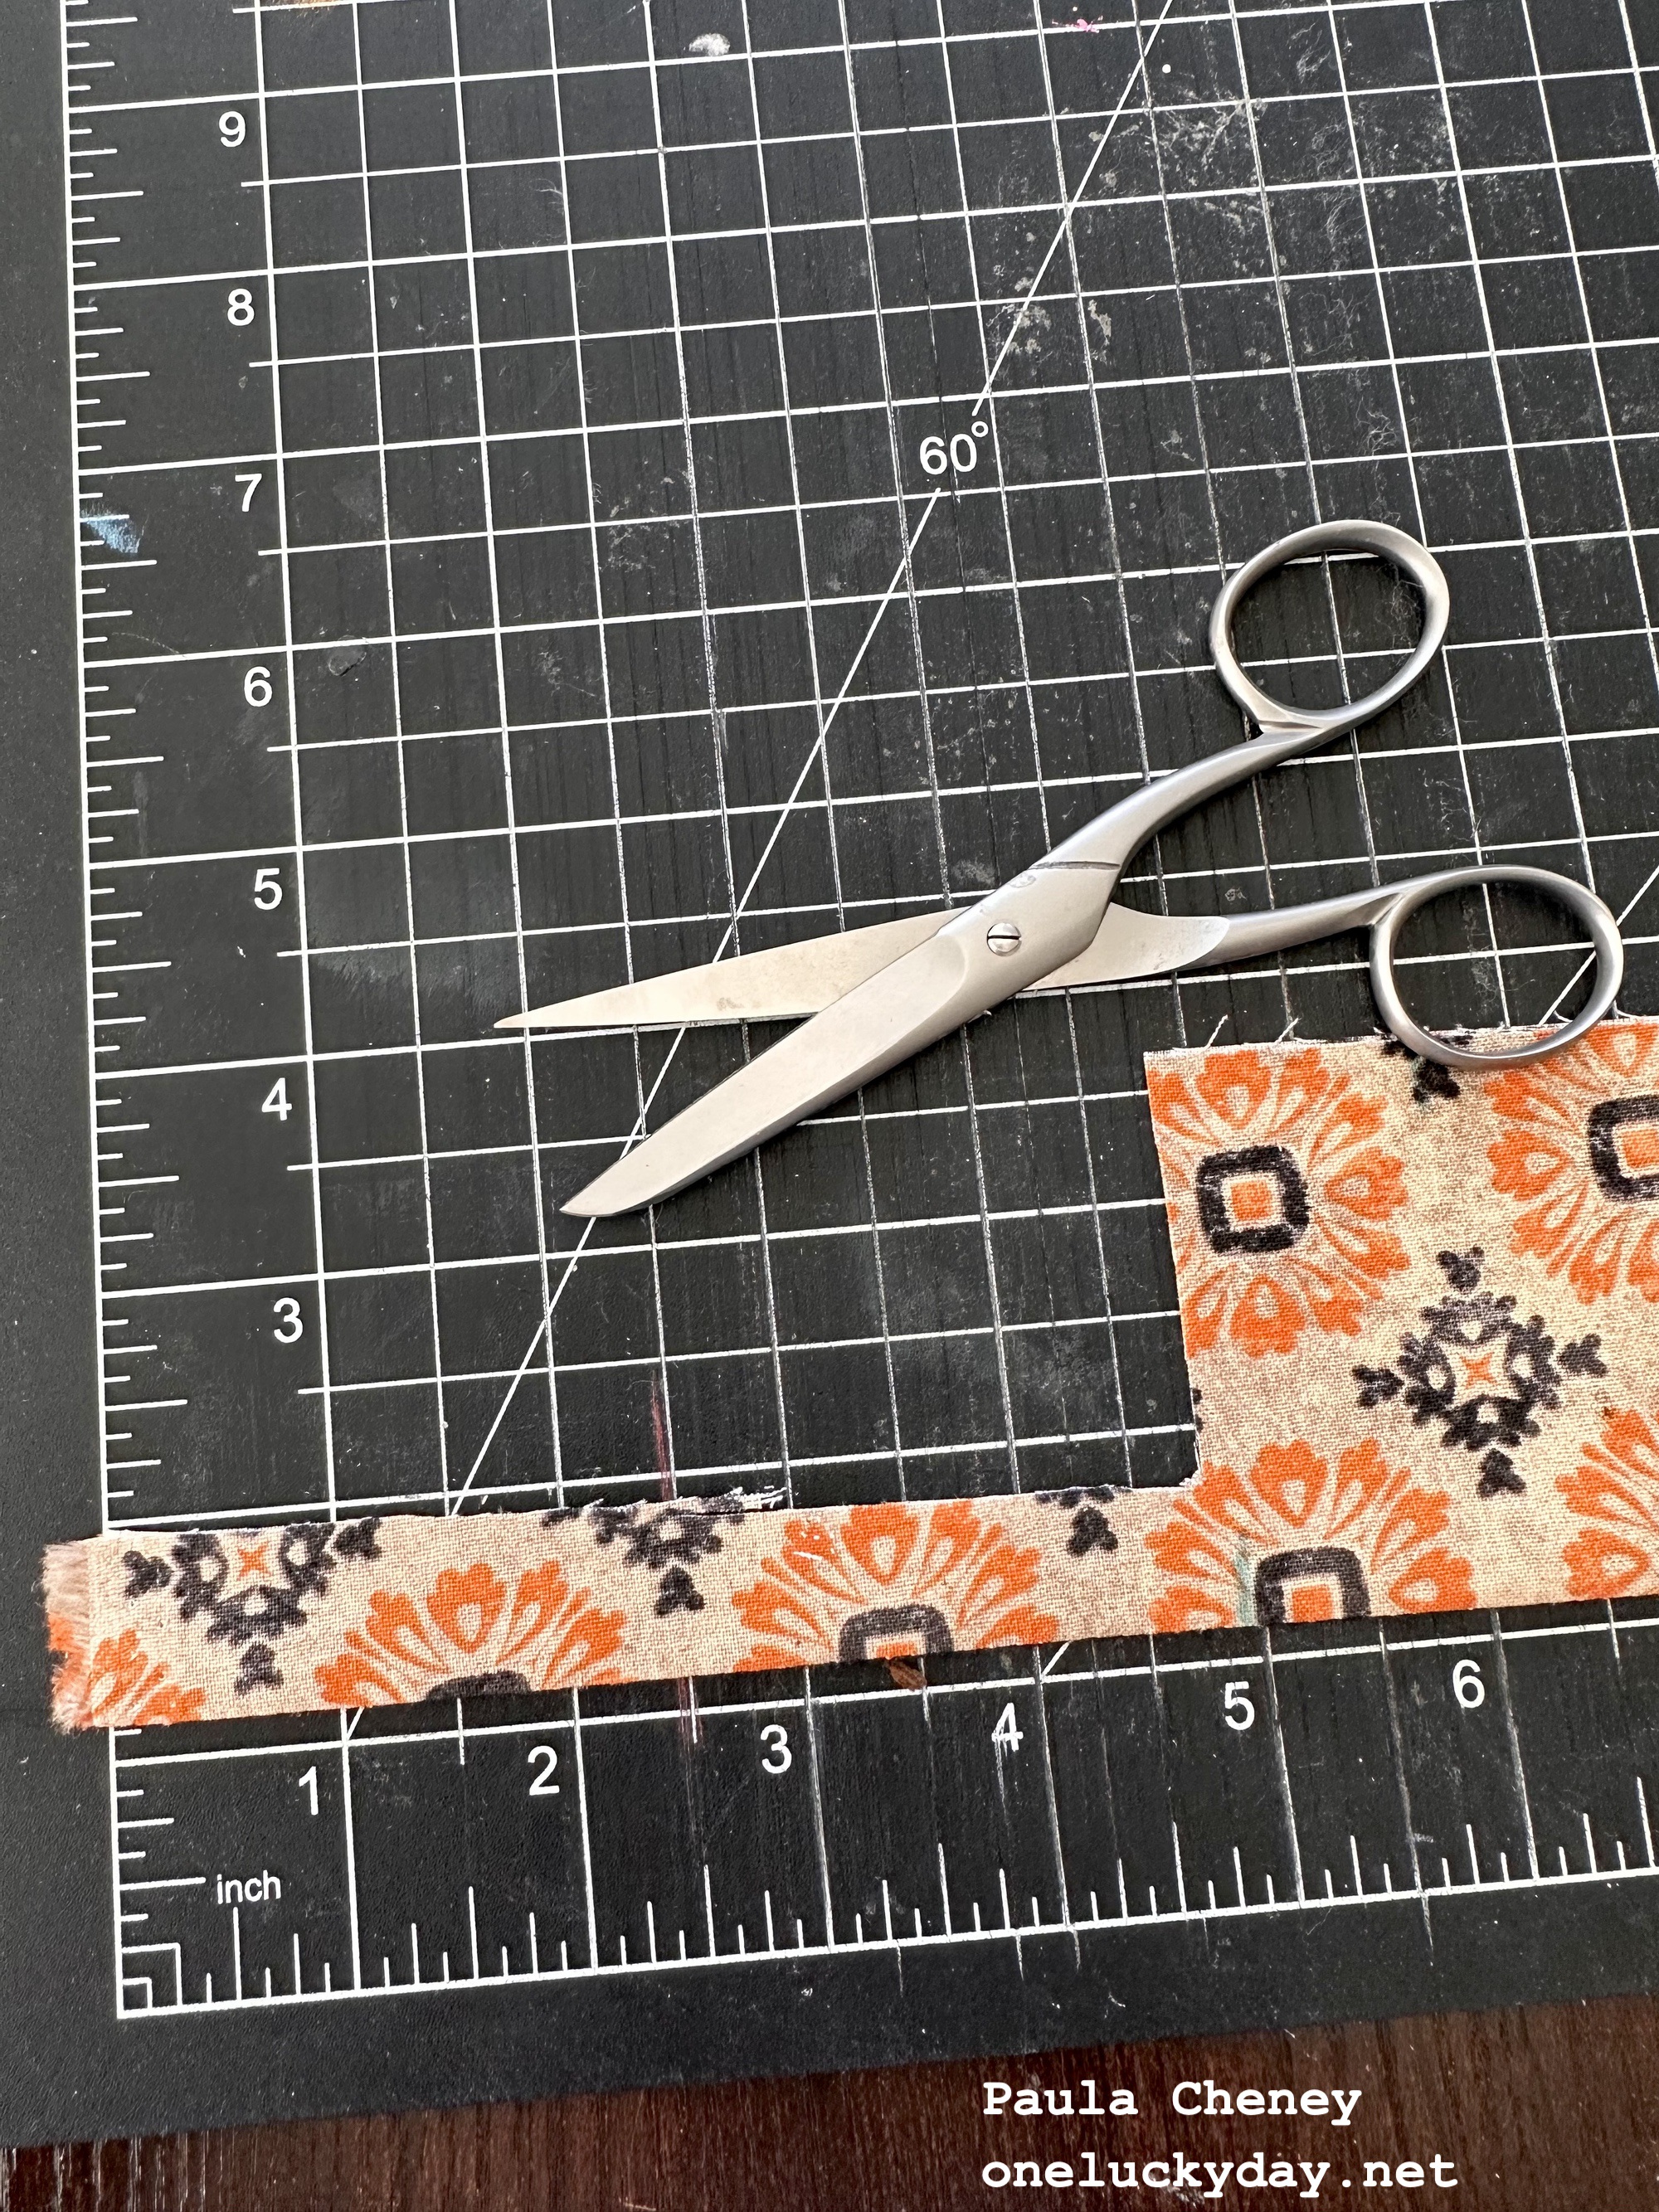
To prep the flannel, I added heavyweight iron-on interfacing to the back, then cut the strip with my rotary cutter. The flags at the bottom were hand-cut with scissors that have a sharp tip.  I topstitched each strip, then added them to the card front with wide Scor-tape (only at the top half).
I bet you can guess that I had to add the string and the painted bell BEFORE I added the Scor-tape to the back.
I cut a couple sizes of circles for the focal point. One in Watercolor cardstock and the other in silver metallic Kraft Stock (I also sanded it lightly). I stamped the sentiment with Archival Ink then sprayed the circle with Frozen Fog Mica Stain and drying before slipping it under the strip.

 CMS 474 Jolly Holiday 


For card two, I used the collage fabric, "25th".  With this fabric you can chose smaller prints from the group the work well together for size and scale.
I cut the blocks using the same process as the last (adding heavyweight interfacing to the back), but this time I used the square wafer dies I have from Simon Says Stamp to cut the shapes. I just placed the die over the image I wanted and ran through the die cut machine. I had all 6 squares in no time. I love that the dies works like a little window to see exactly what you are cutting.
I adhered each square to gold metallic cardstock with a light coat of Collage Medium (the interfacing helps to keep it from soaking through the flannel).  I did all the machine stitching before adding the red layer and mounting it on the card front that I had already stamped with a saying from a favorite stamp set, Scenic Holiday.


And for the last card, again, I went back to the "25th" fabric, repeated the interfacing and the cutting before adding the blocks to the stamped card front. I stitched around each block to add some interest, then added the ribbon and tag.
The velvet Ribbon is from the idea-ology pack.  I used a strip of 1/4" Scor-tape on the back of the long strip, then added the bow with hot glue.
The small tag is from my junk drawer.  I just stamped my very FAVORITE #25 from the Department Store Stamp set. I just love this card!
ps) If you open the card, there is a sentiment on the inside.

CMS458 Department Store


I hope you have enjoyed these cards as much as I did making them. It is amazing to me how even just a hint of fabric can make such a difference. Maybe it's the texture of the flannel or the colors of Christmas...whatever it is, I love it!

If you missed the Wonderland Fabric live, you can watch the replay HERE
Now carry on,
paula
Saturday, September 23, 2023

Festive Art Card File

Hello Friends,

Glad to be here sharing my Festive Art Card File. My Card File is all about ideas for the the new Festive Art stencil pack. I challenged myself to only use the Festive Art Stencil Pack + new Mini Stencils pack + new Christmas stamps from Stampers Anonymous. It wasn't much of a challenge because these products work so perfectly together! Follow along and I'll show you what I created.
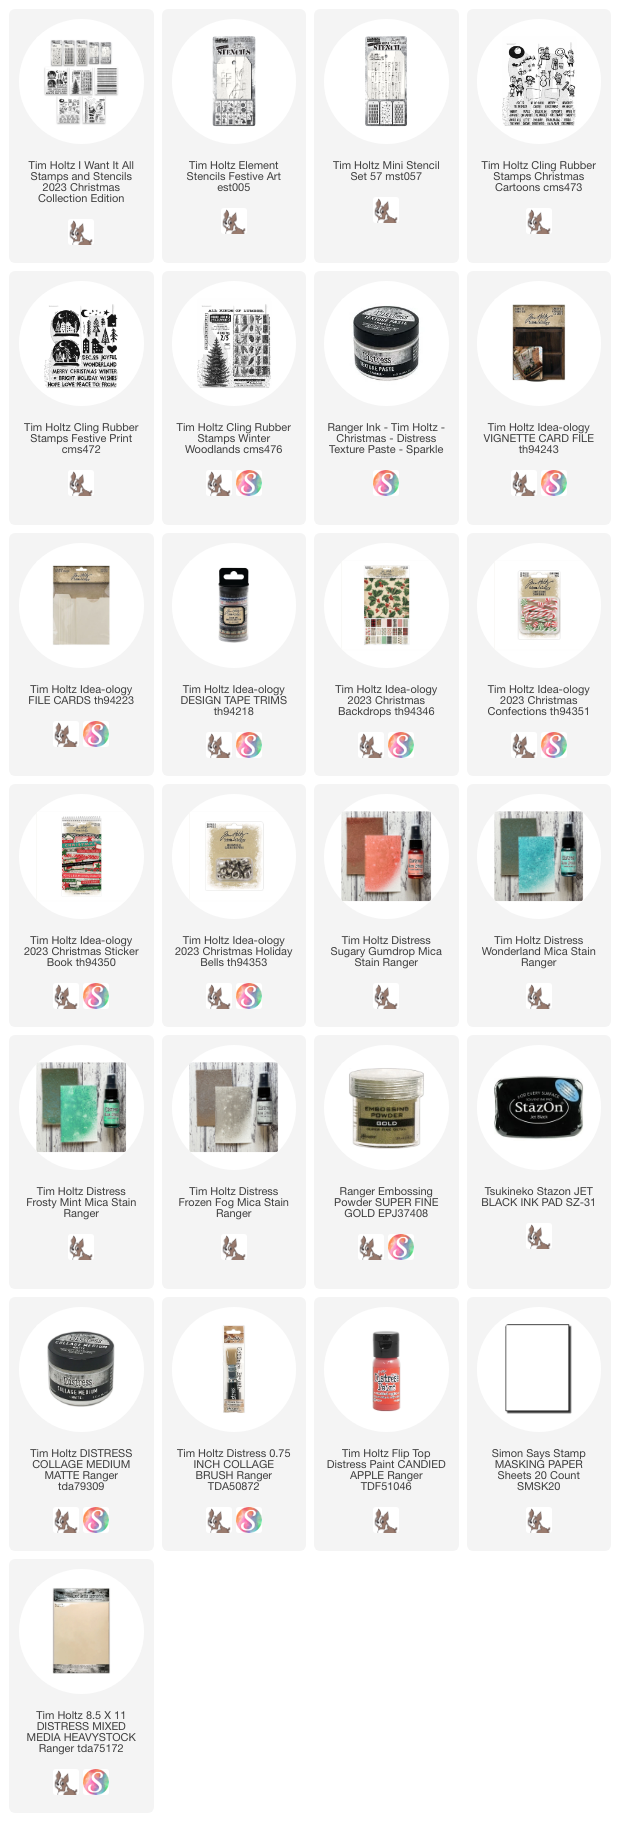
Lets start with the Card File itself.  I used Christmas Backdrops paper to cover the box. I painted the metal pull with Candied Apple Distress Paint, then after it was dry, I sanded it with steel wool to distress the metal.
The fun dotted tape comes from the Design Tape Trims pack.
I decide to use the Festive Prints stamp set to stamp simple images on the sides of the Card File. I had already adhered the paper to the box and added a layer of Collage Medium over the top, so to stamp, I needed to use Staz-On ink. If I had stamped before I added the Collage Medium, I could have just used Archival Ink.  After the ink was dry, I went over the box with Sparkle Texture Paste to give it a bit of shine.  I cannot stop using this stuff!
I used the File Card pack for this project.
The pack come with:
4 tabbed cards
4 folded cards
4 pockets
4 flat cards
I kept the tabbed card very simple - using the stamp sets CMS473 Christmas Cartoons + CMS472 Festive Prints.
As I said, the pack comes with 4 flat cards.  I wanted a total of 12 so I could have one for each stencil. So I cut eight more cards (3 x 4") from Distress Mixed Media Cardstock.
I used a variety of Distress Inks and a few Oxide Inks along with the new "Festive Art" Element Stencils. There are 12 mini stencils in the pack so you can create a huge range of images!

Distress Ink used: Peeled Paint, Rustic Wilderness, Candied Apple, Saltwater Taffy, Kitsch Flamingo, Evergreen Bough, Broken China, Squeezed Lemonade, Bundled Sage

All the splatter in the background is various colors of Mica Stains. 
 
Unfortunately, the gold embossing does not show up in the photos (it just looks flat), but things like stars on top of the trees, the top of the ornament, the bow on the present, have all been embossed with gold.


4 folded cards - more sewing, more embossing...
4 pockets - each have the pattern of one of the new Mini Stencil (3 pack)
These three fold at the top (I cut them myself).  Lots of pink to go with the red.  The pink on the two cards on the right is Spun Sugar Oxide.
Then just for fun I made some little cards from the Backdrops Christmas paper + transparency that has been stamped (Festive Prints stamp set).

Hope you will give the Festive Art a go! So many ways to use the stencils to create some fun art!

Now carry on,
paula

Tuesday, September 5, 2023

Fabric Flowers

Hello friends,

I have been sharing many of the Eclectic Elements fabric makes on Instagram, but today I have a step-out tutorial for the fabric flowers here on the blog.  I did not create this pattern/idea.  I found it on Pinterest back in 2013 (I'll link it at the bottom).  The flowers are easy to make but you do need a sewing machine for the gathering stitch. When you make them assembly line style (cut all fabric, iron all fabric, stitch all fabric, gather all fabric, etc...) a bunch of flowers can come together in an afternoon.  

What you will need:
sewing machine
5 x 44" fabric strips (one for each flower)
sticks for stems (about 12" long)
hot glue gun (with lots of glue sticks at the ready)
fabric marking pen
thread
scissors
pinking sheers (optional)
iron


So lets get started with the fabrics I used:
Spellbound - orange damask
Crossbones - skeletons
Manor - rosette 
Foreboding - Plaid
Spells - text (flower is in the back and not shown above)

I cut the five different Eclectic Elements fabrics into 5" strips (5 x 44").  
(My fabric came from a bolt so it is 44" wide)
Fold the strip in half and iron so you have a strip that is 2 1/2 x 44".
Move to the sewing machine and run basting/gathering stitch, using the pressed seam as your guide (you will gather this later so leave your threads long).
Use a marking pen to mark the fabric about every 2 1/2 to 3".  
NOTE: You can mark the fabric on either the raw edge side or the folded side.  If you mark on the raw side, the marks will be cut away, so you can use whatever pen you want (like a Sharpie in a pinch).
On one end of the strip, you need to cut a 4-5" tail. Mine is kind of a hack job so I am sure yours will look better.
Use the marks as an indicator to sew the scallop shapes. I like to sew at least half way down the width of the 2 1/2" strip so I get a floppy petal.  You can see my sewn scallops are not even and kind of wonky.  You could use the Mark-Be-Gone pen to draw the scallops before you start but I just went for it.

NOTE: There is also the option to cut the scallops and then sew, but I thought this way was easier and came out fine in the end.  
Next is to cut around the scallops with pinking sheers.  If you don't have pinking sheers, just use regular fabric scissors.
Now that you have cut around the scallops, it's time to gather the basting thread to begin shaping the flower.
Take the tail of the fabric and make a knot around your stick (your stem). Think of the shape of the center of a rose, it kinda looks like that!  Your goal here is to cover the end of the stick.
Use a hot glue gun to secure the tail to the stick (this area will get covered up).
Now start wrapping, gluing, wrapping, glueing until the flower is formed.
What I have learned is that at first, the fabric is glued to the stick, but after that, the fabric is glued to itself.
This makes much more sense when you see the finished flower from the bottom.  You can see the flower is flat at the bottom because of gluing the fabric to itself, not to the stick.  This method makes the flower full rather than being stretched-out down the stem.
I bought black leaves at Joann (they were part of the bunch of black roses). Five leaf stems came on the black rose bush which worked perfectly since I was making 5 flowers.  I just hot glued the leaves into place.  
NOTE: You never really see the underside of the flower, but if you were concerned, you always could add some Spanish Moss with more hot glue.

Well, there is the flower tutorial. I hope this was helpful and NOT too confusing! Once you make one, you will know what method works best for you.  
The flowers look great in an old apothecary bottle.  I could swear I just saw bottles like these at Joann!

Props to the original maker of these fabric flowers - see her blog post from 2010 here.  She stopped blogging in 2015 but the blog post is still available.

Now carry on,
paula