
I'm here today sharing one of the Vignettes I created for the idea-ology Christmas Live. To be honest, this time last year I had no idea we would be designing more Christmas idea-ology product, so the thought of creating again for a Christmas LIVE was not even on my mind. Fast forward a few months and I flew to Tim's to spend a few days developing the ideas that became the Christmas release. Tim is always inspiring and his house at Christmas is a wonderland. He was kind enough to leave Christmas up till after we had our days together just to be inspired! How lucky is that?
Well enough about the design part, this post is really about the new products and how to use them so lets get started!
 First, I should say that developing a new Vignette Box was a dream. We got to pick the size, the depth, to get just what we wanted for future projects. The new Curio measures 5 1/2 × 9 × 1 3/4 inches and features two removable inserts, allowing you to customize the compartments to suit your scene. As you can see, I removed both inserts to create todays project.


I covered the Vignette Curio with papers from the new Christmas Backdrops and added trim tape to the lip edge.

I added Backdrop paper to the back wall of each box I will use in this project. Sometimes you can see it and sometimes not, so i'll call this an insurance policy just in case it shows.
 Add Cello Sticker Tape to the ends so the box flaps come together - the box will become stronger once you add the tape.
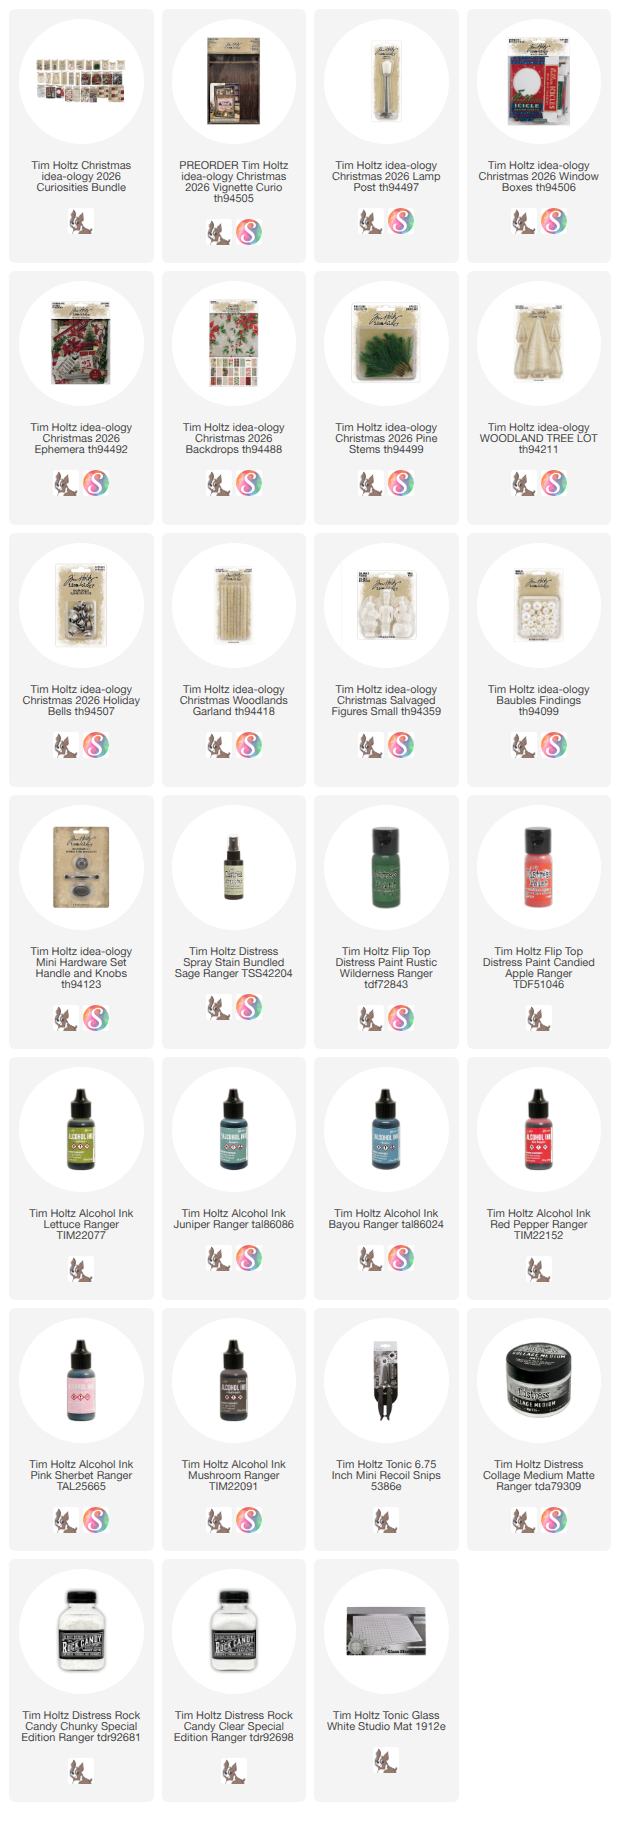
 Now add whatever you want! In the largest box I added a small tree and a small painted Salvaged Snowman. The calendar in the background is from the ephemera pack. I added two Mini Fasteners at the top and foam squares on the back to push it out from the back of the box. To fill the empty space, I painted a load of Holiday bells in Candied Apple and loaded them in. I love the big pile of red bells!
 On the second box, I just made it really simple by adding ephemera. The poinsettias have a couple small wood blocks on the back to push them forward in the box like they are floating. For the book piece, I covered it with Collage Medium on both sides and then just moulded it with my fingers till the pages were curved. I set it aside to dry while I worked on other things.


Once dry, I used hot glue to add a wood block to the inside of the box so I would have something for the book to rest on. Hot glue was added to the top of the block, then I just rested the book on top of it and held it in place till it cooled.
 Now the third box! This one was easy because I already had the Baubles colored and in my stash. I added them to the small box with hot glue and a bit of Glossy Accents. Once they were dry, I added the small banner that is in the new Ephemera pack (we added lots of swags and banners). It fit perfectly on the front of the small box!
 Now before we put everything together, we need a couple more additions.


Wreath: I used one idea-ology Garland to make the wreath. It has been sprayed with Bundled Sage Distress Spray Stain. More Baubles from my stash were added to the wreath with hot glue. The tiny bow is from Hobby Lobby.
 I painted the incredible new Lamp Post with Rustic Wilderness Distress Paint, then sanded it a bit with steel wool to age it just a bit. The wreath was added with hot glue. I will add a balloon light to the top so it will light up when the tab is pulled.
  And the trees.


Easy peasy. Two trees from the Woodland Tree Lot pack. Sprayed with Bundled Sage and dried. Bases painted with Candied Apple Distress Paint. Liquid Tinsel Tarnished added to the trees - this stuff is just magical! Instant vintage!
 Assembly:

Starting from the bottom, use Collage Medium to add your boxes to the Curio. I practiced where the boxes would go before I even started so this part is easy. You might notice that I used a nail to add a piece of ephemera to the background. I knew where it should be, so I nailed this in place before I started adding the boxes.
 Next is the small box and tree at the top.
 And then the Lamp Post.
 The last little detail is the handle that I painted black. The tiny tag comes from the Ephemera Pack (I need like 10 of these per pack). The added Pine Stem is so delicate that all I needed was a bit of the Liquid Tinsel on it's branches.
 Here are a few close-up shots.


See you back here tomorrow with my second Christmas make!
Now carry on,
paula



No comments:
Post a Comment