Hello friends,
I'm here with the second project made for the idea-ology Christmas LIVE. This tray was purposefully created with a subtle colors. I wanted to show that Christmas doesn't always have to be red and green. I wish the photo did the project justice because it is beautiful in person. Just a calm winter scene.
As always, we start by adding paper to the Vignette Tray. I LOVE this paper we created from a small cigar box that Tim purchased. I am sad that much of it got covered up by the windows, but still glad I used it. I cut thin strips of paper for the lip edge of the tray. You need to cut the paper 3/16th, which sounds hard but it wasn't...(
it's just the mark between 1/8 and 1/4"). I used a rotary cutter and ruler, but I'm sure you can use a paper trimmer. I'm just not that skilled with a paper trimmer, lol.
I cut my paper about 8" long - mostly because this part will not show behind the Vignette Box...but also to preserve what left of the paper for something else (
I told you I really liked it).
I covered the outside with more paper from the Backdrops paper pack. I didn't take a photo of the back but it is just a patchwork of papers.
Now the Vignette box. I liked this paper from the pack that has a winter scene and wanted to see if I could make it work to my advantage. Anyway, I followed the same process of adding the paper with Collage Medium, waiting for it to dry a bit, and then adding another layer over the top to seal.
Once I had the box covered, I added it to the Tray with Collage Medium and set it aside to dry.
So lets start on the pieces that will fill the tray. One large Salvaged Snowman.
Then a barrel. I had the idea to chop the bottom half off but I didn't have a Dremel Tool handy so I thought I'd just give it a go using a awl and hammer.
I did this on a self healing mat NOT on my glass Studio mat. Anyway, I just poked the awl into the barrel and hit it with the hammer. The side cracked and fell off and that was that. The tip of the awl was right where the sharp turn in the cut-out is.
I glued a very small piece of cotton batting to the top Barrel. Then I glued the ice skates to the top. Once they were secure, I added Glossy Accents and a Rock Candy mix to make it fit in with the scene.
I glued the Snowman and the broken Barrel to the Tray, then started on the sign and tree, This small sign is in the new Baseboards pack and it is just charming. I used hot glue to adhere the sign post to a small piece of chipboard so it would stand on it own. The base was then covered with more cotton batting as is the tree base.
Both pieces were added to the scene.
More cotton batting was added as a base for a snowy look.
Then colored baubles were added to fill the Barrel.
On the right, I fluffed up the cotton batting and added dabs of Collage Medium.
The Rock Candy mix was sprinkled on top to add to the sparkly snow. You don't have to add as much batting as I did. I was going for a little snowy mound!
There are metallic or foiled pages inside the new Sticker Books. This book is called Traditional and the last two pages are silver and gold. I cut out part of the silver stars so I could use Mushroom Alcohol Ink over the silver to age them. It is very subtle but I still think it's worth the trouble.
I added the stars to the background between the trees.
I also added another tiny tree in an empty spot between the Snowman and the Barrel.
Top Compartment
I added a transparency to the back of the large window. The transparencies are part of the Baseboard pack and come shaped like the window which is very convenient.
You could leave the window as is and you would be able to see into the background, however I decided to cut Mirrored the same shape as the windows. I thought the Mirrored would add additional light reflection. You could also use the mirrored as is, but I decided to take it a step further and add Mushroom Alcohol Ink with added Alloy in Gilded to break up the Mushroom. You will need to also add Blending Solution to the mix to make the Alloy stable. This is one of those techniques that is challenging because you can never replicate it exactly. But don't let at stop you! It is fun to mix everything and see what happens!
I wanted the Mirrored to sit away from the window transparency so I added 3D Foam Squares between the transparency and the Mirrored. I love that it looks like old mercury glass.
I added the windows to the tray with Collage Medium. There were so many angles that would work so it really depends on what you are putting in front of them.
I also added the bold, Merry Christmas banner at the top. It just fit perfectly in the tray! I painted small blocks in black to raise up the banner so it sits quite forward from the back of the tray.
I'm not sure if you can see it, but I used Glossy Accents over the letters of the banner and sprinkled it with Rock Candy.
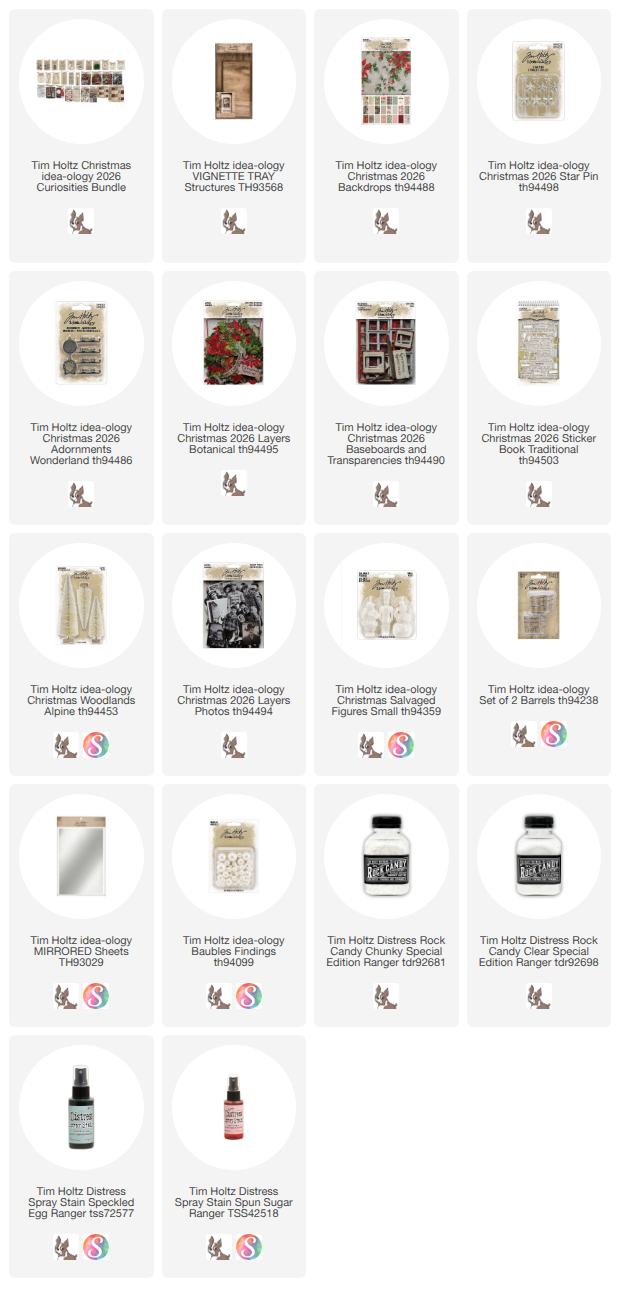
Next up are the trees. I had previously sprayed the trees wit Spun Sugar and Speckled Egg Distress Spray Stain. Once dry, I added the Liquid Tinsel. I topped it off with a new Star Pin. I wanted these Star Pins for so long (like 10 years) and we finally were able to make them! I'm so happy!
I've added this new couple from the pack of Paper Dolls. I picked them so I could use the new tiny holly pieces from the Layers Botanical pack. I've added the holly to her hat and his coat. Again, something I have wanted for so long and we were able to add them to the pack. So, if you see these tiny little holly pieces, don't throw them away!!
I added more cotton batting and snow under foot so it mixes with the trees on the left.
I kept the details simple and just added some small baubles under the tree.
Now carry on,
paula


 You could leave the window as is and you would be able to see into the background, however I decided to cut Mirrored the same shape as the windows. I thought the Mirrored would add additional light reflection. You could also use the mirrored as is, but I decided to take it a step further and add Mushroom Alcohol Ink with added Alloy in Gilded to break up the Mushroom. You will need to also add Blending Solution to the mix to make the Alloy stable. This is one of those techniques that is challenging because you can never replicate it exactly. But don't let at stop you! It is fun to mix everything and see what happens!
 I wanted the Mirrored to sit away from the window transparency so I added 3D Foam Squares between the transparency and the Mirrored. I love that it looks like old mercury glass.
 I added the windows to the tray with Collage Medium. There were so many angles that would work so it really depends on what you are putting in front of them.


 I'm not sure if you can see it, but I used Glossy Accents over the letters of the banner and sprinkled it with Rock Candy.
 Next up are the trees. I had previously sprayed the trees wit Spun Sugar and Speckled Egg Distress Spray Stain. Once dry, I added the Liquid Tinsel. I topped it off with a new Star Pin. I wanted these Star Pins for so long (like 10 years) and we finally were able to make them! I'm so happy!
 I've added this new couple from the pack of Paper Dolls. I picked them so I could use the new tiny holly pieces from the Layers Botanical pack. I've added the holly to her hat and his coat. Again, something I have wanted for so long and we were able to add them to the pack. So, if you see these tiny little holly pieces, don't throw them away!!
 I added more cotton batting and snow under foot so it mixes with the trees on the left.
 I kept the details simple and just added some small baubles under the tree.


No comments:
Post a Comment