Hello Friends,
Great to be here today to talk about the Eclectic Elements fabric line, Laboratory! The YouTube live had so many samples for all levels of sewers. It was so inspiring to see all the makes up close and have Tim talk about each of them. I'm starting off sharing how I created the small banner. This one just came to me and I knew I had to make it. Follow along and I'll show you how I created it.

I cut a matching piece of Pellon Fusible Fleece 987F that I ironed on to one side of the fabric.  To quilt the front of the banner, I use a cheap Pilot "FriXion" erasable pen (you can buy it at any Walmart or Target office supply section) to mark my stitching lines. I love this pen for marking fabric because it just works so easily. Absolutely worth the $2 it cost.
 Once marked. I just sewed right over the lines until I finish the pattern.
 Then just iron over the pattern and the pen marking disappears like magic.
 And just like that the pattern is done.
 I added the fabric back on the banner, then worked on binding the fabric piece together with the purple Tapestry fabric. I'm not going to explain how to do binding here, as there are so many YouTube videos that show and explain how to do it. I will link to the video I always go to when I need a refresh on binding. I will say, once you try this method, you'll never do it another way. Here is the link... Brilliant Machine Binding Method
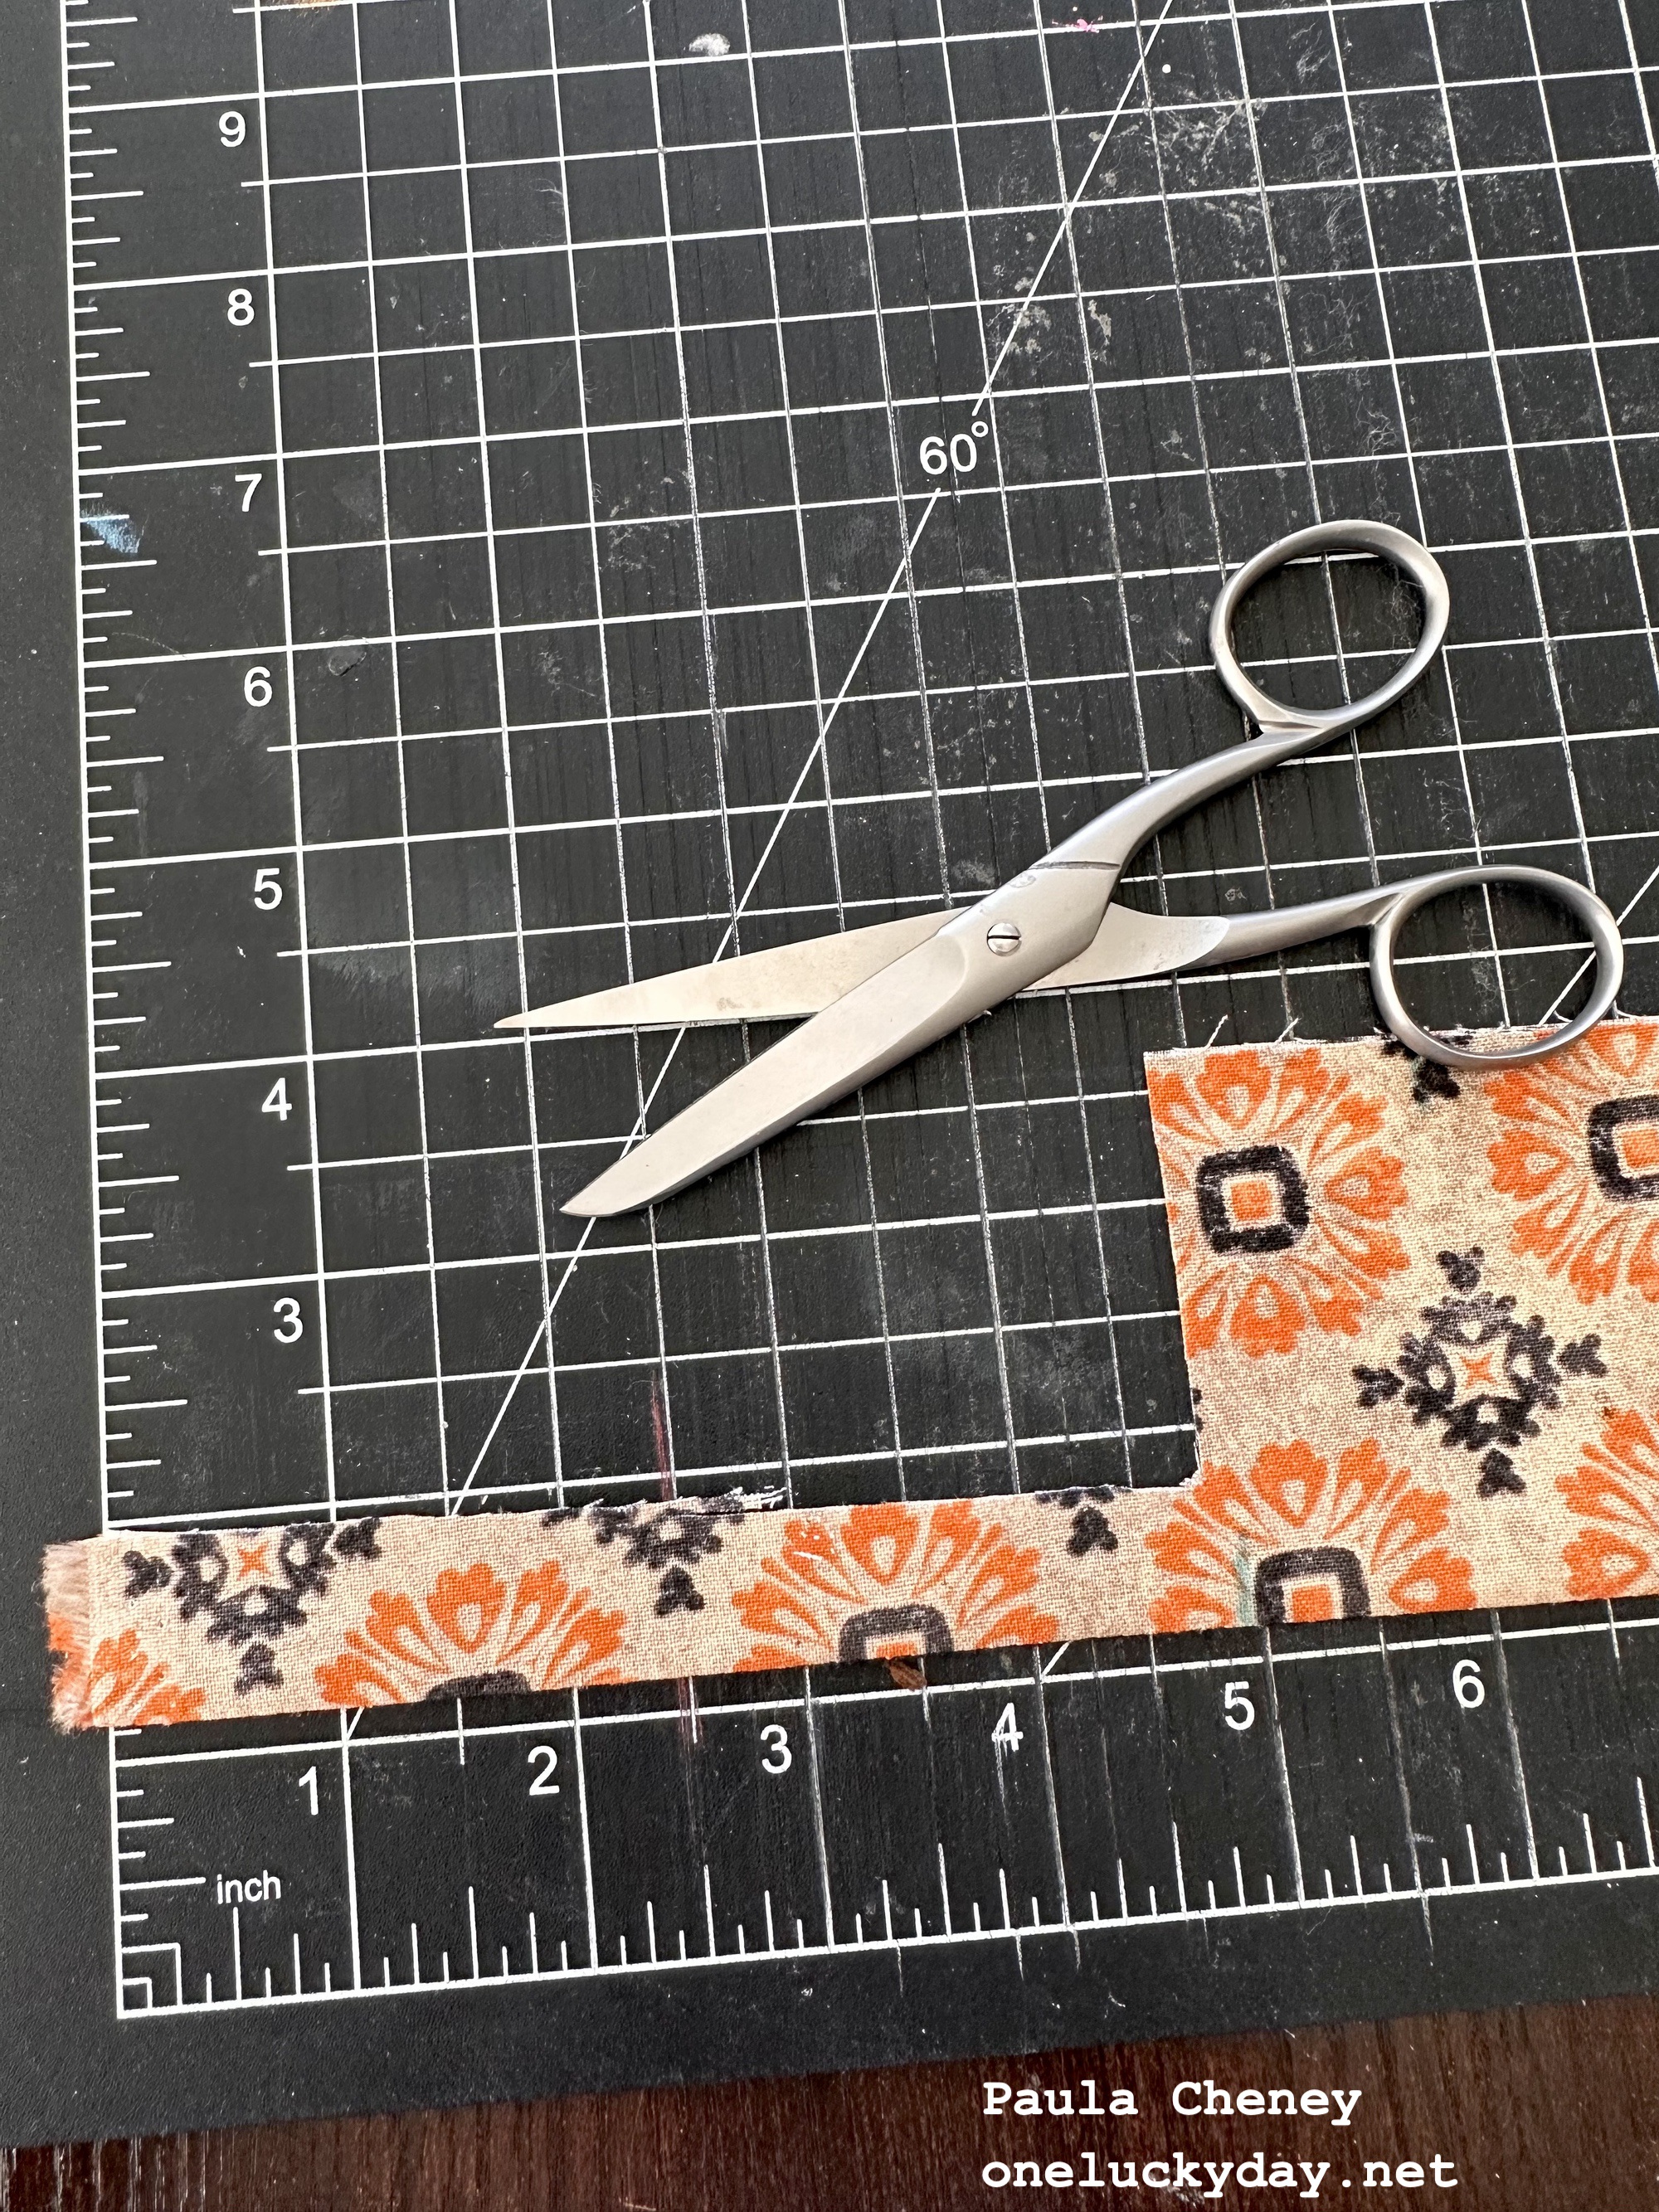
 Cut 2 1/2" strips of Stiffened Felt, fabric and Heat n' Bond.
 Next, iron the Fabric onto the Heat n' Bond/Felt. Basically you are making a sandwich of Heat n' Bond with felt on one side, fabric on the other.


The Letters
To make the letters, you need two things along with the Sizzix Alphanumeric Bulletin die. Heat n' Bond + a Stiffened Felt Sheet. I found the 12 x 18" Stiffened Felt at Hobby Lobby for .99 cents a sheet. You only have to touch it to know why it's called a Stiffened Felt Sheet and not just felt. If you are at Hobby Lobby it is in racks next to the regular craft felt.


And yes, that is a craft sheet protecting my ironing board cover from the Heat n' Bond. One of those "just in case" scenarios.


I found that I could get a cleaner cut when I cut small groups of letters at time, rather than 10 or 12 letters on a large sheet (and it was much easier to handle). So I cut my 2 1/2" strip into 4" pieces - I could run 4 letters at a time. Every single letter came out of the die with a perfect cut. I discarded the thin outside border (that is also cut by the die), but you could save them for use on another project if you wish. for this project I am just using the letters seen at the bottom.
 After I cut out all the purple letters that I needed. I went back and cut the same exact letters in black felt, but this time I only used the outside edge (the letters were saved for another project). That black edge was added to each purple letter.
 I added Fabric Glue with a small brush, then added each letter to the banner. I like using the fabric glue because I could easily control where I placed each letter and adjust as necessary.
 As I added each letter, I used an old brush to wipe away any glue that oozed out. Fabric glue dries clear so there was never a hint of any mess in the end.
 I added 8mm grommets that I bought at Hobby Lobby. They come in a package with the tool, which makes them very east to use. All you need is a hammer.


 The letters are not hard, but they take a bit of time. I think it was worth it to get the final result!
Now carry on,
paula

I used the Alphanumeric Bulletin die for this project since the letters are the perfect size. This die also comes with that all important border piece that really completes each letter.

I found that I could get a cleaner cut when I cut small groups of letters at time, rather than 10 or 12 letters on a large sheet (and it was much easier to handle). So I cut my 2 1/2" strip into 4" pieces - I could run 4 letters at a time. Every single letter came out of the die with a perfect cut.


I laid out all the letters on the banner (no glue) just to get the basic spacing. Right now the black outline is still a bit wobbly but once glued down, you will never detect that the purple letter and the black border are two separate pieces.


You can see here the two sides of the grommet and the tool.
1. Mark where you want the grommet to go.
2. punch a hole in the fabric to create a hole for the grommet.
3. Add the large side of the grommet to the hole in the fabric.
4. Add the small side of the grommet on the back.
5. Place on the black portion of the tool (it fits snugly).
6. Place the silver part of the tool on top and hit it with the hammer to close up the grommet.
It's just that easy. You can always practice on a scrap before setting the real thing.

I added chain, held on with idea-ology Swivel Clasps so my banner can hang on my door. And that's it!
Now carry on,
paula