
Happy to be here today sharing my Vignette Divided Drawer. I don't normally go for "purple" but the Transparency with the flower was the catalyst for this project and it just lead me that direction. Lets get started!

I first adhered paper to both the inside and outside of the Divided Drawer. I used paper from Backdrops 4 (the neutral pack) because I needed a neutral base for the "purple" story. It takes a bit of time to add all the paper pieces, but once it's done the rest was easy to fill in. I also think the choice of the green Trim Tape was good to offset the purple. I've never used the green tape in the Trim pack before, but once it was on, I knew it was the perfect choice.
*I previously drilled a hole for the Tiny Lights, that will be added to the center section.


I added Large Fasteners to the sides of the box that I had dented with the new Texture Hammer. I cut the brad "legs" off each Large Fastener before denting and adding white paint - then I just used Collage medium to glue each metal Fastener to the box, mimicking rivets. I added 3 Large Fasteners to each side of the Divided Drawer.


I added a Quote Chip Labels to a metal Label Frame. The oval size worked perfectly on the top of the Divided Drawer. I adhered it with Collage Medium and let it sit for 30 minutes before laying the box down. While this was drying, I worked on coloring the Photomatic and doing the stitching with embroidery floss.

Distress Crayons were used to color the Photomatic: Peeled Paint, Uncharted Mariner for the background and Villainous Potion for her dress.

EMBROIDERY
I used a sharp needle and embroidery floss to stitch three french knots and two small leaves, as a corsage on her lapel. The photos are easy to stitch through and the texture is a fun addition. Just remember, a sharp needle is a must.
TIP: to get the photo to appear to be freestanding, I added a small wood block to the back.
FIGURE STAND
I glued the star to the stand. Once secure, I wiped white paint over the metal and let that dry. A few pounces of Mushroom Alcohol Ink gave the metal a good Patina, making it look much older than it is. The words LUCKY STAR came from the Clippings Sticker book. The stand was secured to the box with Collage Medium.
*Figure Stands - this is the one item that is still on pre-order. Hopefully they will be in shortly!
PEARLS
The pearls are vintage (from an old necklace). I painted Collage Medium onto the surface of the box and just poured the pearls into the box to see which ones stayed put. Once I let them dry, I banged the box on table to see if any would come loose - about 4 rolled to the back. I used tweezers to grab the loose ones and glued each of them back in place with a little more Collage Medium.
*remember, Collage Medium dries clear and shrinks around the item being glued.

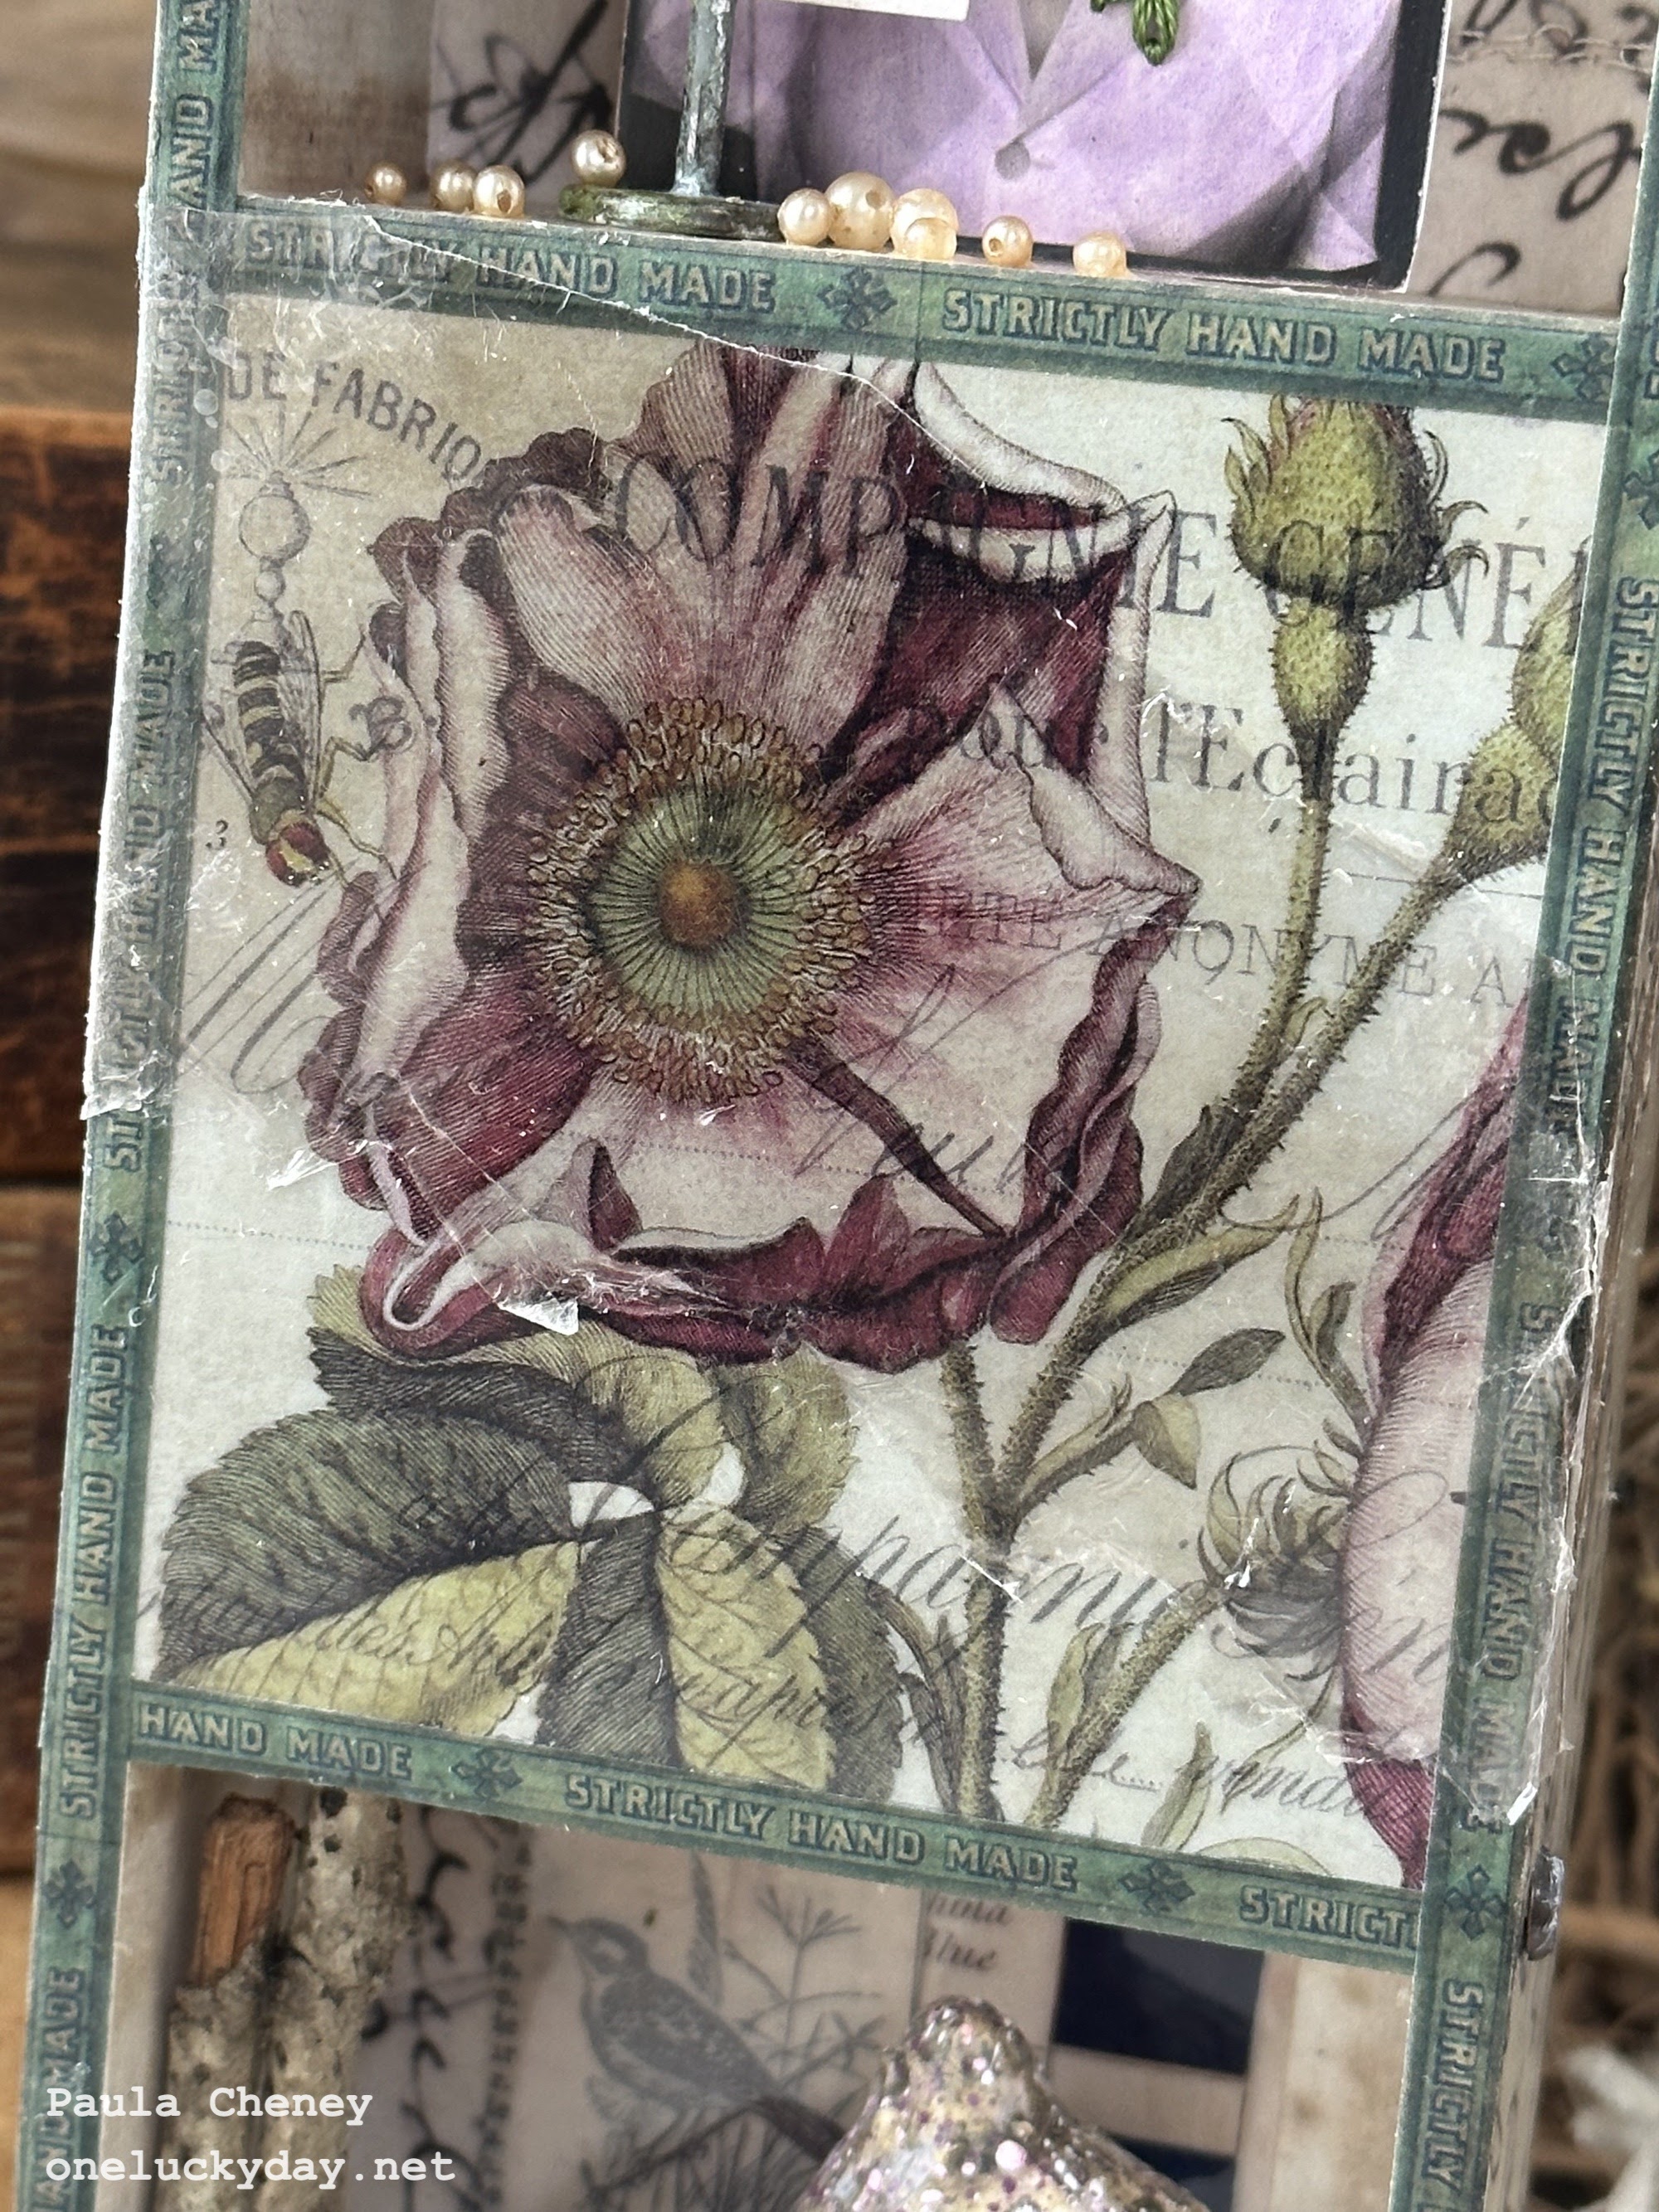
TRANSPARENCY
I cut the flower transparency to fit the center compartment (where I had already added the Tiny Lights). I used 1/4" Scor-tape to adhere the Transparency to the wood box. The transparencies are thick and hold up really well over the open space.
After the Trim Tape is added to the box, the transparency will be enclosed on all sides. I added a piece of mica over the transparency (collage medium just on the edges) to add texture, but that part is optional.
For the bottom section, I wanted to keep the nature theme going. I started with the background, adding ephemera pieces from the Transparent Things 2 pack. I used Scor-Tape to add them to the back of the box before adding the Barrel and Toadstools.

You might notice I covered the cap of each Toadstool with vintage paper from an old book. I coated the Toadstool cap with Collage Medium, then wrapped strips of book paper over the top till covered, adding more Collage Medium over the top. Dry with a heat tool before adding the paint splatters (Villainous Potion and Picket Fence). I also glued moss up inside the Toadstool so it hangs down one side.

The Barrel is just glued into the box with Collage Medium (a nice big dollop!). That much Collage Medium takes longer to dry, but once it is dry, it's like cement and will not move.
I added the moss and then some Bouquet flowers that were sprayed with Shaded Lilac Distress Spray.
One of the new metal leaves (Foliage Adornments) was added at the bottom. I wiped Rustic Wilderness Distress Paint over the leaves before adding to the barrel with Collage Medium.


Now carry on,

I hope you liked the project today. I love the spring colors and the nature theme. It's hard to photograph with the Tiny Lights on (in the center section) but I like the way it looks in person.
paula

The toadstools are amazing. Not sure I have the ability to copy, but I'm certainly going to try. I love them.
ReplyDeleteI love it; The purple, the toadstools and the papers that you've used.
ReplyDeletegr. Yvonne