
Hello friends,
Hope you week is going well! We have been having lots of rain here in California, but no flooding in my area, so that is a plus! We have a break in the weather toady with just a bit of blue sky so I might even venture out, even if it's just to the grocery store.
I'm really here to share a simple project...one of my favorites actually. I think its all the stitching that I love so much.

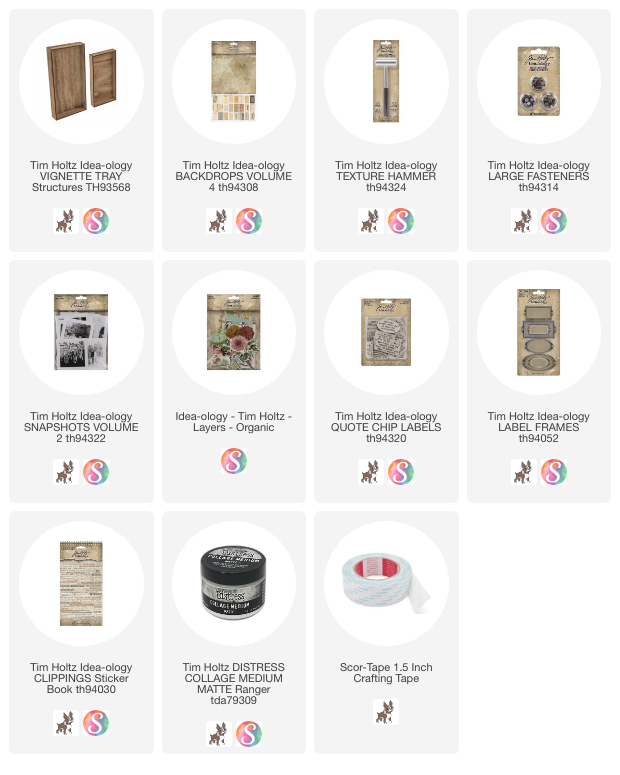
I began by cutting many pieces of Backdrops 4 paper (that is the new neutral pack that is just that...all neutral papers). The papers work seamlessly together, so this was an easy task. I cut the strips anywhere from a 1/2" to 3/4" which I thought best for this size project. I also used both the front and back of each paper.
I then cut a base paper the size I needed for a small Vignette Tray and used a tape runner to add all the strips to it. Once it was complete, I went to the sewing machine to do all the stitching, leaving the threads long, just in case I wanted to use them in the final piece.


Once I had my Snapshot ready, I used foam tape to add the photo over one of the backgrounds from the Layers Organic pack. The clouds are the perfect scale for the scene! Also having the Snapshot raised over the background gives it a great effect, like a diorama.
The last step was to cut a circle (always harder than it seems) out of metallic kraft cardstock that I had sanded just a bit.
 I slipped the "sun" behind the tree and house. A little Collage Medium on the back keeps it in place.
 I used the wide Scor-Tape to add the Snapshot to the tray, covering the black hole, lol!


 The word "HOME" came from the Clippings Sticker Book.

now carry on,
paula


The rest of the photos below were taken once the project was completed, but there are details that I did not take in-progress photos of, like the Large Fasteners and Label Frames seen below.
I had previously added the cheesecloth, but the Label Frame placement landed right on top of one...so I just peeled it off the tray and added the Label Frame with the Quote Chip. I love that the Label Frames fit all the sizes and shapes of the new Quote Chips Labels!

I added the bits of cheesecloth to the tray in places where I wanted to add the new Large Fasteners. Of course I had to use the new Texture Hammer on the Large Fasteners to dent them (I love the hammering part)! I wiped a little white paint on them just so you could see the indentations.
NOTE: Large Fasteners are brads, which means they have "legs" that normally go through holes in chipboard or paper. Because I wanted to use them on the Vignette Tray (which is wood), I cut the "legs" off and set the tops in Collage Medium. Once dry, I pounded them with the Texture Hammer. Okay, In all honesty, I did not wait till the glue was dry, so I ended up with a few across the room, but you can make that call for yourself!


now carry on,
paula
I love how you combined photos ... what an amazing idea. Thank you for sharing another beautiful project.
ReplyDelete