
Hello Friends,
Happy to be here today to begin sharing the first of three projects I created for the new Distress Color. This is a color I have been waiting for all year! I knew this color was missing from the palette of Distress and I am so happy it is here to fill the void! If you missed Tim's reveal of the new color, you can watch it HERE (swatches, samples and all).Saltwater Taffy

Lets get started with the project for today!
Start by coloring at least five #8 tags. I always like to color a few extra so I have a choice when putting the tags together. The extra can always be stashed away for later.
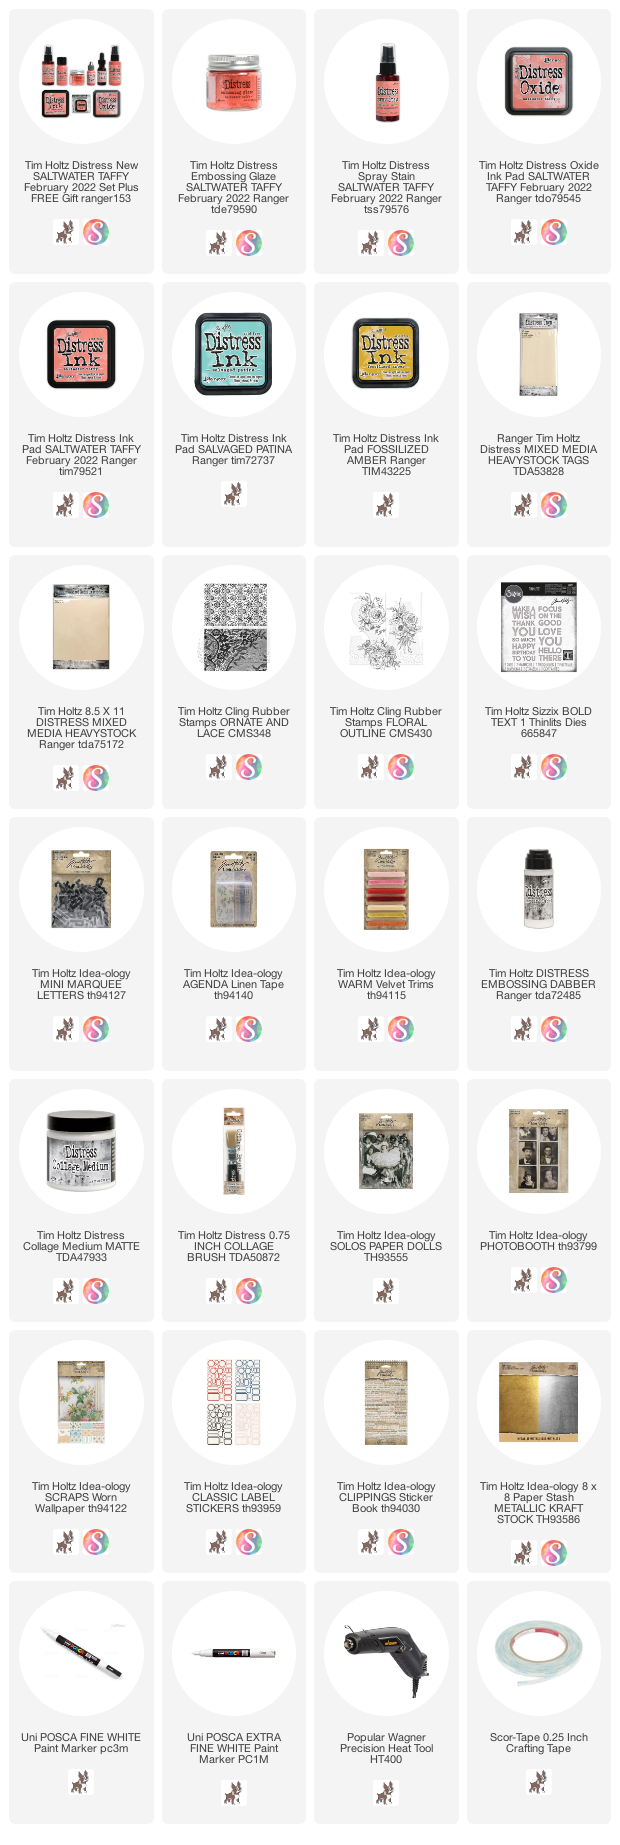
I use the Ranger Distress Heavystock tags that hold up to most wet mediums like ink and glue. My colors of choice today are Salvaged Patina, Saltwater Taffy and Fossilized Amber but many combinations will work for the tags. I have to say, this combination is one of my absolute favorites.


NOTE: My sewing machine sews great on the top, but the back always looks terrible (need to have my machine serviced) so I know full well that I will be covering the sewing on the back with linen tape. I'll show that part a little bit later.
 Next, I cut and scored two pieces of Mixed Media Heavystock - you can make these any size you wish and they do not have to be even (meaning the fold does not have to be in the center). Once cut, I stamped the Ornate background stamp using Saltwater Taffy Oxide Ink and let it dry completely.
 I stitched the edges of the insert, then stitched the insert directly into the seam (if you are a sewer, "stitch in the ditch" is the correct term). I made two inserts, stitching them between tags 2-3 and tags 4-5. If you are confused where to stitch the inserts in, fold your book up and the book will let you know, since they have to be sewn in the "valley" not the "mountain".
 So here you go. There is the paper strip (on the left) I used to connect the tags - bad stitching and all. The Linen Tape on the right, wide enough to cover the paper and the stitching, giving me a cleaned up back as well as supporting the fold.
 Once you have all your tags together, you can add any embellishments or words you wish. You can use family photos or Paper Dolls like I did. Ephemera, letters, numbers, Remnant Rubs, stickers, really anything!
To keep the tag book closed, I wrapped rust colored idea-ology Velvet Ribbon around the book. Here is the trick to making the knot smaller when using thick ribbon:
- Wrap ribbon around book so that it overlaps about 1". Cut ribbon.
- Use a small amount of hot glue to connect the overlapped ribbon. You should have created a "band" that slips off and on the book with ease.
- Cut another piece of ribbon about 3" long.
- Slip the 3" piece under the band and tie a knot. Trim ends.
And there you have it. You get a smaller knot that is easy to control.


I used 1/4" Scor-tape to keep the letters in place, then pressed them onto the insert. You can sew across the top like I did or leave them as is.

Back of the insert.
Ephemera + Worn Wallpaper floral


now carry on,
paula
Ooooh! Ahhhh! Beautiful! This is another that I will be saving for ideas for future projects. I love that I can customize andy of your makes to suit the person I will be giving it to!
ReplyDeleteI absolutely love this! It's gorgeous. Thanks for going to the trouble of taking photos and documenting how you made it. I love the colour combination and it is so intricate!
ReplyDeleteStitching the the tags onto the linen is brilliant. I too have a machine that leaves the back a little wonky...lol. We should service them together. LOL! So gorgeous Paula, and the colors perfection!
ReplyDelete