Showing posts with label sizzix skeleton leaves. Show all posts

Saturday, October 5, 2024

New Distress Spritz!

Hello friends,

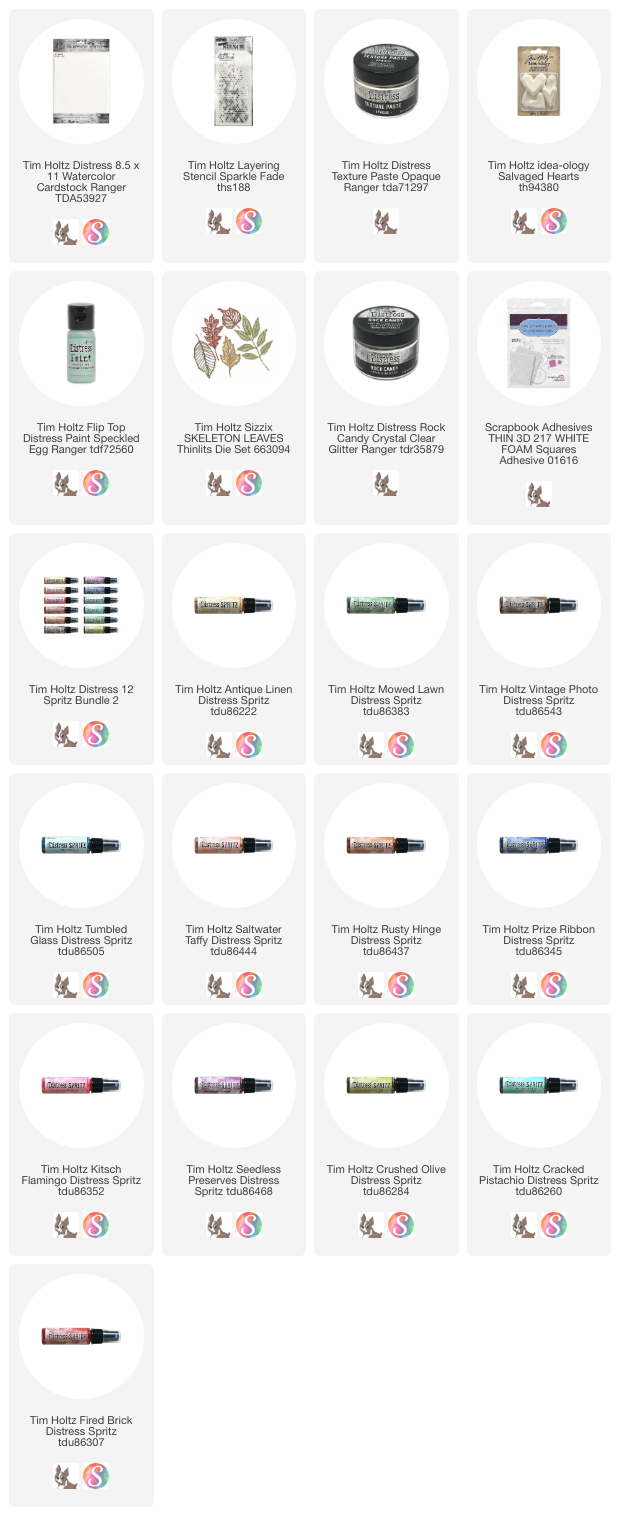
Today we are celebrating 12 new colors of Distress Spritz! 
I think Distress Spritz always looks best when sprayed over the matching Distress Ink color so that is what I have done here, creating a card using 5 of the new colors over matching Distress Ink.

1. Cut a piece of Distress Watercolor Cardstock for the card front.

2. Use Distress Texture Paste Opaque and the new Christmas stencil, "Sparkle Fade" to add texture to the front of the card. Set aside to dry.

3. Gather the matching Distress Ink pad for each color you will be adding to your card front.

4. Once the Texture Paste is fully dry, use a Blending Toll to add ink to the card front. In my card, Kitsch Flamingo is on the bottom left, Saltwater Taffy on the right. Crushed Olive (acting as a yellow tone here)
is is the middle and reaches across the card. Then Cracked Pistachio is on the top right, with Tumbled Glass on the top left. All five colors work together to create this great rainbow of sorts.

5. Once the Distress Ink has been added, Shake the Spritz up and splatter over the matching color. Add enough so the colors can mix on the edges and blend with the next.  Dry with a heat tool.

6. For the focal point, I cut a large postage stamp using the die that came with the Tim Holtz STAMPtember release (sold out). If you don't have that set, cut a piece of Watercolor Cardstock 1 3/4 x 2". Mask off the edges and color the center with Antique Linen Distress Ink. While still masked off, spray over the ink with Antique Linen Spritz and dry with a heat tool. Remove tape from the edges to reveal the small white edge of the Cardstock.

7. Add die cut letters, Love You. NOTE: Mine are 3/4" letters from the old Sizzix Alphanumeric die set. Add the letters to the Cardstock with Collage Medium. When secure, add more Collage Medium over the top of each letter and sprinkle Distress Rock Candy over the top. Shake off the excess. Add thin foam squares to the back of the word block (for use later).

8. Repeat the Rock Candy over the Skeleton Leaves.

9. Paint a small Salvaged Heart with Speckled Egg Distress Paint. Let dry completely. Spray with Tumbled Glass Spritz, leaving a bit of of puddle in the center. Use a heat tool to start the drying process, then set aside to dry completely. The Spritz will dry over the surface of the Salvaged Heart.

10. Wrap a thin sting around the card front and tie a bow. Add the word block (with thin foam squares), then tuck the leaves under the raised word block. Add Salvaged Heart.


It is hard to see the great shine that the Spritz brings to the card front (the pictures sure do not do it justice), but you can see how the colors meld together in and around the texture paste. I love that part. These 12 new colors are a fun addition to the 12 that were released earlier in the year. I look forward to using them in more things I create...especially thinking of using them in fall makes coming in October and November.

Now carry on,
paula

Wednesday, February 10, 2021

Kitsch Flamingo Tray

Hello friends,

Glad to be here today sharing another of my Kitsch Flamingo projects.  This one was my favorite because the color story is right in my wheelhouse.  Lets get started!
I painted the outside of the large Vignette Tray with Picket Fence Distress Paint. Once dry, I sanded it down and stamped the edges with the Distressed Damask stamp using Hickory Smoke Archival Ink. I like that the stamp is "distressed" looking so it fits just right with the sanded surface.
I went on to add patterned paper from the Memoranda Paper Pad to the inside of the tray, finishing it off with the silver pinked edged Trim Tape.  This silver tape was part of the Christmas release but it is my favorite tape to use on edges.  I also like how the hint of silver goes with the Pocket Watch focal point .
To begin any collage you just need a pile of junk and paper.  I gathered some things I thought would go with the Kitsch Flamingo color...things in taupe, grey, green, silver.  I tried a few different Layers pieces before I settled on the map in the center from the Remnants Layers pack.  The green in the map went with the green of the Salvaged Tag, which led to the Worn Wallpaper pieces (with bits of all the colors used) and that really finished the whole thing off.
I really started with the #8 etcetera tag in the center.  I like the use of the hardboard tag because it was a great way to 'hold up" the collage.  It is on a couple wood blocks which allows you to not only build on top of it, but slip pieces underneath it with ease.
I used collage medium to adhere White Heavystock to the #8 tag.  Then using embossing ink, stamped directly on the tag and added Embossing Glaze in Kitsch Flamingo.  Once the Glaze was melted, the color is almost neon, the perfect pop to all the neutrals!  I gave the tag a quick spray of Antique Linen Distress Spray Stain, dabbed it off and quickly dried it with a heat tool.
The bow was made using Mummy Cloth (a Halloween release) that I use year round!  Perfect with this project.  All I had to do was spray a little Walnut Stain and water over the top and dry.  Then tie on a messy bow.
The center Pocket Watch has a Photobooth photo inside.  I cut out the people (who came tinted) and added them to the Pocket Watch with some ephemera in the background.  The number 1941 is from the Remnant Rubs sheet.  It's a small number but I love the added detail.
I cut a couple of the Skeleton Leaves with the White Heavystock, then smooshed them into a mix of Distress Spray Stain (Kitsch Flamingo, Speckled Egg and a hint of Antique Linen).  I kept smooshing and drying until I got the result I wanted.  Once dry, I gave the leaves a coat of Collage Medium on both the front and the back and let them dry. This helps to strengthen the paper and keep the shape of the leaves.  
I added more Collage Medium to the tip of each leaf and dipped in right into the jar of Vintage Platinum Glitter.  I just love that gold on the tips!
I used one stem of leaves on the left side, then just two single leaves from the second set I cut on the right.
The gold metallic Stencil Chip 2 is a great way to repeat the gold of the glitter on the leaves.  I also added a Tiny Clip to the top of the Stencil Chip. 
You can see in this photo the ripped Worn Wallpaper piece.  The flowers are the perfect combo of colors and really added to the collage.  Two pieces were used, this one seen here and another on the left side.  They are small but like I said before, they really completed the collage for me because of the combo of colors.

I love this tray not only because of the color story but the tiny details, like a bit of glitter, a tiny clip, and a piece of ripped wallpaper that make a bright color like Kitsch Flamingo really sing!

Now back to work on lots of behind the scene stuff for the new idea-ology release taking place very soon.  

now carry on,
paula

Tuesday, September 1, 2020

Fall Framed Panel

 Hello friends!

So happy to be here today to share another project I created with Crackling Campfire!  One thing I love about Crackling Campfire is how it pairs so beautifully with my favorite Speckled Egg.  It's like they were meant to be together!  Todays project spotlight features a grungy woodgrain background and leaves cut from a few Sizzix Thinlit dies.

Lets get started!

I'm using a Framed Panel for the substrate.  To start I painted the Frame itself with Speckled Egg Distress Paint and let it dry. Once completely dry, I wiped Texture Paste Crackle on the corners and let it dry for at least 30 minutes.  Set aside.

For the background of the panel:
  1. Adhere Woodgrain paper to the panel back with Collage Medium.
  2. Paint the surface of the Woodgrain with Distress Paint Speckled Egg.  NOTE: I painted it on, then wiped over it with a wet wipe to thin out the color and let more of the grain show through.  
  3. Once dry, rub Pumice Stone ink pad over the surface to bring up the grain pattern.  
  4. Using your finger, wipe on Texture Paste Crackle in random spots.  Immediately lay a stencil next to the Texture Paste then using a Palette Knife add more Crackle Paste through the stencil.  Repeat.  Then set aside to dry for at least 30 minutes.
  5. Using a damp paint brush, add Distress Crayons Walnut Stain and Peeled Paint over the Texture Paste to bring out the crackle finish.  Dab away any excess with a wet wipe.  I did the same technique to the Frame that had been set aside to dry.
Add the Framed Panel over the background with Collage Medium.  Set aside to dry.
Color a few Mixed Media Heavystock cards with Distress Spray Stain.  I used Crackling Campfire, Speckled Egg and Fossilized Amber, plus Oxide Spray Speckled Egg.
Cut out different shapes and sizes of leaves using the Skeleton Leaves and Fall Foliage Thinlits.
Layer the background of the panel with:
Salvaged Tag (string added) 
Lace Baseboard Frame (rubbed with Walnut Stain Distress Crayon)
Clock from Urban Layers pack (Evergreen Bough Distress Crayon rubbed in the middle of the clock)
NOTE:  This photo shows a Label Frame that I was testing...so many choices!  In the end I decided to use the Quote Chip instead.
Add the first layer of leaves to the collage.  I cut two of the same leave shape so it could continue down below the words that will be added next.
I love the sentiment on this Quote chip! I rubbed it with Walnut Stain crayon, then cut the right end like a flag and added the Tiny Clip on the left end.  It was added to the collage with 3D Foam Squares.
I added a few pieces of ephemera from the Field Notes Ephemera Pack plus the small leaves to fill in.  The 82 strip is from Layers Urban (same as the clock).  I colored the little bird from Field Notes with Distress Crayons and a paint brush.

You can see the layers of the leaves and the Baseboard Frame.  I used 3D Foam squares behind some of the leaves for depth.
I love the way the Framed Panel turned out.  Perfect for a Fall display.


I also love the leaves in the piece and it couldn't be any easier to make them using the papers colored with ink.  I sure hope you will try it.
Now carry on,
paula