
I have talked a lot about Distress Crayons on this blog. However, during Tims live demo on Facebook (link at the bottom), I could see in the comments, many people asking how to use them to color Paper Dolls. So I'm going to cover the basics here and add links at the bottom to a few past projects that will show further use with photos.
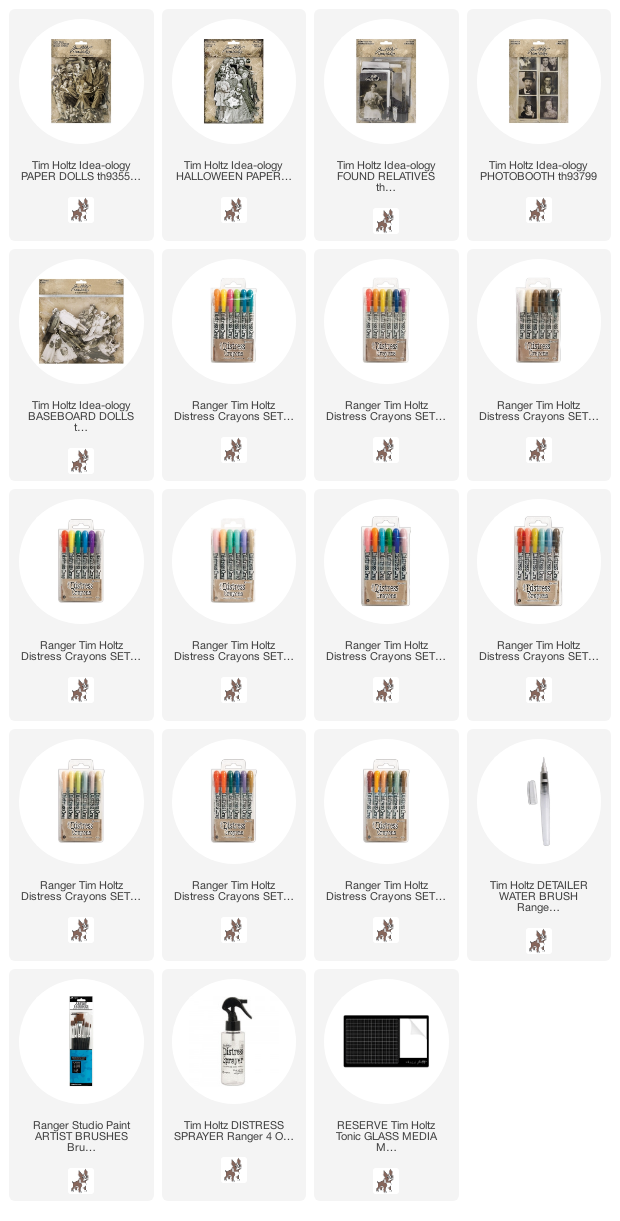
There are actually four products in the idea-ology line with photos:
Paper Dolls - slick cardstock weight paper, people are cut out and always have feet although they might be sitting or standing. There are repeats of some people in different sizes.
Found Relatives - slick cardstock weight paper, comes in a pack with 3 sizes of cards (none of the cards are the same). The Found Relative I am using today is the largest card.
Photobooth - each photo is 1 3/4 x 2" and come in strips of three. The photos can easily be cut apart.
Baseboard Dolls - like Paper Dolls but printed on heavy weight chipboard. These can easily stand on their own with just a bit of glue.
Each of these photo products are made from the same slick surface
which is perfect for use with Distress Crayons.
I work on a Glass Media Mat which I love but a craft sheet will work too. I like to work on the white pallet portion of the mat because you can see true color when you scribble the crayon onto the surface. You can use whatever colors you have, there is no right or wrong. Sometimes colors will surprise you since they can appear different when used over the lighter or darker portion of the card.
I 'm starting with the background here. I find that for darker areas, whether it's a background or a dark suit or coat it's best to scribble the crayon directly onto the card.

You might notice there is a small flat brush in the photo. I keep this brush on hand to pull away any crayon that goes over the line, say onto her face, her clothes or skin. The thin flat bristles will pull it away as long as the brush is damp. If you do not have a brush such as this, you can use a cotton swab, it is just not quite as precise.

So to start, pick a few colors of Crayon and scribble them onto the Glass Mat. My favorites to use are Aged Mahogany and Peeled Paint and then I throw in a blue like Stormy Sky or a gold like Fossilized Amber. It very easy to pick up the crayon with just a damp water brush and dot the area of the flowers. I usually start with the strongest color (Aged Mahogany in this case), leaving room for more colors, then Peeled Paint for the leaves, which are still just dots for the most part.
Take notice of the swatches of crayon. You can see where I have picked up the color with a swipe of the brush. I only needed a damp brush to pick it up. If you add too much water, the crayon can become frothy/bubbly and that's never good so wipe it up, move to a dry area on the mat and scribble again. No harm in starting over.


Did you notice that I forgot to color the right side under her arm in Stormy Sky? Guess I better do that now.


So here is what she looks like after I rubbed the two colors together.


You might be asking, is she going to 'seal' the crayon color? First off, I find that the crayon sets in place and is very difficult to rub off the longer you leave it. If fact the only way to remove it, is to physically rub it with a wet wipe. So yes, it is still water reactive so I don't take it out in the rain or "lick it" as Tim says. My projects have gone with me on teaching visits and to trade shows and I have never had to repair a photo that was damaged because of not sealing it. Not once.
That being said, if you really want to seal it for your peace of mind, I would use a spray fixative that you can find at any craft store. Just a light spray once or twice over the top, not too close to the surface will do you.
Thought maybe you might like to see some other examples of Distress Crayons coloring.
The post shows creating pattern on a dress. Remember the Detailer Brush is your friend for this one. A color wash for the background. Let it dry, then start dotting over the top. That can make it look like a watercolor pattern.
Mowed lawn, Aged Mahogany, Faded Jeans

This post shows crayon layering but using only one color. It can be done by letting the color dry between layers (just for a few minutes) and then adding layers of color on top. I like to add the second round of color to enhance ruffles or lace or just add shadows for depth.
Worn Lipstick for her dress, Fossilized Amber for the flowers.

And another with a two color mix of green and blue. FYI: The girl with the rabbit is from the 2019 Halloween Paper Dolls pack.
Peeled Paint and Stormy Sky

If you haven't had a chance to watch the Tim Holtz Facebook Live on Distress Crayons you can watch it HERE. Absolutely worth the time to learn more about the Crayons and what they can really do over different surfaces. Plus you get Tim talking and demoing which is always a treat to watch and learn.
now carry on,
paula
Oh my gosh Paula...amazing results! Thanks so much for sharing those tips and tricks, I will definitely give them a try! And I need more Crayons and Paper Dolls! ��❤
ReplyDeleteI am a huge fan of your coloring Paula. These are all beautiful, can't wait to try some of these techniques.
ReplyDeleteGreat to have such a detailed and clear tutorial You really do inspire us all to bring our paper dolls and found relatives to life.
ReplyDeleteSo fun.. I can’t wait to get busy with my crayons..thank you for the inspiration !
ReplyDeleteI was never a colorer, even as a kid. But you taught me to love Tim's Distress Crayons a long time ago. Now I can't imagine not having them! Thanks for the refresher course!
ReplyDeleteThis is so very helpful! Thank you for taking the time to put together a tutorial. Beautiful coloring, as always!
ReplyDeleteHave a most wonderful weekend! :)
WoW, thnx for sharing these very helpful tips, Paula. Beautiful colouring xxx
ReplyDeleteGreat tutorial...always helps to reiterate techniques and tips in order to learn the process. THANK YOU so much for taking the time to share this.
ReplyDeleteA great tutorial with lots of useful tips, thank you Paula. I particularly love the colour you achieved on her cheeks.
ReplyDeleteLove seeing how you brought color to these figures! I've been wanting to use Distress Crayons for a while, but unsure what I'd do with them. Now I have some ideas.
ReplyDeleteFabulous! Thank you Paula for all the tips!
ReplyDeleteAbsolutely fabulous Paula! thanks for sharing, I love Distress Crayons !!!
ReplyDeleteThank you so much Paula.. I love Tim's paper dolls. You post has given me new projects to try with the crayons.. so very very happy🤗❤
ReplyDelete