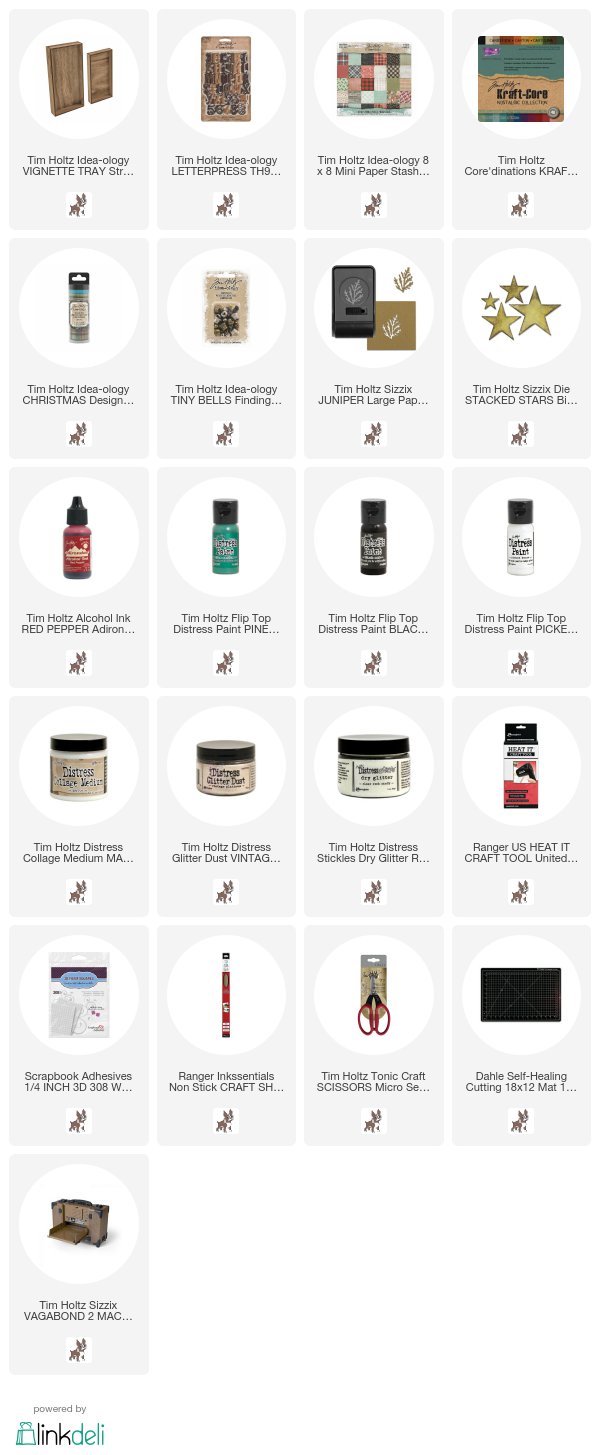
I'm here today with an addition to the Tim Holtz Inspirations Series. This time I'm creating a fun shadow box that can be personalized with your favorite words (think family, Christmas, dates, family names, etc.).

I started by creating some Christmas words...so many different word possibilities! You are really only limited by the amount of vowels and double letters!
Because I wanted to stick to two sets of Letterpress for this project I had to "stretch" my vowels! That means I cut off the bits of a Q to get a 3rd O and I used two ampersands as E's. I arranged it in the large Vignette Tray to make sure everything fit nicely.
Once my arrangement was complete, I painted out the Tray with Black Soot Distress Paint.
I used Collage Medium Matte to add paper from the Mini Stash Christmas to the back of the tray (don't worry, that break in the paper will be hidden in the end).
I knew I wanted the 25 to be glittered so I used my finger to tap on Collage Medium and then pressed the number into the jar of Distress Glitter Dust - Vintage Platinum. I find that tapping over any letter or number is the best way to add the glue and NOT get the glue down the sides or in the crevices.
Here you are going to see the evolution of my decision making...lol (in other words I changed my mind). I started by painting the words with Picket Fence Distress Paint.
I was unsure of the color so I added Clear Rock Candy to every other word.
Then I painted the rest of the words with Pine Needles, let them dry and added the Clear Rock Candy over the green. I used Collage Medium to glue the words together (it was way easier to move them from the craft sheet to the tray that way).
I added Design Tape to the edge of the Vignette Tray.
I still needed a star for the top so I cut three stars using the Stacked Stars Bigz Die then glued them together to make one thick star.
Collage Medium works great to add the Vintage Platinum Glitter Dust.
One by one I added the words to the tray with Collage Medium. You will have plenty of open time to add all the words and adjust as you go. I used a foam square to add the star at the top so it was raised up off the back of the tray.
And just for a little added detail, I sugared a few juniper pieces I punched out. They are not dry in the photo so they look a little white. You can see how they change (once they are dry) in the close-up shot below.
A couple jungle bells (red pepper alcohol ink) and some red and white string and we're done. I love this shot because you can see the Clear Rock Candy up close!
I hope you will try this idea! Remember, you can use whatever words you like...family names, Christmas words or important dates.
now carry on,
paula


I really need to up my decor making here....off to scour the CDN. stores for some good Tim Stuff! :D
ReplyDeleteBeautiful decor piece! Love the colors and the sparkle of the glitter. Thanks for the wonderful idea!
ReplyDeletesuch a beautiful project Paula, guess what...I'm off to check out my letterpress stash...hugs kath xxx
ReplyDeleteI LOVE this project, Paula...and I just happened to have picked up 2 sets of the letterpress today!!! Now what are the chances of that? I'd say it was meant to be ❤️ Such a fun project!!
ReplyDeleteThank you for the wonderful projects! Can't make the classes at Whim So Doodle this year so I am making almost every project you have posted. Jan
ReplyDeleteAnother winner. I must say though, Iced Spruce is going to think you don't love her any more. This is the second project you've not used her on. Yes, I am keeping count!
ReplyDeleteSee you in a couple of weeks!
Fabulous project, Paula!!!
ReplyDeleteOh so clever with that Christmas tree of letters! Such a fabulous project Paula x
ReplyDeleteThat turned out beautiful!!!
ReplyDeletePaula i am absolutely in love with this idea and i sure hope to create my own as soon as i get the tray!!! thank you so much for all your inspiration!!!
ReplyDeleteIts totally gorgeous Paula :D Love the step by step, thanks so much for that. I prefer seeing how everything is created this way (rather than video). Rock Candy has always been a fave, it goes with everything!
ReplyDeleteThat is spectacular. What an inspirational project!
ReplyDelete