

1. Adhere book paper to tag.
2. Stamp tag with multi-star rubber stamp (Stampers Anonymous - Tim Holtz collection G4-1471)
3. Glue or staple a piece of a vintage measuring tape to tag.

4. To make shield shape you will need a piece of paper, a ruler and a pencil.
Draw two vertical lines 1 3/8" apart in the center of a piece of paper.


Using a pencil or pen trace around the shape on a piece of chipboard, flip over and trace the other side.


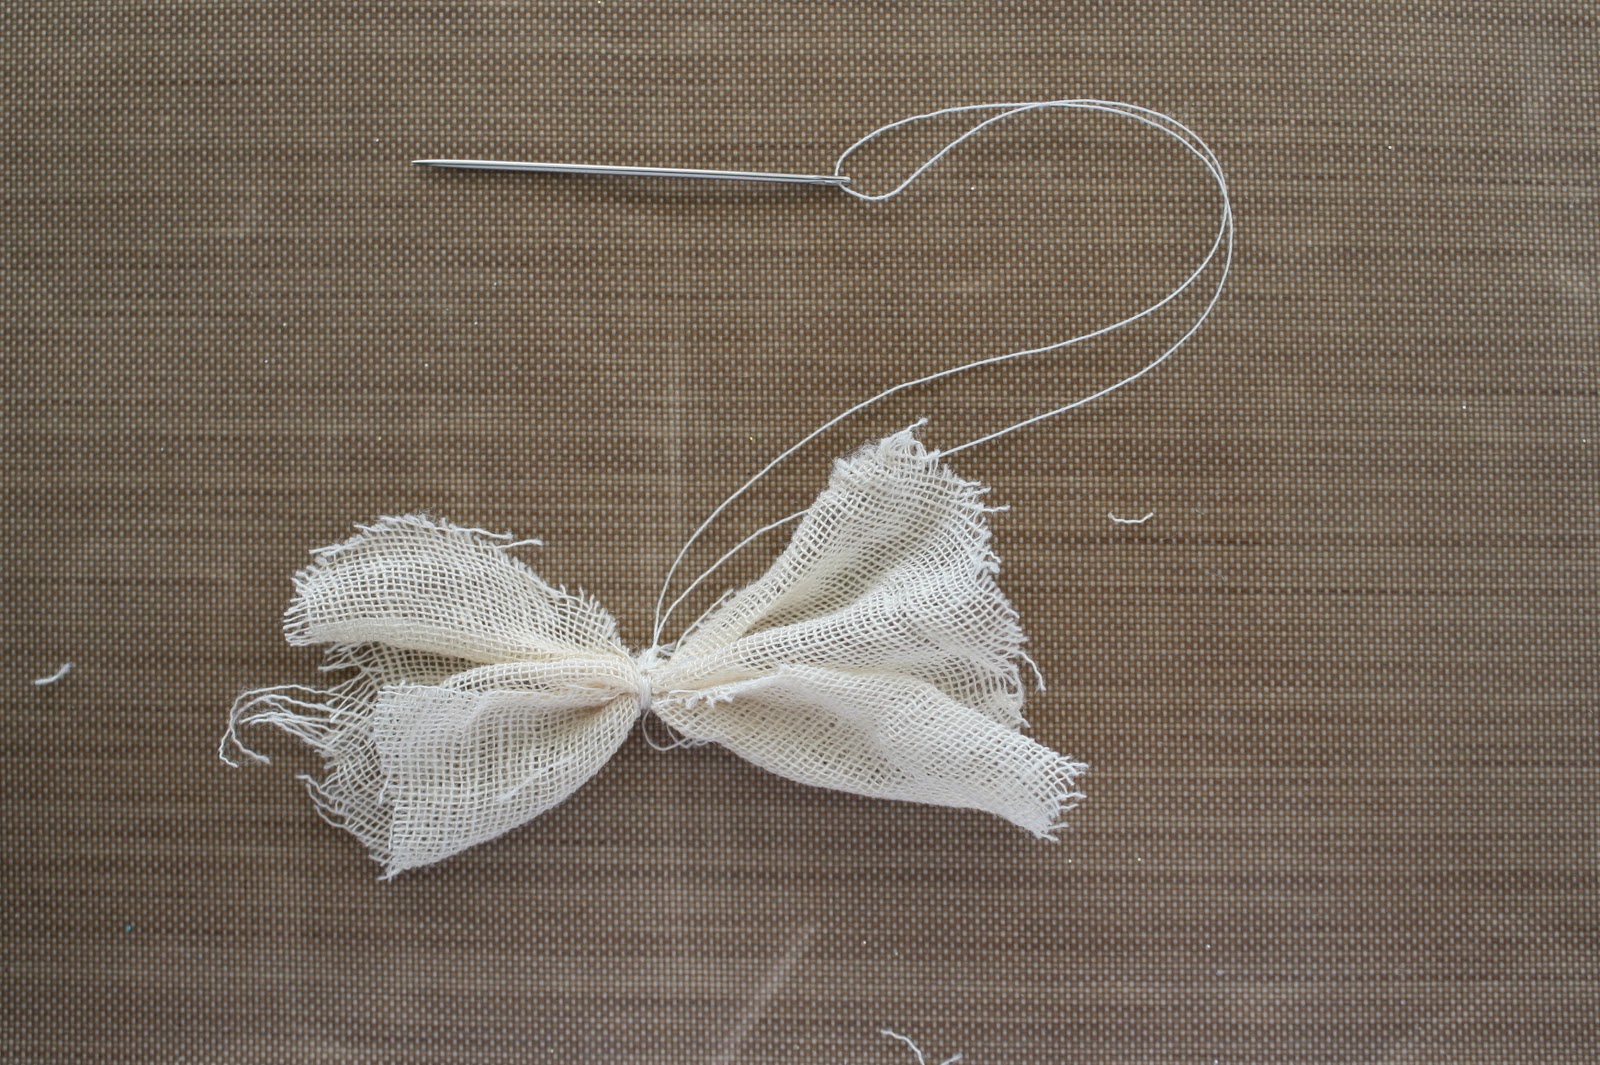
NOTE: The needle must fit through the center of the pearls/beads to be able to sew them on. You will use the same thread for all the sewing so make sure your needle is double threaded 12" long.


If you go back to the picture of the complete tag at the beginning of the post you can see I added a small jewelry tag. That tag is on the left in the picture below. I stamped it with a Stamping Up stamp I had here at the house but I thought, that's not going to help you. So, I found that the Avignon stamp set that you need to complete the calendar has a No. stamp. It is part of a larger stamp, so I just inked the part I needed to stamp the bitty tag. It worked perfectly. The o in the stamp is not complete (on purpose) so I filled in the top of the o with a pen. You could even add the dot like the original if you wanted.

 |
| stamp from the Avignon stamp set |
 |
| This is how it will hang once it is placed on the board. |
I am leaving for Deb's tomorrow to prepare for teaching (mixed in with a little shopping) on Saturday. I thought I would show you the tool list/schedule that went out to all of the ladies coming to the class. Love it, want to marry it.
I am sure there is a future class in there somewhere. I'll have to wait and see on that one since my brain can only get to Nov 6th right now.


I have two more tags prepared to post this week.
Wed - No. 15 and Friday - the Merry Christmas plaque a fitting end this little escapade. I also have a picture of all the number pins needed for the board. The instructions for the pins are already online from last year.
So have a great week and we'll see you back here on Wed for tag 15.
-paula
Hi!!! Can't remember which blog I was on that I discovered your blog, but I am SO glad I did!!! Te advent calendar is sooooo gorgeous and I just have to make one!! I don't do any scrapbooking, so I have no supplies. It is probably going to cost me a fortune to get them all, but I think it will be worth it!! Thanks!!
ReplyDeleteGreat tag! Thanks so much for the tutorial!
ReplyDeleteAny chance we can get pictures of the individual tags that you aren't providing the instructions for? I have the kit but have a hard time figuring out exactly what I should be using for each tag. The picture of the fully completed advent is not big enough for my old eyes to see the details. I have already used the wrong paper on two of the tags so I'm hoping to avoid any further mishaps. Thanks heaps.
ReplyDeleteDear 8th gypsy,
ReplyDeleteThere are up close pictures of each individual tag on the instructional CD.
Will you email me at paula@2gypsygirls.com so I can help you out?
paula :)
Loving your tags. Thank you for sharing...
ReplyDeletewonderful!! thank you so much!!
ReplyDeleteI love all of your tags...what great tutorials. I am now following so I can see all of your little creations :)
ReplyDeleteI love these tutorials! They are so helpful when making the tags. And I'd like to marry that cute little tool list/schedule too! I definitely see a class in the future for that as well, so keep us posted.
ReplyDelete