
I love this time of the year. The lights, the sounds, the decorations, everything. Things are in full swing around here as I wanted everything (or almost everything) decorated by Thanksgiving. I just wanted it done so I can enjoy it as long as possible this year!
Back in October, you might remember I shared a Halloween project using the kit from Tim Holtz and Simon Says Stamp. Seeing how Tim recreated it with a Christmas theme inspired me to do the exact same thing! I’ve had so much fun pulling this piece together—and I’m so happy that the window technique from the Halloween version translated to this holiday design just as well.
 I painted the Vignette Boxes with Candied Apple Distress Paint. It took two coats for good coverage with drying time in between.

 Once the Collage Medium is dry and the paper is sealed, add Walnut Stain Crayon to the paper to age (and tone down the white papers).


 Paint:
 If you do it right, your windows will look like this. So, so grungy good!


 The second box has basic line up of books (made from Ephemera Pack), two Woodland Trees, and a Mini Display Dome filled with small Baubles. The Merry Christmas banner in the background is from the Layers Five and Dime pack.
 Wreath:
Now carry on,
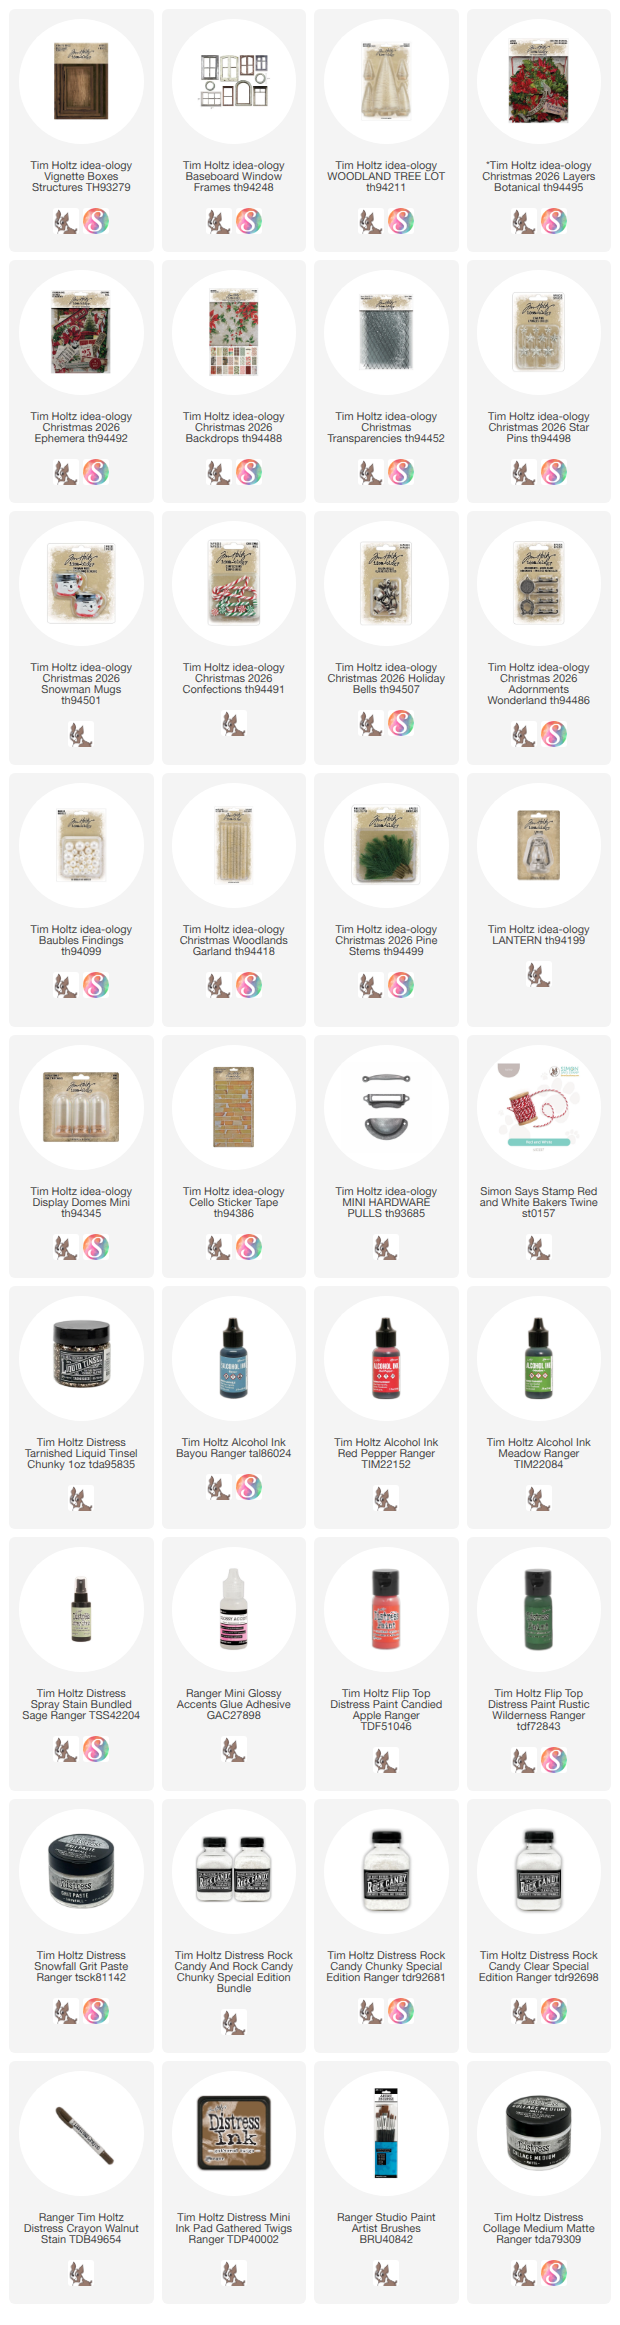


Once dry, I used Collage Medium to adhere Christmas Backdrop paper to the inside of the four boxes. I also added Collage Medium over the paper to seal it.


In the largest box, create a collage with ephemera and added Cello Tape. Again, if you are going to use Crayon to age the ephemera, it has to be sealed with Collage Medium first.

Windows:
I am using four windows from the Baseboard Windows pack. Many of these windows were sized to fit the Vignette boxes so you will only need to shorten one of them.

Use a self healing mat board to slice the larger window on the right into two pieces.
For the window on the left, you need to cut out a small piece from each side to make the window shorter. This window will be added the smallest Vignette box. Discard the two small pieces, leaving the window frame and the top piece.

Use tape and glue to add the two pieces together, making a window that fits the smallest box perfectly.

Paint all four windows with Candied Apple Distress Paint (see Window on the left).
Once dry, sand paint with steel wool. Next, rub a Gathered Twigs Distress Ink Pad directly over painted surface (see window on the right).


Next up is creating the stained glass windows. I have shown this technique MANY times, but I just love the effect when added to the window frames. All you need is a small brush, and a few colors of Alcohol Ink. I chose Bayou, Red Pepper, and Meadow.
I added the transparencies to two of the windows with double stick tape.

Vignettes:
The largest Vignette has a Woodland Tree and a Snowman mug. The tree I cut down to fit the space (I wanted a nice fat tree to take up the space. Using the largest Baubles at the bottom of the tree makes a big difference - that I LOVE! The Chunky Liquid Tinsel looks amazing on the Baubles.
You might also notice that I used Star Pins as floating stars. The trick is to make the holes for the pins before you add the tree and mug (you need all the room you can get to get the placement right. I ended up having to use a touch of hot glue at the base to keep them straight.


Just one more thing before I start putting everything together.
The wreath is made from one Woodland Garland + Baubles + a Holiday Bell + bow (hobby lobby).
 I added the windows to the matching boxes. To get the tall windows to to face outward, I laid the box on it's back. I added thick glue to the outside edge and put the windows in place. Then I raised the inside edge of the window and slipped a long paintbrush under the inside edge. Once the glue is dry, remove the paintbrushes holding up the inside edge of the windows. Obviously, you can use anything to hold up the windows, it does not have to be a paintbrush. Use what you have nearby.

 The skates are hard to see in this photo, but they are laying in the small window on the top right.
 I painted a bunch of Holiday Bells in Rustic Wilderness Distress Paint and added them to the bottom box.


The snow you can see on the project is Snowfall Grit Paste - a translucent paste with an "icy" looking result once dry. I used a small palette knife to add the paste.
 I added some hardware and ephemera to the top to give it some interest.
 That ephemera on top wraps to the left side of the top box.

 I'm loving this project so much that I think I might put together a kit in 2027. It seems very doable and it's so cute in person. We shall see...


A nail holds the Lantern in place on the left side.

Now carry on,
paula


