Hello friends,
Today we are celebrating the release of the idea-ology Palette Collection. I explained in my last post that the first three colors were released and will be shipping very soon. I got advance paper packs so that is why I am able to have a finished project at this early stage. Lucky me!
I decided to walk you through the Pocket Folio page by page, then I'll go back and show you how some of things were put together.
Lets start with the book itself. This is a Pocket Folio, which you know is a zig-zag or concertina book with removable covers. I LOVE that the covers are removable so you can work on the zig-zag portion, then add the covers at the end. That is exactly what I did.
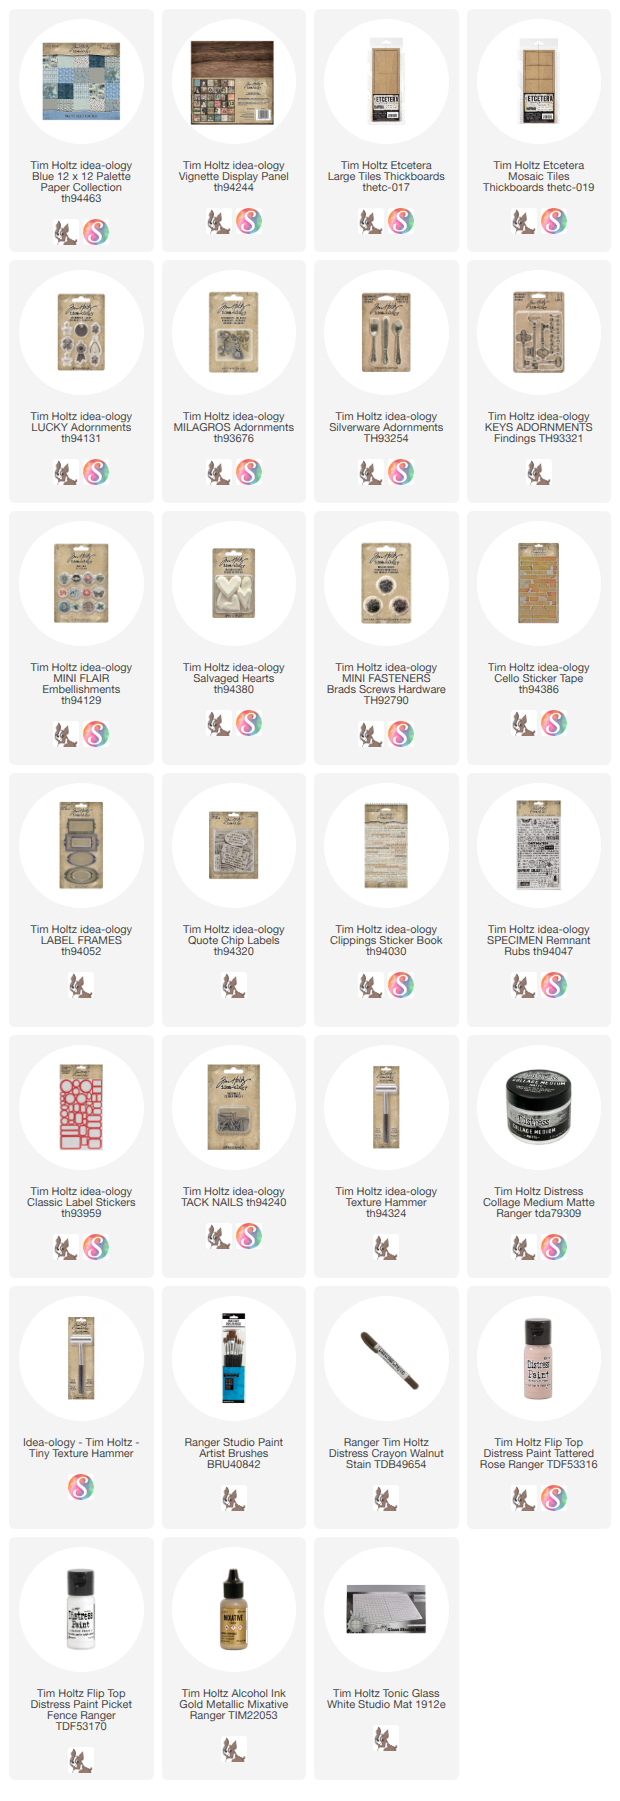
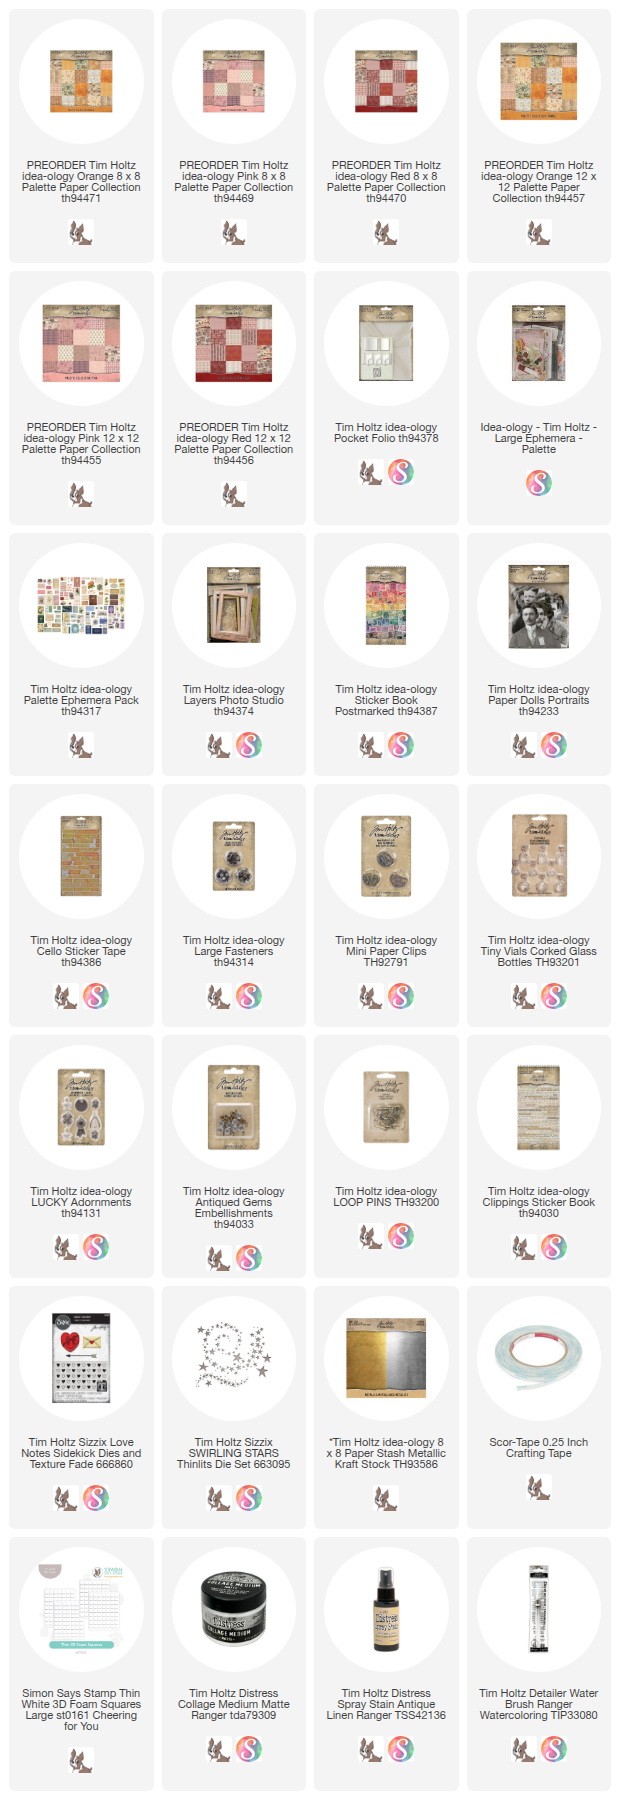
The botanical paper is from Palette Orange - It mixes beautifully with Palette Pink and Red! All ephemera is from the Palette Ephemera pack. Words are of course from the Clippings Sticker Book - what would I do without it?
The wrinkled satin ribbon is from my stash (Boy, I wish I had more!). The loop pin is holding a Tiny Vial filled with tiny faux pearls colored with Mushroom Alcohol Ink, a clover charm from the Lucky Adornments pack, and a Antiqued Gem (again, colored with Mushroom Alcohol Ink). I'll talk about these pieces later on in the post.
I needed a way to cover the seam between the two papers. Vintage lace was the easy solution - I've been saving this piece for many years! Before I glued it down with Collage Medium, I threaded the ribbon through a hole in the lace then added a dot of hot glue to add the button. This way, when the ribbon is opened to see inside the book, it does not fall off the book.

The inside cover of the Folio is covered in Palette Ephemera pieces. I added a layer of Collage Medium over the top of the ephemera. Once dry, Cello Tape pieces were added, then Distress Crayon in Walnut Stain was rubbed over the seams and edges for the aged look.
Page 1: Girl in floral dress
Palette Pink + Palette Ephemera + Portraits
I haven't used Portraits for a while, so I thought this was a great book to show off what you can do with them! Her gold crown was done on a whim and I absolutely love it!! (more on both of these later).
Palette Pink + Palette Ephemera
Pockets were created by adding a Large Fastener and smashing them with a Texture Hammer. Super easy!
Page 3: Lady going to a partyPalette Pink + Portrait Studio frame + Portraits
All coloring was done with Distress Crayons.
Palette Red + Palette Ephemera
Page 5:
Palette Red + Palette Ephemera + Postmarked
Page 6: Pocket threePalette Red + Palette Ephemera
Back Cover: with added ephemeraPalette Red + Palette Ephemera
Palette Red + Palette Ephemera
Back Cover
To get started:
I used all three
8 x 8" Palette paper packs in the book. However, I only used
Palette Orange on the cover, not inside the Folio. This photo was taken of the inside paper (
in order of appearance) + paper that was cut for the fronts of the pockets.
I took the covers off the center portion of the Folio and sprayed it with Antique Linen Distress Spray Stain. I always spray and wipe away to get all-over coverage.
I used Collage Medium to adhere the paper to the sections. I used a small brayer to help secure the paper to the book.
Pages 1 - 3
Pages 3 - 4
Pages 4 - 6
Next up is the pockets. I added the pre-cut papers to each pocket and used scissors to round the corners to match the Folio.
To close each pocket, I pierced a hole in right corner of each flap and added the Large Fastener. Once the fasteners were in place, use a Texture Hammer to dent the top of the Large Fastener. DO NOT pound on your glass mat - only use a solid surface for hammering!
Portraits:
I am using three Portraits for this project. All were colored with Distress Crayons.
For this little girl, I scribbled on Stormy Sky, then rubbed it over her dress with my fingertip. I used the end of a cotton swab to pick up Aged Mahogany crayon and pounce it over her cheeks. Once the color is on, tap it with your fingertip to smooth it out (it really works). I had a little color left on the cotton swab so I added a few red accents over her dress. Fossilized Amber was added to her necklace (using a damp Water Brush). Then I took the end of a clean cotton swab and made polka dots over her dress. The cotton swab pulls the Stormy Sky crayon away from the dress like magic.
For the girl with the flowered dress, I started the same way, by coloring the dress with Milled Lavender. Then I used a stencil and a wet wipe to remove the pattern.
Now you could just leave her as is and be perfectly fine, but I decided to try coloring the white areas with more color.
I used a Detailer Water Brush to add the color and create the flowers and leaves on her dress. Now I know this is not going to be everyone's liking but it was fun to give it a go!
For the last lady, the real key here was to color the dress with a light color like Stormy Sky to get an all over color. Then taking a bit of a darker color like Uncharted Mariner on the side of a cotton swab, brush back and forth to create the illusion of banding around her shoulders (
like she has tulle wrapped around her shoulders). The illusion is created by the organic direction of the marks. I only used the damp Water Brushes for the floral detail. This time I scribbled on the glass Studio Mat, then picked up the crayon with the Water Brush and dabbed it on.
Here they are all together! Each with a different technique, but all using Distress Crayons!
Much of a main ephemera was aged by painting it with Collage Medium, then drying it with a heat tool. Paint over the top a second time, but this time dip the ephemera into a puddle of ink and water, then dry with the heat tool.
Making the crown:I cut a small piece of
Metallic Kraft Stock the width of the girls head. I used a flat sanding block to go over the metallic finish to rough it up. I then sketched a crown on the back and cut it out. I rubbed Mushroom Alcohol Ink over the crown to age the gold Kraft Stock (
that is a good trick because it now looks like old metal). Once dry, I used one of my favorite dies,
Swirling Stars, to cut stars into the crown.
Here is how I used the long die.
Gathering the trinkets:A
Tiny Vial was filled with tiny faux pearls colored with Mushroom Alcohol Ink (
you can see I keep them in a small bag so I always have them at the ready), a clover charm from the
Lucky Adornments pack that I dripped Mushroom Alcohol Ink over, and a
Antiqued Gem (
again, colored with Mushroom Alcohol Ink). As for the gold heart that will go on the Tiny Vial, It was cut from the same gold metallic Kraft Stock using the Love Notes Side-Order die. An eye screw was added to the cork so the Tiny Vial could be hung by the Loop Pin.
I added Palette Ephemera to the inside cover using Collage Medium. Always make sure you do not seal up the opening on the right so the book can be added to the cover. When I am glueing the Ephemera, I always add the CM to the paper piece, not the cover. I also slip a deli sheet into the opening so it cathes any excess glue that might squeeze out when pressing the paper down.
I love how the Palette book turned out! The cover alone is just wonderful with all the patterns and trinkets. I'm glad I could share my love of the Palette Collection, whether it be in fabric or paper. Both just sing to me!


 Scribble Walnut Stain Distress Crayon on the edges of each tile. Rub with your fingers and use a wet wipe to pounce over the crayon to muddle the finish.
 Use the photo on your phone to recreate the pattern on the panel (still no glue yet). As you can see here, I have added blank tiles where I know I want the tile to be raised.


 Use Collage Medium to add the embellishments.