Hello friends,
The Palette Blue paper pack is an absolute favorite of mine! 💙 I used almost every single pattern to create this Display Panel with added Etcetera Tiles. The Palette Blue 'Collage' paper is doing the heavy lifting here, breaking up the patterns by introducing beautiful hits of red, yellow, and pink. To finish it off,
I added plenty of idea-ology adornments, giving the entire mixed-media piece that weathered, vintage vibe I love so much.Start with one of the Palette Blue papers for the background. This one is a favorite of both Tim and I, so I decided to give it a go. I left the sides of the panel with the plain wood but I did add a coat of Collage Medium to give it a more finished look.
I used a combination of tiles to create the pattern over the panel (
no paper yet - just blank tiles). It is best to get the pattern in place before BEFORE you add the paper! Once I had the pattern, I took a photo with my phone, since had to take it apart to add the paper!
To use this pattern, you will need:
5 large squares tiles with paper + 2 blank tiles for risers
3 rectangle panels with paper + 1 blank tile for a riser
3 small squares with paper (one is not shown here) + 2 blank tiles for risers
NOTE: the rectangle and small squares are from the same pack called 'Mosaic'.
Add the paper with Collage Medium and use scissors to cut away the excess. Lightly sand the edges, then add a layer of Collage Medium over the top of the paper to seal. Let dry or use a heat tool.
Scribble Walnut Stain Distress Crayon on the edges of each tile. Rub with your fingers and use a wet wipe to pounce over the crayon to muddle the finish.
Use the photo on your phone to recreate the pattern on the panel (still no glue yet). As you can see here, I have added blank tiles where I know I want the tile to be raised.
Once you have all tiles in place, you can begin to add the Collage Medium to the back of each tile, making sure the tiles are straight and close together.
You might notice that I have already added a few embellishments like labels (bottom left tile), paper pieces from the blue collage sheet (bottom right tile) and a Number Strip (top right tile).
Now use Collage Medium to add all the tiles on top of the blank or "riser" tiles. Set aside to dry.
Gather multiple idea-ology embellishments to add to the tiles. Use a variety of paper, metal, and vintage adornments, along with labels, Remnant Rubs and Clipping Stickers.
prize ribbon - Lucky Adornments
spoon - Silverware Adornments
key - Keys Adornments
flaming heart charm - Milagros Adornments
heart - Salvaged Hearts
metal label - Labels Frames + Quote Chips Labels
flair button - Mini Flair
vintage button
Use Collage Medium to add the embellishments.
I did use a nail to add the Milagros on the right.
The vintage button was added to the Salvage Heart.
The prize ribbon on the left has a Mini Fastener added to the top, then it was glued on.
Cello Tape was added to all the tiles. I especially liked it here, holding the Photobooth in place.
I thought the spoon needed a little something so I decided to add some pearls that I colored with Mushroom Alcohol Ink.
And there you have it! This is an easy project that could easily be done in a day, especially if you have your tile pattern and adornments/trinkets planned out.
Thanks all!
Now carry on,
paula
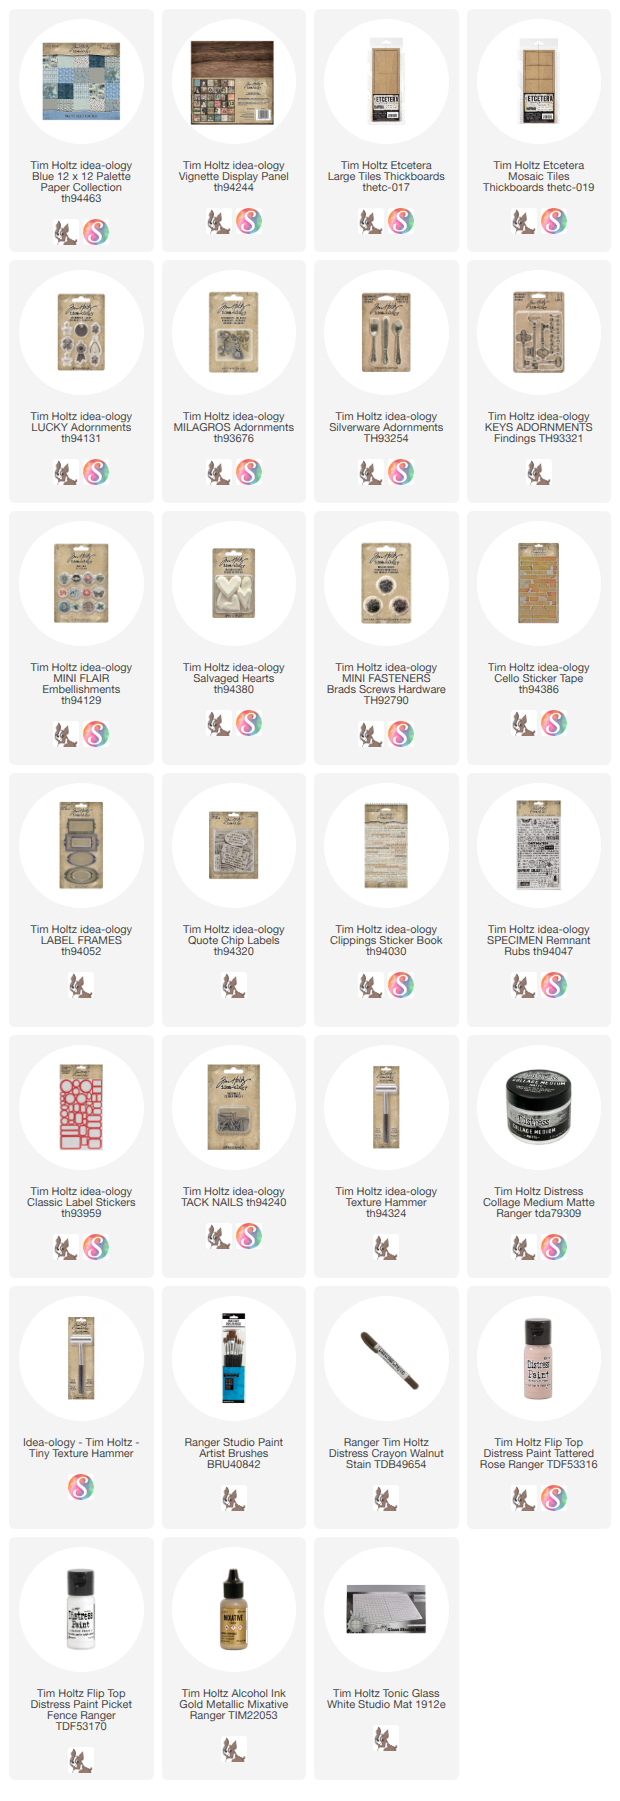
Products found in today's project.


 Scribble Walnut Stain Distress Crayon on the edges of each tile. Rub with your fingers and use a wet wipe to pounce over the crayon to muddle the finish.
 Use the photo on your phone to recreate the pattern on the panel (still no glue yet). As you can see here, I have added blank tiles where I know I want the tile to be raised.


 Use Collage Medium to add the embellishments.


No comments:
Post a Comment