
Hello friends,
I'm happy to be here today sharing the mini cards I created for last Saturday's Facebook Live. I created two kinds of cards using Sticky Embossing Powder - one light and frosty and one bolder in color. Both work, it's just a matter of taste. Also, once you are set up, it's easy to create a lot so be sure to cut more card fronts than you will think you need - this gets kinds of addicting. These cards, as well as a demonstration of this stamping technique, can be found HERE in the replay of Holiday 2020: part 4 on Tim's blog.
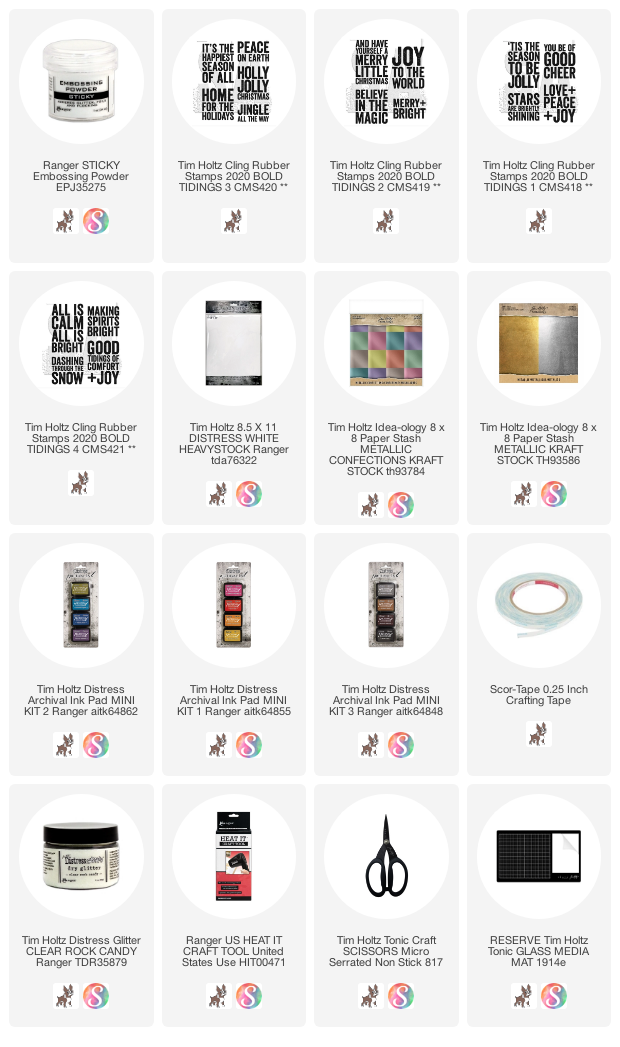
I used the new White Heavystock for the card front since it easily stands up to the embossing process. I cut each front 3 3/4" x 3 3/4" to fit on the 4" x 4" card cut from the Confections Metallic Paper Stash. The Confections pad is 8" x 8" so you get two cards per sheet. All you need is the cut it down the center and fold in half. Use a Bone Folder to smooth out the fold in the card (it looks so much better when you do because of the paper metallic finish).

You will need some kind of stamping platform for this technique because you have to double stamp the image on the card front. Let me explain...
- Add a piece of Sticky Grid to the platform. You cannot see it here, as it is under the white card but it is the thing that keeps your card in position when stamping. If you do not have Sticky Grid, then use the magnets or a low tack tape to keep the card in place but Sticky Grid is still my hands down favorite.
- Stamp the image with Archival Ink (important since you going to add a wet medium over the top). Do NOT remove the card from the platform. I know that sounds silly, but twice I picked up the card after stamping the first time. That is why you see the blue tape on the platform. If I pick up the card I know exactly where to put it back (yes, you could also start out using the top left corner for that very reason).
- Wipe the residue ink off the stamp with a wet wipe (there won't be much).
- With the card still in place, use the Embossing Dabber to add ink to the stamp. I like using the Dapper because I can see the ink better than using the pad.


paula

So so fun, and so gorgeous! LOVE the way these look when finished, elegant and chic yet fun!
ReplyDeleteSo classy and elegant! Love the look of these!
ReplyDeleteThese are so fun!!! And I've had fun giving it a go!!!
ReplyDelete