Hello!
Last week when I was teaching at Whim So Doodle there were so many questions about how my Fresh Baked tags were created that I thought I would show how I did it here on the blog.
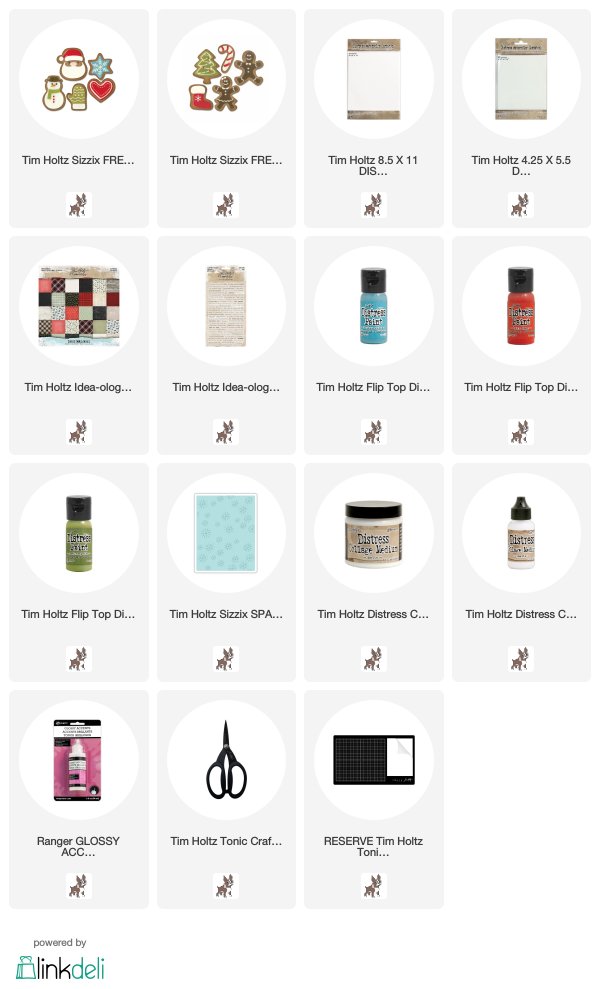
I cut double the images in kraft cardstock and glued them together to make them thicker. You could also use
Sizzix Paper Leather for this step.
I cut the layering pieces in heavy watercolor paper and painted the pieces with Distress Paint.
I glued the pieces together which seemed hard at first, but turns out it wasn't hard at all. I found it was very easy to pick up the tiny dots with a straight pin and move them into place.
You could also cut all the colored pieces out of colored cardstock. I chose to paint them because I just liked the look.
Once everything was glued into place, I covered the image with Glossy Accents and let them dry. I left them overnight and they were perfect in the morning. (I did pop a few small bubbles with a straight pin before leaving them to dry)
I cut circles from Watercolor cardstock using the Stitched Circles die. Then I used texture fades to create the embossed pattern on each one. I used three patterns from my stash of Texture Fades.
Sparkles
All the color added to the pattern was done with a Mini Distress Ink pad - no blending tool, just rubbing the pad directly over each of the raised patterns.
I also created a couple of small cards with the snowman and the Santa. I was able to use stickers from the Clippings sheet for and easy sentiment.
Hope you'll give it a try!
Now carry on,
paula


Such pretty ornaments!
ReplyDeleteThese are adorable and you make it seem so easy !
ReplyDeleteSo adorable, Paula!
ReplyDeletethey look good enough to eat :)
ReplyDeleteThese are really sweet Paula! I like the painted look too. TFS!
ReplyDeleteIt amazes me how much these look like real decorated cookies. Just a shock!!! Love these tags!
ReplyDelete