Hi all,
I am still on my Funky Floral kick! After last weeks Framed Panel project I wanted to see if I could use the same idea but translate it to a smaller scale card. Follow along and I'll show you what I did.
I started the process with a piece of Distress Woodgrain Cardstock. I colored the cardstock with various colors of blue like Broken China, Mermaid Lagoon and Evergreen Bough. I mean who says woodgrain has to be brown?
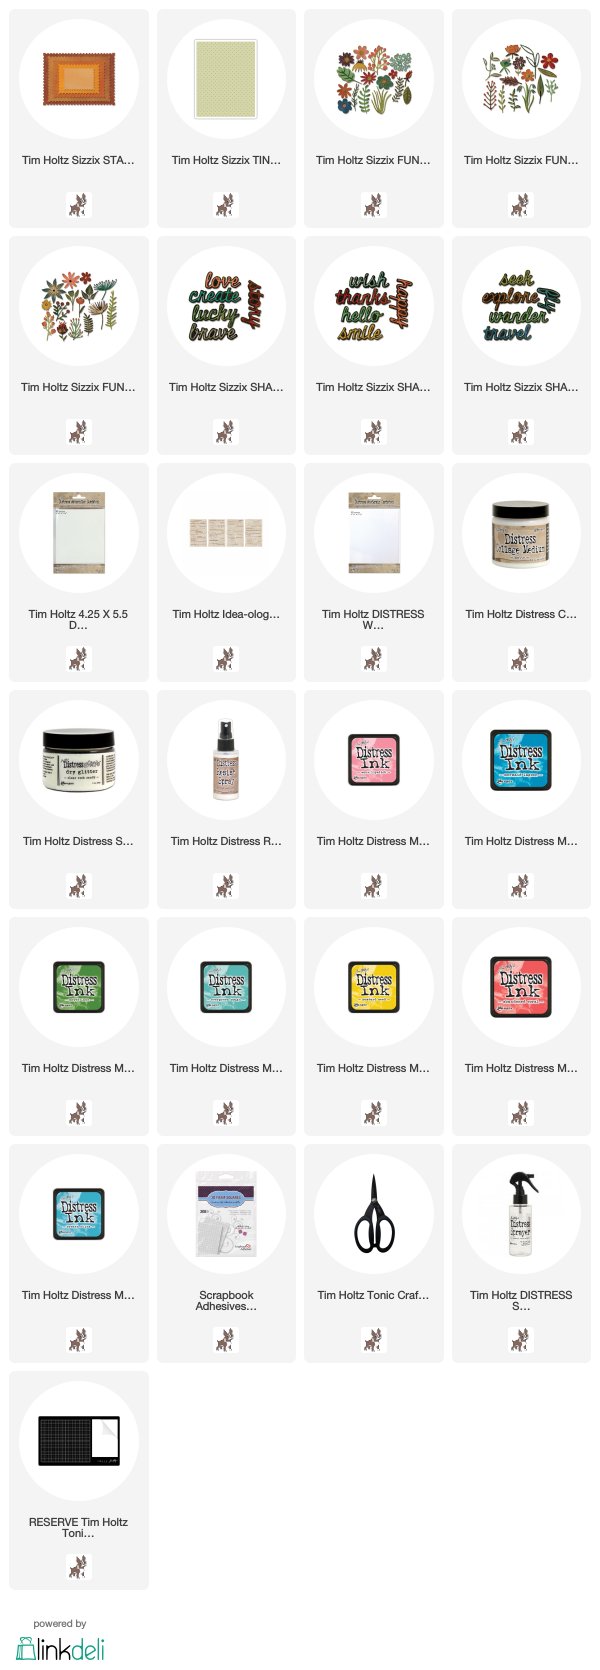
Once the cardstock was dry, I use the Stacked Postage to create a frame for my card.
You'll get three pieces...one for today and two for another day.
I used my Blending Tool to ink the edges with Walnut Stain Distress Ink.
I used Distress Resist to give the frame a more polished look.
Remember to spray in a protected area like a trash can and to wipe the nozzle when you're done so it does't clog.
Once dry, the frame will have a sheen to it and an almost plastic coated feel but with a bit of texture. You have to try this to really see what a cool effect the Distress Resist Spray can create over a surface. I am quite sure we will see more of this technique in the future!
I created a card base from pink cardstock. Then I ran a piece of Watercolor cardstock through my Vagabond using one of my favorite Texture Fades - Tiny Dots.
I added foam tape to the back of the woodgrain frame and then added it to the card front.
To create a sentiment, I used Shadow Script #1. I colored the "shadow" layer with Mustard Seed Distress Ink to give it a pop against the blue frame. I left the top layer "lucky" white and just added Distress Glitter (sorry it's hard to detect in the photo!).
Simply add the Shadow Script to the frame with Collage Medium. I added a few words to support the word Lucky using Clippings Stickers. I love how that Shadow Script looks!
Next up the Funky Florals...I'm still using set 3 today, but I'm sure any of the sets would do. The last time I colored the flowers I used Distress Spray Stain and water which was super easy. This time I used the ink pad mini's to a create colorful palette on my glass mat. I spritzed the ink with water and began smooshing (technical term) the flowers into the colors. I liked this way of coloring the flowers because it was easier to mix colors on the same flower.
Once again, I was compelled to use Clear Rock Candy over the flowers because it just looks spectacular! Once I had watercolored all my flowers, I laid the larger pieces in my Splat Box and sprayed with Distress Resist Spray. I then moved the flowers onto a clean piece of paper and sprinkled over the top with Clear Rock Candy. Yes...it can work as a glue too!!
Having the frame lifted off the card front was helpful to create dimension. I also used three small foam squares behind the three larger pink flowers. The orange flower and the daisy at the bottom are glued directly on the frame.
You might notice I cut up the flower that has the little round dots at the top. Last weeks project was bigger so it worked. This weeks card has less space to fill but I still wanted to use that flower so I just cut up the flower and added each dot flower individually. Easy trick.
You can see the dimension a bit better in this photo. You can also see the sheen the Distress Resist Spray left on the frame.
So there you have it, my translation of last weeks project into a simple card.
Honestly, I am not much of a card maker (it stresses me out) but I love this one. It might be my favorite card I've ever made.
now carry on,
paula


Another winner for sure!
ReplyDeletethanks Sue!
DeleteGorgous, Paula!! Adding the glitter to the flowers is AMAZING!! You rocked this card! ♥️
ReplyDeletethank you Stacy!
DeleteEeek! Always lovely Paula and it's so nice to see someone using Ranger products from Tim and his team!
ReplyDeletethank you!
DeleteI can see why that might be your favorite card you ever made - it’s gorgeous!! It’s so bright and cheery too. Nicely done!
ReplyDeleteI am loving that wood grain frame. And those flowers are so beautiful.
ReplyDeleteKate
Loving this beautiful card! Thank you for explaining and showing each step used in creating it.
ReplyDeleteThe wood-grain looks super in Blue and makes for a fantastic frame and I adore how you finished the card!
ReplyDeleteI just love seeing these flowers coated in the clear rock candy, and the dimension on this card is fabulous! I will definitely add the coating in resist to my list of things to try, as I bet it feels as amazing as it looks. I love your card Paula, whoever receives it is in for a special treat! Thanks for sharing!
ReplyDeleteWell, even after seeing Tim demo the Resist Spray, I have not yet opened mine, sad I know! After seeing the way you have used it though has inspired me, I just love how the frame looks. I love those beautiful flowers too, something else to add to my wish list... Anne x
ReplyDeleteJust gorgeous!!! You really inspire me! I love everything you make.
ReplyDeleteI've been passing over that resist spray time and time again, but now I think it needs to go back to the top of my wish list. Love the light colors and oh, that shimmer! Gorgeous card, but I get what you mean about cards stressing you out. Happens to me when I HAVE to make one for someone I know. Hugs!
ReplyDeleteBeautiful card Paula. I am enjoying my Resist Spray as well. So much fun. Thank you. ~~rita
ReplyDeleteI made a nice piece, a few days back, but just couldn’t figure out how to take it to the next step, to make a card with it. I think I’ll give this darling “frame” a try! I really like the Distress Woodgrain Cardstock, so I especially like to see new ways to use it. The Texture Spray is just FUN...I haven’t used it nearly as much as I’d like to, yet, so how perfect is this combination?!? Thank you for your delightful posts, Ms. Paula...you’re the tops!
ReplyDeleteThis is beautiful! Great step by step, thank you.
ReplyDeleteSo pretty , thanks for tutorial ( you know we need step by step ;) ) Can't wait to play !
ReplyDeleteHi, Beautiful card and I love what you done with the frame and the flowers. My task with" Cotswoldcrafters "this week the challenge is to work with embossing folders so will have to dig them out and have a play x
ReplyDelete