Showing posts with label vignette panel. Show all posts

Monday, December 15, 2025

The Most Wonderful Time of the Year

Hello friends,

With time seeming to move at the speed of light, I'm determined to create at least one more assemblage piece before Christmas arrives! This Display Panel project is wonderfully adaptable to anything you have on hand—or perhaps, what's "leftover" from your other holiday makes. The project begins with a simple Vignette Panel, but quickly turns into an ode to my beloved Rock Candy Chunky! Let's dive into this fun, whimsical piece that could really punch up your decor this year!
Start by added Backdrop Paper to the Display Panel. I used Collage Medium to add the paper, as well as seal it so I can add Distress Crayon over the top once it is dry. I also added Design Tape Trim in green. My very favorite tape to use on Christmas projects!
I needed to create a shelf for the project. Six inch Etcetera Trim pieces are the exact same size as the Garlands sign from the Emporium pack so they will work perfectly for the shelf. I used four Trim pieces in both wide and skinny (2 each). 

The wide was glued to the Garlands sign, then another wide was added to the top (for the top of the shelf). I covered that with plaid Backdrop paper.
This might be a better shot - Basically, the large or wide trims are on the outside, the skinny or narrow trims are on the inside: to give the top strength and the back, which will used to glue the shelf to the Panel.
Same exact shot but with Collage Medium added. 
Now you are ready to add the shelf to the panel.
Now add the shelf to the panel where the paper changes pattern (make sure it's straight!) Let dry a for at least 30 minutes before standing the panel up.
While that is drying, lets work on the Alpine trees. I have sprayed the two trees with Bundled Sage Spray Stain and dried them with a heat tool. To add the Rock Candy mix, I used a Splat Box to add Distress Resist Spray to the trees before adding the Rock Candy. You could always use Glossy Accents or Collage Medium to the tree instead of the Distress Resist Spray, but I like the overall effect best with the Resist Spray.
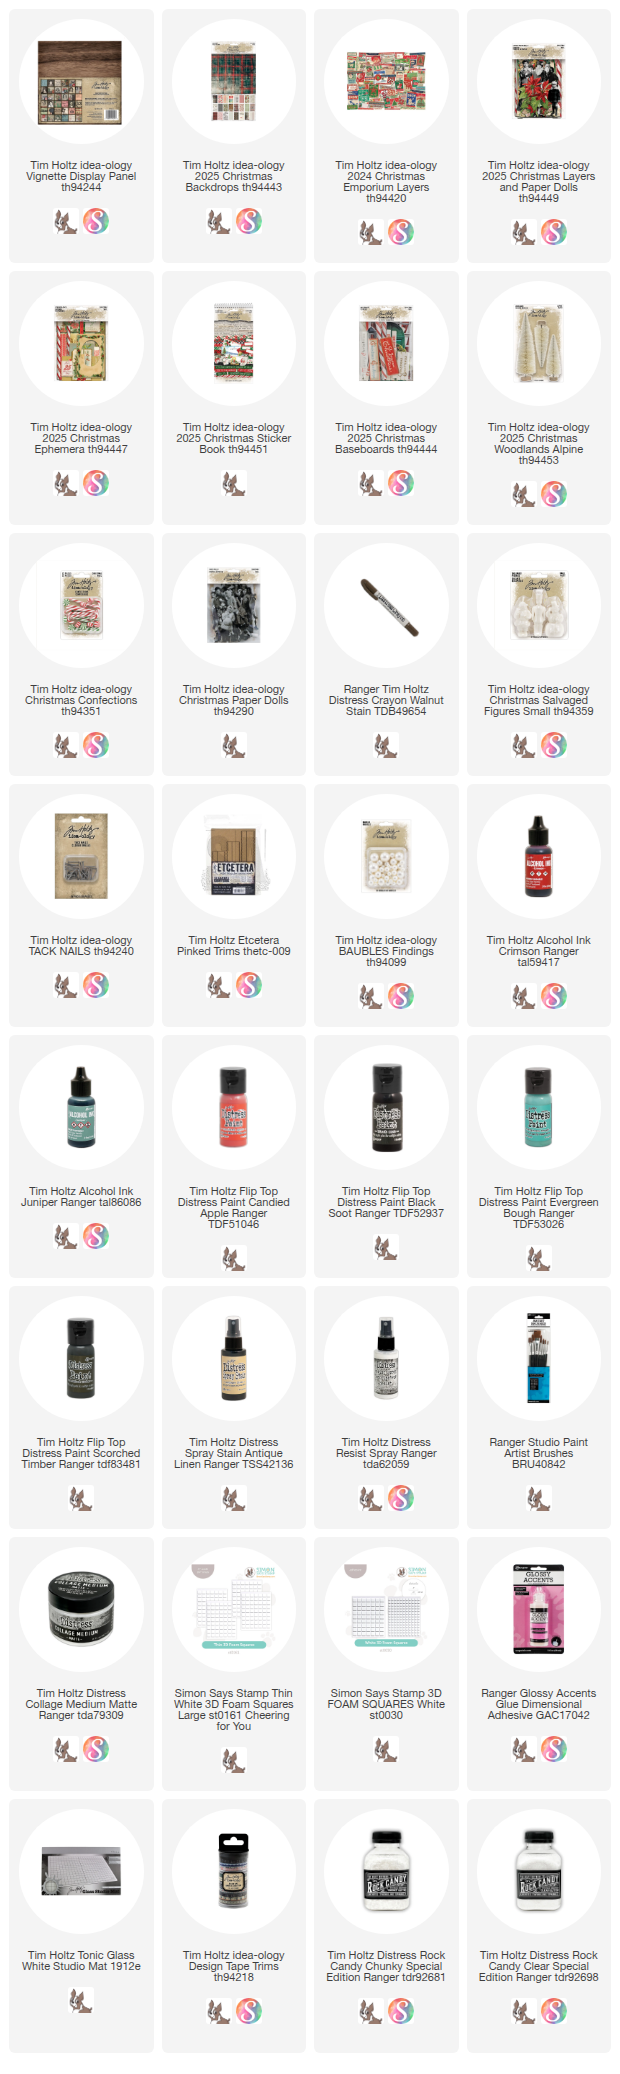
While the trees are drying, I put together a little window with a photo from an older SKU of Christmas Paper Dolls. We used to make a whole SKU just for Christmas (and we loved it) but then started adding them to the layers pack in later years. The packs are still available and I have linked them below (TH94290). Anyway, I added some color using Distress Crayons, then added the photo to the window from the Emporium pack.
You can see how I used the bingo chips to raise the window from the surface and give it a 3D effect.
Its hard to see that 3D detail in a photo, but it's there. A also added the strip below that is from the Emporium pack (use Thin Foam Squares).
Next, the Alpine trees are glued in with Collage Medium. I wanted the red bases to keep with the 50's theme of the Emporium pack.
NOTE: I did have to trim off the back of the larger tree so it would sit against the panel.
You can decorate the trees anyway you like. I'm going to use colored Baubles and something unusual, chenille trim (aka: cheap pipe cleaners from Hobby Lobby). I just sprayed it with Antique Linen Spray Stain to age it just a bit, then dried it with the heat tool. Admittedly, it took a bit to dry. Next time I think I would spray them and leave overnight to dry.

I cut small pieces and wrapped the tree with each piece, hot gluing the ends to keep them in place.
For the small tree, I used the two smallest Baubles and colored them with Crimson (MY FAVORITE) and Juniper Alcohol Inks.

 I love how fluffy the pipe cleaners are!!
Now lets add some larger pieces from the Layers pack. I used the two poinsettia die cuts - one here and one on the left. I did add Glossy accents and Rock Candy to the layers for more 50's magic. These were added with Thin foam squares.
This might look like the same photos but another die cut piece has been added to the panel with regular foam squares.

And here is the left side. I cut the one poinsettia in half to make it fit under the shelf. Then used that piece on the right end.
You can see that piece added here.
I also added another piece of pine to mimic the right side. Layers, layers, layers!

Rip a few small pieces of cotton batting and start to place them around the tress with Collage Medium. Eventually I will add more cotton batting on the right, then a bit of Collage Medium on top and a sprinkling of Rock Candy mix.
Add Ephemera where you think it might appear natural. Mine is tucked up into the cut off piece of poinsettia. This is just the start of the bottom area. I will go on to add cotton batting with Rock Candy, an ephemera ticket and a word stick from the Baseboards Pack once the ticket is secure.
At the top I started adding ephemera with Thin foam squares. I could not help myself on the calendar, I just needed to add a nail at the top. Once I was done with this one, I just kept adding more ephemera pieces to fill in the space.
The tiny red bell is my favorite thing. The perfect size to hang from the nail with thread...
I cut up a candy cane and added the pieces to a small Corked Vile. Red and white twine was added to the neck and a little bell was hot glued in place. I also painted some Collage Medium over the cork and just the top of the vial so I could sprinkle Rock Candy over the top.
The candy bottle and a painted Salvaged Snowman (small size) was added to the right side. I also added a few more Baubles in Crimson and a couple pieces of candy. Once the Baubles were secure, I painted Collage Medium over just the top of the Bauble and sprinkled Rock Candy from above so that, like the bottle, it appears as if snow has fallen from above. Tiny bits of cotton batting were added between the Baubles, the Salvaged Snowman and the Corked Vile.
*distress paints were used to paint the snowman: Candied Apple, Evergreen Bough, Scorched Timber, Black Soot and Spiced Marmalade. He also has a wash of Walnut Stain Distress Crayon over the top.
Moving back to the bottom, I added a word stick from a pack of Baseboards. Because I scrunched up the ticket before I glued it down, the word stick just kinda fell into a groove. It looked like a natural place for it to go, so I left it. I did add another small red ticket but it's impossible to see in this shot.
You might also notice in the next couple shots that there is lots of Rock Candy at the bottom section. When I was done adding the "snow" to a few areas around the ticket, I used a paint brush to paint Collage Medium where the sides meet and even up on the back wall. I lightly sprinkled this area with Rock Candy so it takes on a sparkly effect at night!


Hopefully, this project will resonate with some of you! If you don't have time to make it this year, then maybe you can glean some ideas for your own makes that might still be in the works!

Now carry on,
paula

Wednesday, December 18, 2024

The Magic of Christmas

Hello friends,
I know it's a busy week out there, but I hope you might still consider this project doable in the time before Christmas. I know lots of us have product that we have bought and have not used yet. Me included. In fact I just ordered a Christmas embossing folder from Simon Says Stamp even though I know I won't be using it this year! Good thing Christmas comes around every year! 
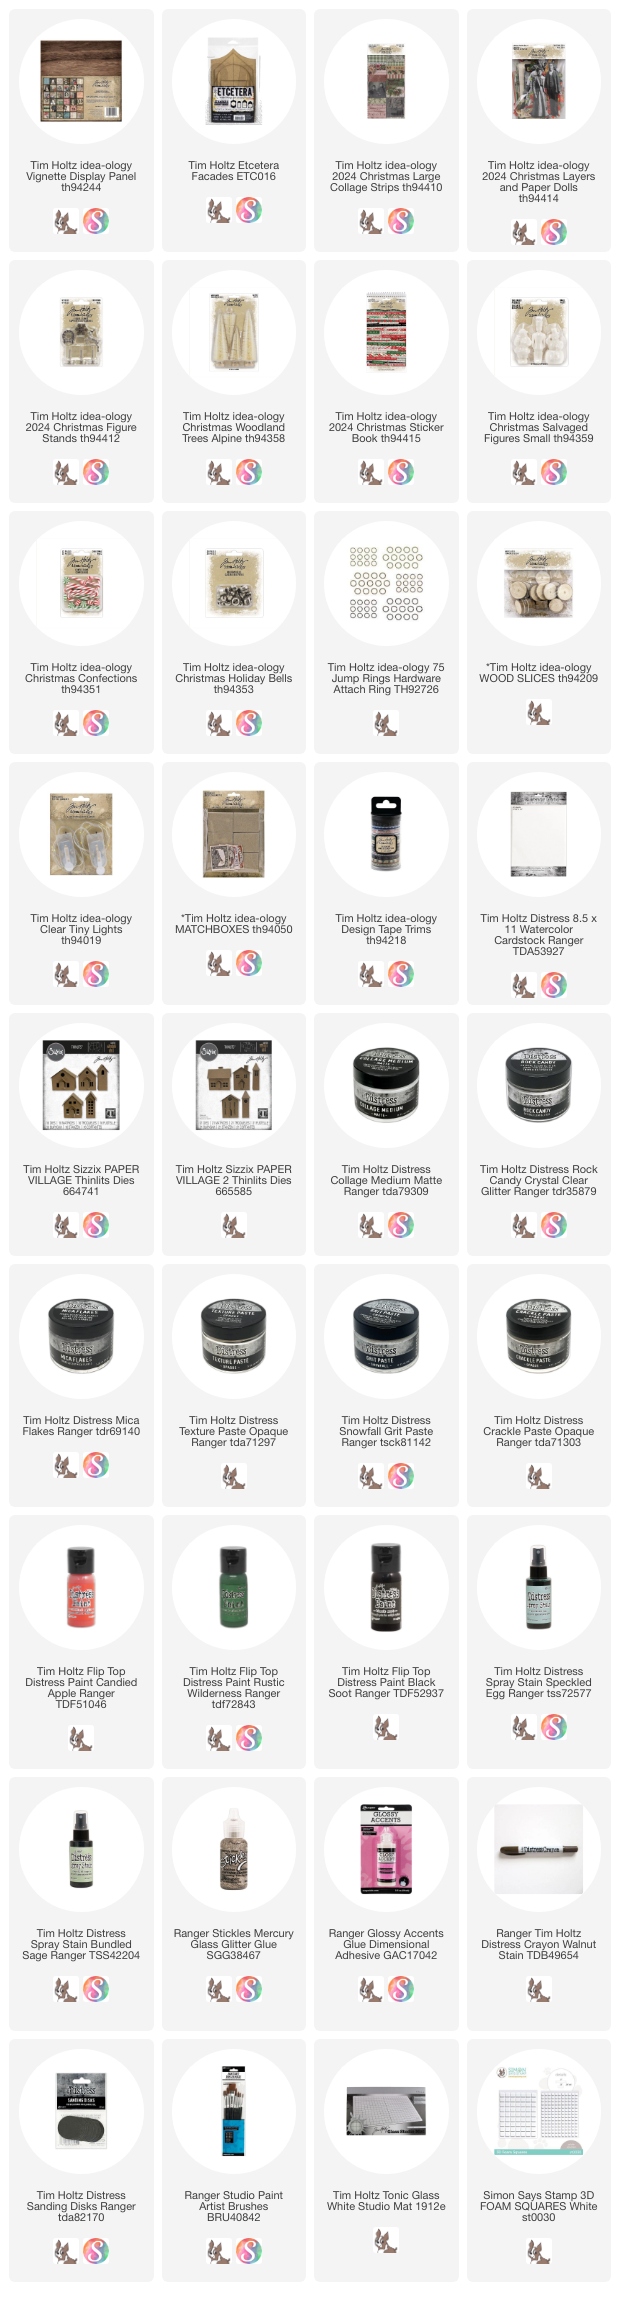
This project started because I had this idea to use the center cutout from the Facades "house shape" (see red square below) in a unique way. I have never added a cutout to a Vignette like this, but it worked out really well. Let me show you how I did it.

I drilled a hole through the bottom of the cutout, then covered it with black Woodgrain paper. I re-punched the hold with an awl before adding the eyelet.
I say, "adding the eyelet" but I really just used a hammer (NOT on my glass Studio mat) to push the eyelet into the hole I made with the drill.
I wanted a brown woodgrain look so I rubbed the ink pad directly over the black woodgrain (you won't be able to see the color on the black paper) then randomly spread Opaque Crackle Paste over the top. The Distress Ink bleeds through the wet paste giving it a brown color. Now leave it to dry so it can do its thing and crackle!
While waiting for the Crackle Paste to dry, I painted the sides (inside and outside) of my Vignette Display Panel with Rustic Wilderness Distress Paint.
Once the paint was completely dry, I added Christmas Collage Strips to the inside of the Panel. I also added another layer of Collage Medium over the top. I love all the different prints and patterns. They work together seamlessly to make a very cohesive background with ease! 
I turned the Display Panel over and added more Collage Strips to the back. The strips fit perfectly on the back, but I did cut one strip so the ladies would be at the top of the tray, not in the bottom half. That's the beauty of the Collage Strips, they can be altered so they fit your purpose!
So the crackle is complete. All along the edge where the Paste was heavier, it has a very fine crackle that really looks like old painted wood. Such a fun technique!
I painted up a few Holiday Bells in different shapes to see which would look best. Once I made my choice, I used a large idea-ology Jump Ring to add the bell to the eyelet.
Next is the Layers ephemera piece that I had in mind for the Etcetera cutout. It fits perfectly! I used 3D Foam Squares to add the ephemera. I also glued two double stacks of bingo chips together to use as risers. If you don't have any bingo chips, then use double or triple stacked Foam Squares. If you use Foam Squares you may need to make 4 separate stacks for stability.
One they are secure, add more Collage Medium.
Then place the cutout on the Display Panel. Let the Collage Medium dry in place before standing the piece up.
Find two poinsettia pieces in the Layers pack. Use Collage Medium to add one bingo chip to each. Let dry.
Add Collage Medium to the back of each bingo chip and add to the panel as shown. The poinsettias should easily slip under the cutout.


While the poinsettias are drying, you can work on all the other parts...

Spray THREE Alpine Trees - 2 small + 1 large with Bundled Sage Spray Stain. Dry with a heat tool, then rough up the branches.
NOTE: I did cut down the back of the large Alpine tree so it can eventually be pushed up (and glued to) the back of the Display Panel.
Add random spots of Opaque Texture Paste to mimic patches of snow.
Add Mica Flakes over the paste. Dry with a heat tool.
Squeeze Mercury Glass Stickles onto deli paper or Studio mat. Pick up the Stickles with your index finger and add to the trees. Use Candied Apple Distress Paint to paint the bases red. Leave to dry.
Once dry, push the large and one small tree together so the branches connect. Set aside.
Use Distress Paint to color a piece from the Figure Stand pack. I chose the wreath but you could also use the deer or the snowflake.
Paint and distress a SMALL Salvaged Figure. I chose Santa since I used the snowman and the toy soldier in a recent project.
  1. Paint the resin figure - leave to dry completely.
  2. Scribble Walnut Stain Distress Crayon on Studio mat. Pick up crayon with a damp brush. Go over figure multiple times to work the crayon into the face features and over body.
  3. Use your index finger to add patches of Glossy Accents over Santa. Sprinkle Rock Candy glitter over the top, then set aside to dry.
  4. Use Collage Medium to add Santa to a Wood Slice. Set aside to dry.
I cut a house using the Sizzix Paper Village die and Distress Watercolor paper. However, the chimney is from the Paper Village 2 set. I think you could make a chimney on your own if you didn't have Paper Village 2 (we're resourceful right?).
That being said, I altered the house making it thinner so that it would fit in the panel. I did that before I glued the house together. When you make the house thinner, you have to make the roof narrower too. My house is 5/8" thick and the roof is 3/4" wide. My roof does not overhang at the back, but sits flush with the back of the house so the house can be pushed up against the back wall.
As you can see in the photo, I mounted the house on a base (not part of the die). You could make a base from heavy paper, but I just used an idea-ology matchbox drawer that I cut in half along the 2" length and then again along the bottom edge so it is about 1/2" high. You can see the difference in the plaid base and an original Matchbox drawer in front. They are the same width but not the same height.
You can see the mechanics better from the back of the house. 
I've added two small wood blocks for stability (and an easy way to adhere to the Display Panel).
I've also cut a hole for the lights that I will add later. I should have cut the hole BEFORE I glued the house together but I didn't so the hole is a bit sketchy. I did add velum to the inside of the house to cover the windows. This will diffuse the light coming from the Tiny Lights.
The tiny red paid paper was from a Collage Strip. The words are from the Christmas Sticker Book.
I used Collage Medium to adhere the house to the base. NOTE: It was set crooked on purpose so the house sits flat against the back of the panel and the base is askew.
So next up, we need a hole for the lights to come from the back of the Display Panel. I used a drill and then an awl to smooth out the paper in the hole.
I also used the outside of the Matchbox to hide the Tiny Lights battery pack on the back.
I tried using all the lights and it was just way too bright in the house so I ended up cutting off half the lights (leaving about 10), then winding the string around two fingers. Because I made the hole in the back of the house so big, it was easy to push the lights into the space.
I used both Collage Medium and a bit of hot glue to adhere the house to the Display Panel.
Next, add the trees on the left. Again, I used Collage Medium on the base and hot glue on the back.
Small tree on the right along with Santa and the wreath tucked in the back.
Once the pieces are stable, use a small Palette Knife to add Grit Paste Snowfall. I chose Snowfall because it will give you an icy effect once it's dry. Work your way across the left side, adding the paste all the way into the back. Try not to cover all the red bases. 
Remember, if you take away some of the paste, use a wet wipe to rub away an excess paste as best as possible. It will not dry clear.
While the paste is wet, add Mica Flakes and the embellishments - Confections covered in Rock Candy and another red bell. The Mica Flakes really add a lot over the Snowfall Paste. It's like they were meant for each other.
On the right side, repeat the steps to add the Snowfall Paste, Mica Flakes and embellishments. 
Printed Green Design Tape was added with Collage Medium (for longevity) around the lip edge of the Display Panel.
And one last thing...
Make a tiny wreath to hang over the door of the house.
I took a silver metallic pipe cleaner and cut off one side the fringe. I wrapped it around a pencil to make the circle and used the needle-nose pliers to close it.
A little Mushroom Alcohol Ink took the edge off the bright silver.
A little Collage Medium and it is in place. Just perfect.
I love the way it turned out! I know that it was kind of a crazy idea to use that cutout piece that way I did, but sometimes a crazy idea works!


Now carry on,
paula