
Grateful to be here today, with a tutorial using product from the new idea-ology release. This was a very easy piece to make - I call it beginner level idea-ology! Everything is very straightforward...and the Collage Strips do all the talking!


Stitch on either side of each Collage Strip and then all the way around the edges of the 9 x 9" square. I chose to cut the strings but you could leave them if you wish.
 Use Collage Medium to adhere the sewn paper to the wood Vignette Panel. Use a brayer to smooth out the surface. You might even turn the panel over and put something heavy in the center till the paper is secure.
 For the collage in the center, I added a circle from the Transparent Layers pack as the bottom layer.
 To adhere the transparency to the panel, I used 1" Scor-Tape (my go-to for transparent things). You can see here that you can barely see the tape through the transparency.

 When the paint on the Word Plaque and Large Fasteners was dry, I used the Texture Hammer to add dents into the Large Fasteners (this was very satisfying, lol).
 The Texture Hammer works perfectly to smash/dent the centers of the new Large Fasteners.


Now carry on,
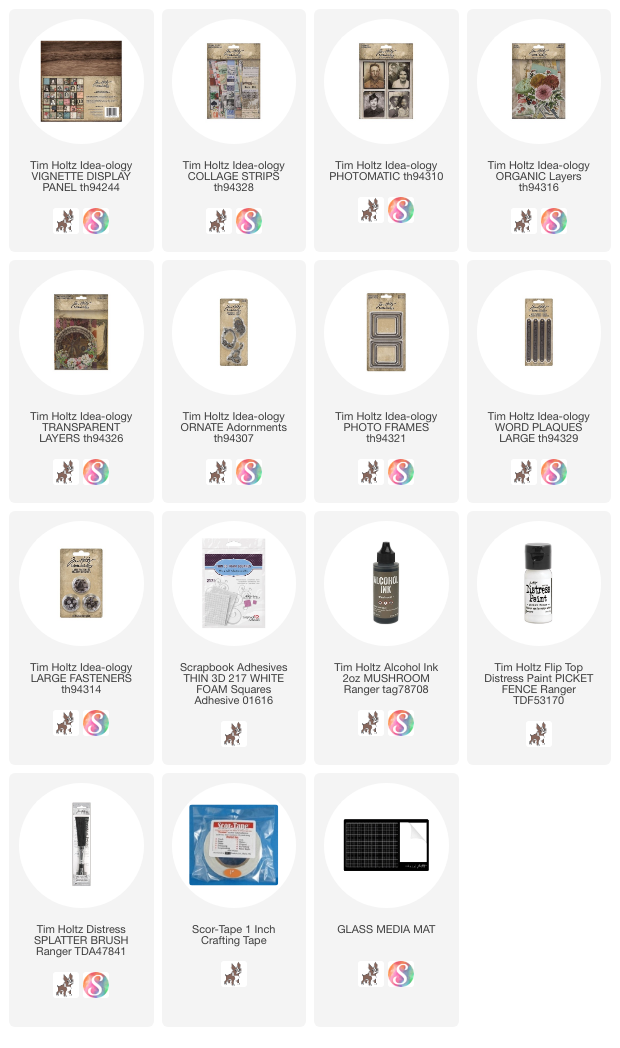


I painted all the metal pieces the same way. Picket Fence Distress Paint, then pouncing over the top with Mushroom Alcohol Ink. I try to paint all the metal pieces at the same time, let them dry together, then add the Mushroom over all, once dry.


I added the Word Plaque along with other new pieces of idea-ology to the collage. Many of the pieces were adhered with foam squares to create dimension over the transparency.
Layers Organic: all leaves, flower and black label
Ornate Adornments: metal flourish
Metal Frame: new frame that comes in 2 sizes
Photomatic: new photo SKU (larger than Photobooth)
This is an easy one, right? but super fun with the rainbow background!

I think the Collage Strips are one of the most versatile of all the new products. You can use them as a strip, you can cut them, use them for labels, fold them into matchbooks (totally going to do that), use as a single color story or in a rainbow of colors! So many uses!
paula


