
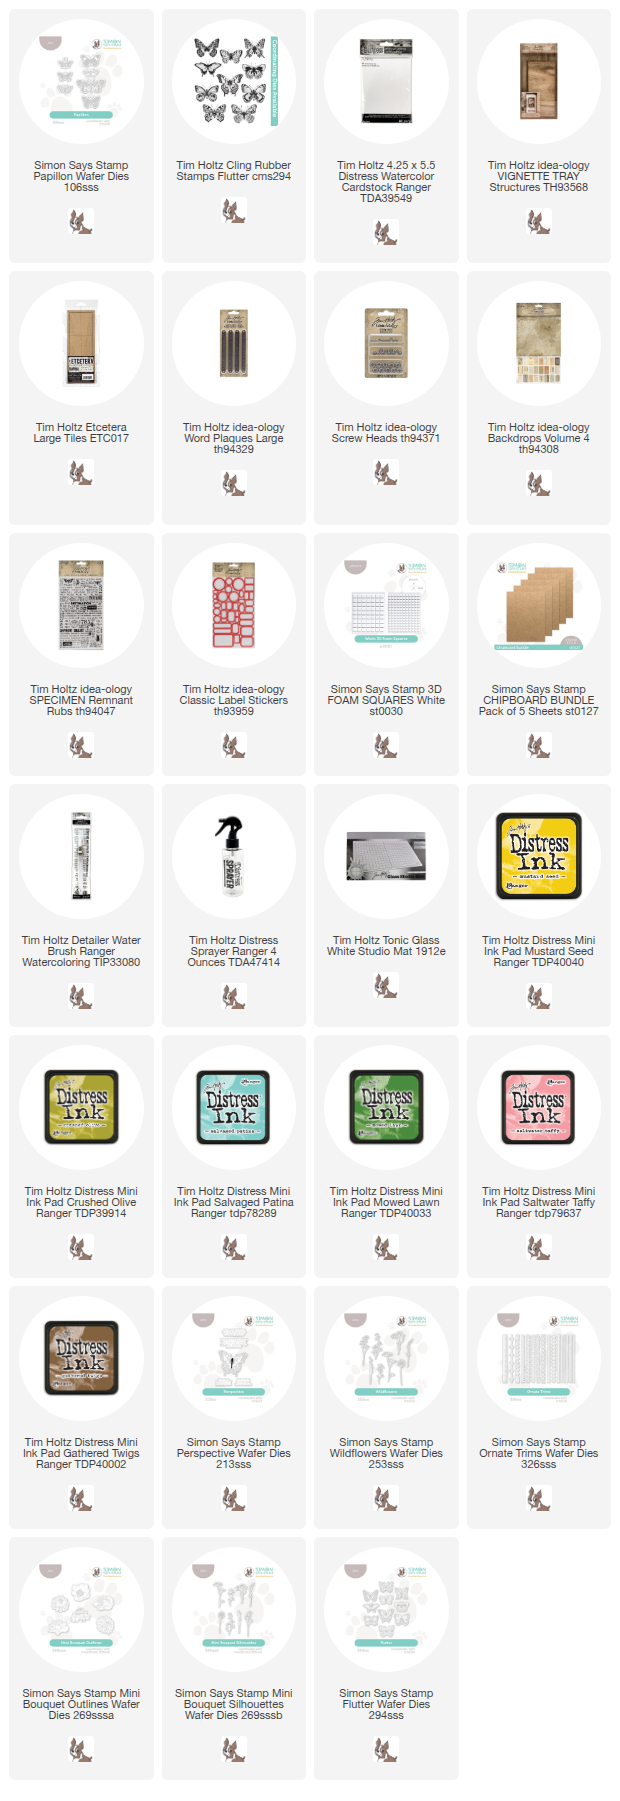
I'm so excited to share another project featuring the new Simon Says Stamp Flutter Wafer Dies! These dies perfectly coordinate with the Flutter Stamp set from Stampers Anonymous, a stamp set I've loved and used for years. This new die set is an absolute game-changer, with ten individual dies that make stamping and cutting a breeze!

To start, I used Collage Medium to add the Backdrop paper from the neutral pack to the tray. Then I added the dark green Design Tape to the edge.

I also covered the back of the tray with paper from the same pack. Any would do, but I liked the papers with the colored squares, so I added a piece from the blues and one from the reds (you can see the seam across the center).


I used the Flutter stamp (CMS294) to stamp the images, then cut them out with the Flutter Wafer Die from Simon Says Stamp. I LOVE this set simply because it just makes it EASY to use any or all of the butterflies!

Here is how I did it:
- Use Distress Ink to color directly on a Flutter stamp.
- Lightly mist with water.
- Stamp butterfly onto Watercolor Cardstock and dry with heat tool.
- Use a Detail Water Brush to color in each Butterfly with Distress Ink.
- Add a 3D Foam Square to the back of each butterfly.

The dies even cut out the antennas!


Make a puddle of Gathered Twigs and water. Pick up the sticker with your index finger and dip it into the ink. Dry with a heat tool (I do that while the label is still stuck to my finger). Such a quick and easy technique that I use also every day!
 Now add the butterflies and the tiny labels to the tray.
 I also added the large Word Plaque with Screw Heads to the tray with 3D Foam Squares. White acrylic paint helps the words to stand out.


I hope this post shows that you can make something really special even using a just a small butterfly!
Now carry on,
Paula
please note: the Flutter butterfly wafer die used in todays project is at the bottom of the list
No comments:
Post a Comment