
Hello friends,
I have been sharing many of the Eclectic Elements fabric makes on Instagram, but today I have a step-out tutorial for the fabric flowers here on the blog. I did not create this pattern/idea. I found it on Pinterest back in 2013 (I'll link it at the bottom). The flowers are easy to make but you do need a sewing machine for the gathering stitch. When you make them assembly line style (cut all fabric, iron all fabric, stitch all fabric, gather all fabric, etc...) a bunch of flowers can come together in an afternoon.

What you will need:
sewing machine
5 x 44" fabric strips (one for each flower)
sticks for stems (about 12" long)
hot glue gun (with lots of glue sticks at the ready)
fabric marking pen
thread
scissors
pinking sheers (optional)
iron
So lets get started with the fabrics I used:
Spellbound - orange damask
Crossbones - skeletons
Manor - rosette
Foreboding - Plaid
Spells - text (flower is in the back and not shown above)


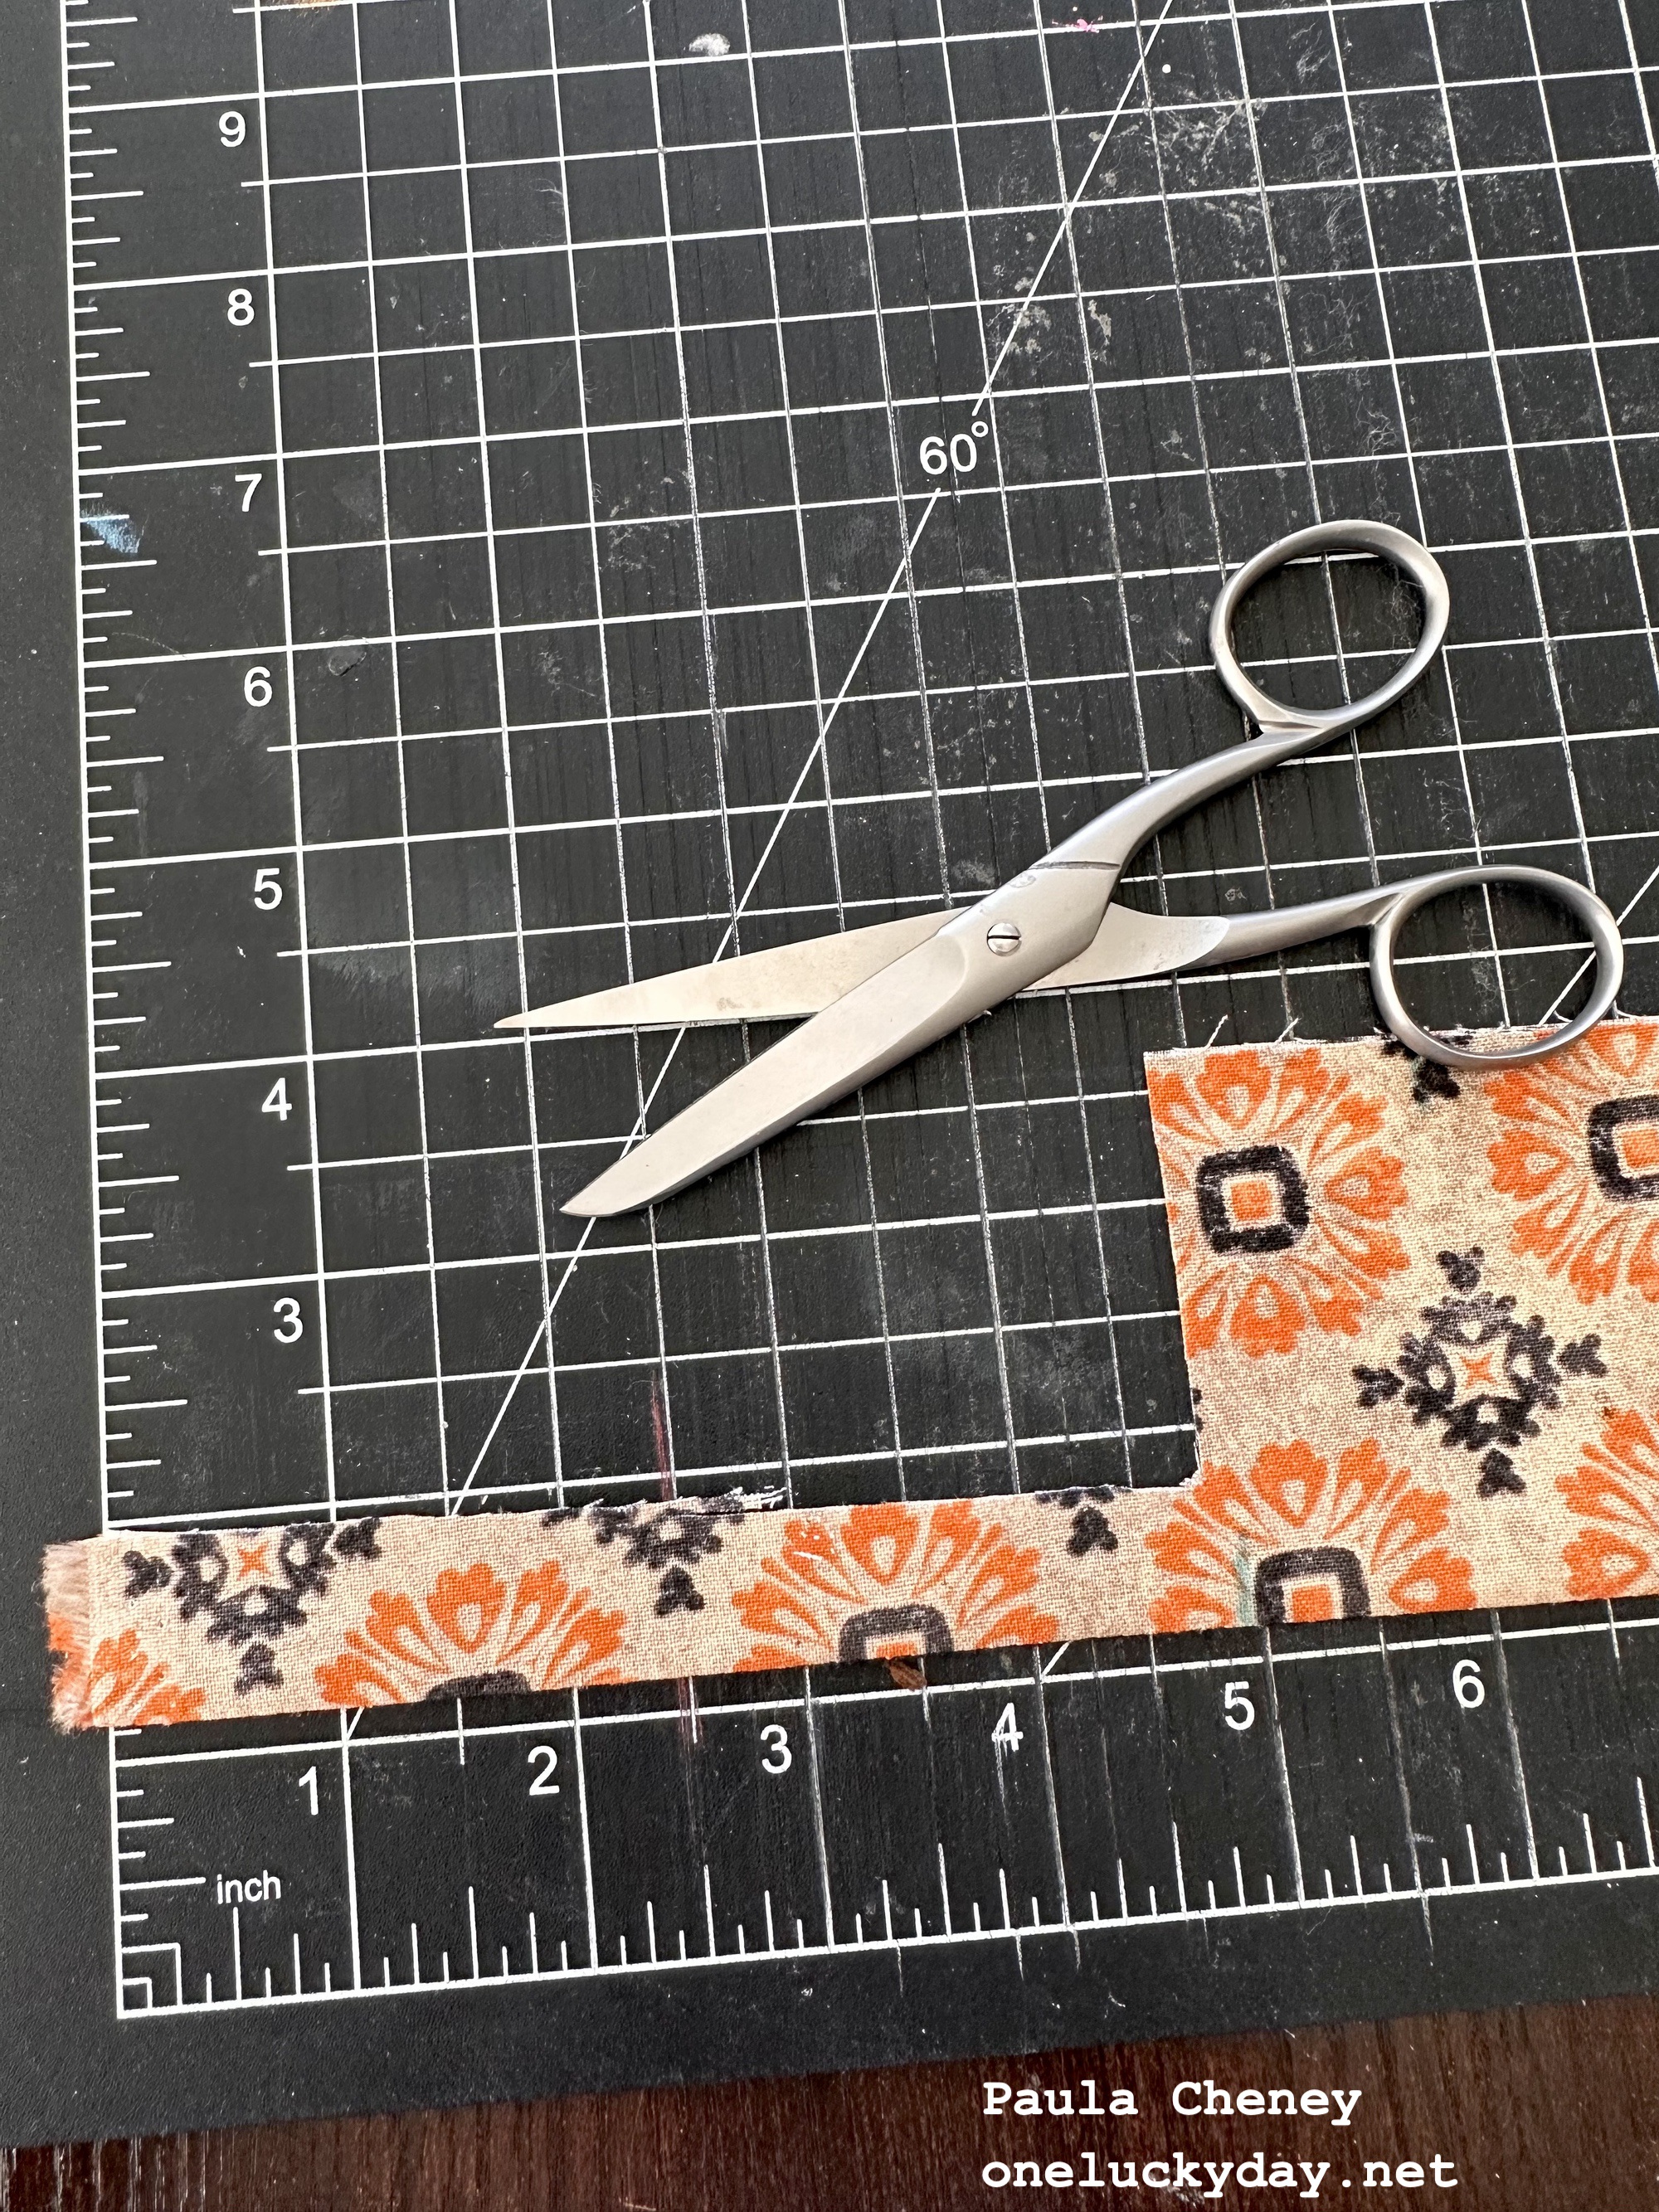
I cut the five different Eclectic Elements fabrics into 5" strips (5 x 44").
(My fabric came from a bolt so it is 44" wide)


Use a marking pen to mark the fabric about every 2 1/2 to 3".
NOTE: You can mark the fabric on either the raw edge side or the folded side. If you mark on the raw side, the marks will be cut away, so you can use whatever pen you want (like a Sharpie in a pinch).

NOTE: There is also the option to cut the scallops and then sew, but I thought this way was easier and came out fine in the end.
 Next is to cut around the scallops with pinking sheers. If you don't have pinking sheers, just use regular fabric scissors.
 Now that you have cut around the scallops, it's time to gather the basting thread to begin shaping the flower.
 Take the tail of the fabric and make a knot around your stick (your stem). Think of the shape of the center of a rose, it kinda looks like that! Your goal here is to cover the end of the stick.
 Use a hot glue gun to secure the tail to the stick (this area will get covered up).
 Now start wrapping, gluing, wrapping, glueing until the flower is formed.
 What I have learned is that at first, the fabric is glued to the stick, but after that, the fabric is glued to itself.
 This makes much more sense when you see the finished flower from the bottom. You can see the flower is flat at the bottom because of gluing the fabric to itself, not to the stick. This method makes the flower full rather than being stretched-out down the stem.
 I bought black leaves at Joann (they were part of the bunch of black roses). Five leaf stems came on the black rose bush which worked perfectly since I was making 5 flowers. I just hot glued the leaves into place.


NOTE: You never really see the underside of the flower, but if you were concerned, you always could add some Spanish Moss with more hot glue.

 Well, there is the flower tutorial. I hope this was helpful and NOT too confusing! Once you make one, you will know what method works best for you.

The flowers look great in an old apothecary bottle. I could swear I just saw bottles like these at Joann!
Now carry on,
paula
Props to the original maker of these fabric flowers - see her blog post from 2010 here. She stopped blogging in 2015 but the blog post is still available.
paula
Love it!!! Thanks for sharing this with the great photos.
ReplyDeleteThose don't look hard to make. Thanks for the tutorial Paula! Love these flowers.
ReplyDelete