
I sure am happy to be here today sharing a make from today's idea-ology YouTube LIVE with Tim. It is aways amazing to me to see product put into use, that Tim and I dreamt up more than a year ago. To be honest, sometimes when the box comes, it usually has stuff I forgot about even working on.
No matter...today all the makers will begin sharing what they made with the new product. I know that it has been hard on all of us waiting for March 4th!
This simple canvas is really a two day project. Day one - make the canvas background and Day two - make the collage. Let me explain...


 The last thing was adding the Quote Chip Labels. Here I used one of our Label Frames which fit the Quote Chips perfectly. There is a bingo chip under the Label to raise it up enough to go over the bottom of the Snapshot.
now carry on,
paula

I wanted to use the new Collage Paper Palette for this project, but I thought I might use it in a unique way.
I've done this before, but the technique was always used for covers of mini books. Today, I decided to use the canvas I created over a 6" Square Vignette Box. I liked the wood box idea since it gave the opportunity to use nails in the project.
Now back to the Collage Paper + Canvas for this project.
I like Duck Canvas Fabric (natural) for the weight. I buy it at Joann Fabrics but I am sure there are many other shops that carry it.
Our Collage Paper is 6" tall, so it is the perfect size for my 6" wood square.
TIP: One thing I have learned over the years, is that the canvas shrinks a bit (mostly side to side) so for this project I cut the canvas 6 1/4" wide x 6" tall.
1. Cut the Collage Paper a bit wider than the canvas so you do not have to be exact when laying it down. It's better to trim off both edges with scissors or better yet, a rotary cutter, when dry.
2. Working quickly, add a good amount of Collage Medium directly to the canvas with a stiff brush, like a small Collage Brush. You need stiff bristles to get into the weave of the canvas - a soft brush will only add glue to the surface, not down in the weave. Make sure the entire piece is covered with glue.
3. Lay the Collage Paper over the canvas and press down. Make sure your hands are clean so they do not stick to the Collage Paper when pressing down. Press, press, press. Make sure it is adhered. If you can see white spots where you missed the glue, you might try lifting the Collage Paper and trying to add glue underneath. I've done that, but I wouldn't recommend it, if its your first rodeo.
4. Once you have pressed the Collage Paper into the glue, add another thinner layer over the top. You can use your finger to smooth out any bubbles, but make sure you have Collage Medium on your fingertip so it will move smoothly over the surface.
5. Now set it aside to dry (or use a heat tool). Even if you use a heat tool to dry the canvas, it will still dry even more overnight (and shrink just a bit). I like to dry it with a heat tool, then place it on a non-stick surface, putting a book on top and leaving it over-night to cure. That way it dries nice and flat. But that's me - you can just leave it out, and it will be perfectly fine and dry by morning (although your edges might curl).
6. Once canvas has cured for 24 hours - cut to size.

Here are a few links to other projects I've made using Collage Paper:
I machine stitched twice around the canvas with neutral thread (I hope you can spot that in the photo) before adhering the small canvas to the wood Vignette with Collage Medium. Once secure, I used the Distress Splatter Brush to flick Picket Fence Paint over the top. I love how the white paint pop over the Palette Collage Paper.

The collage portion was very simple once I picked the Snapshot photo to use. You might think it is a Paper Doll, but I liked the idea of cutting away the background, leaving only the ground they stood on.
Once that was done, I used Distress Crayons to color the clothes - Fossilized Amber, Rust Hinge, Uncharted Mariner (with another blue mixed in) and Walnut Stain. The color don't matter really, I just used some colors that my eye spotted in the background palette. I colored them with a Detailer Water Brush and a few cotton swabs.
The envelope, flowers, blue ticket, all came from the new Palette Ephemera pack. It's the biggest pack of Ephemera we have ever created. So many good pieces to choose from!

The collage is layered using foam squares, even the envelope in the background was given 2 pieces of chipboard + foam tape to raise it off the surface of the canvas.
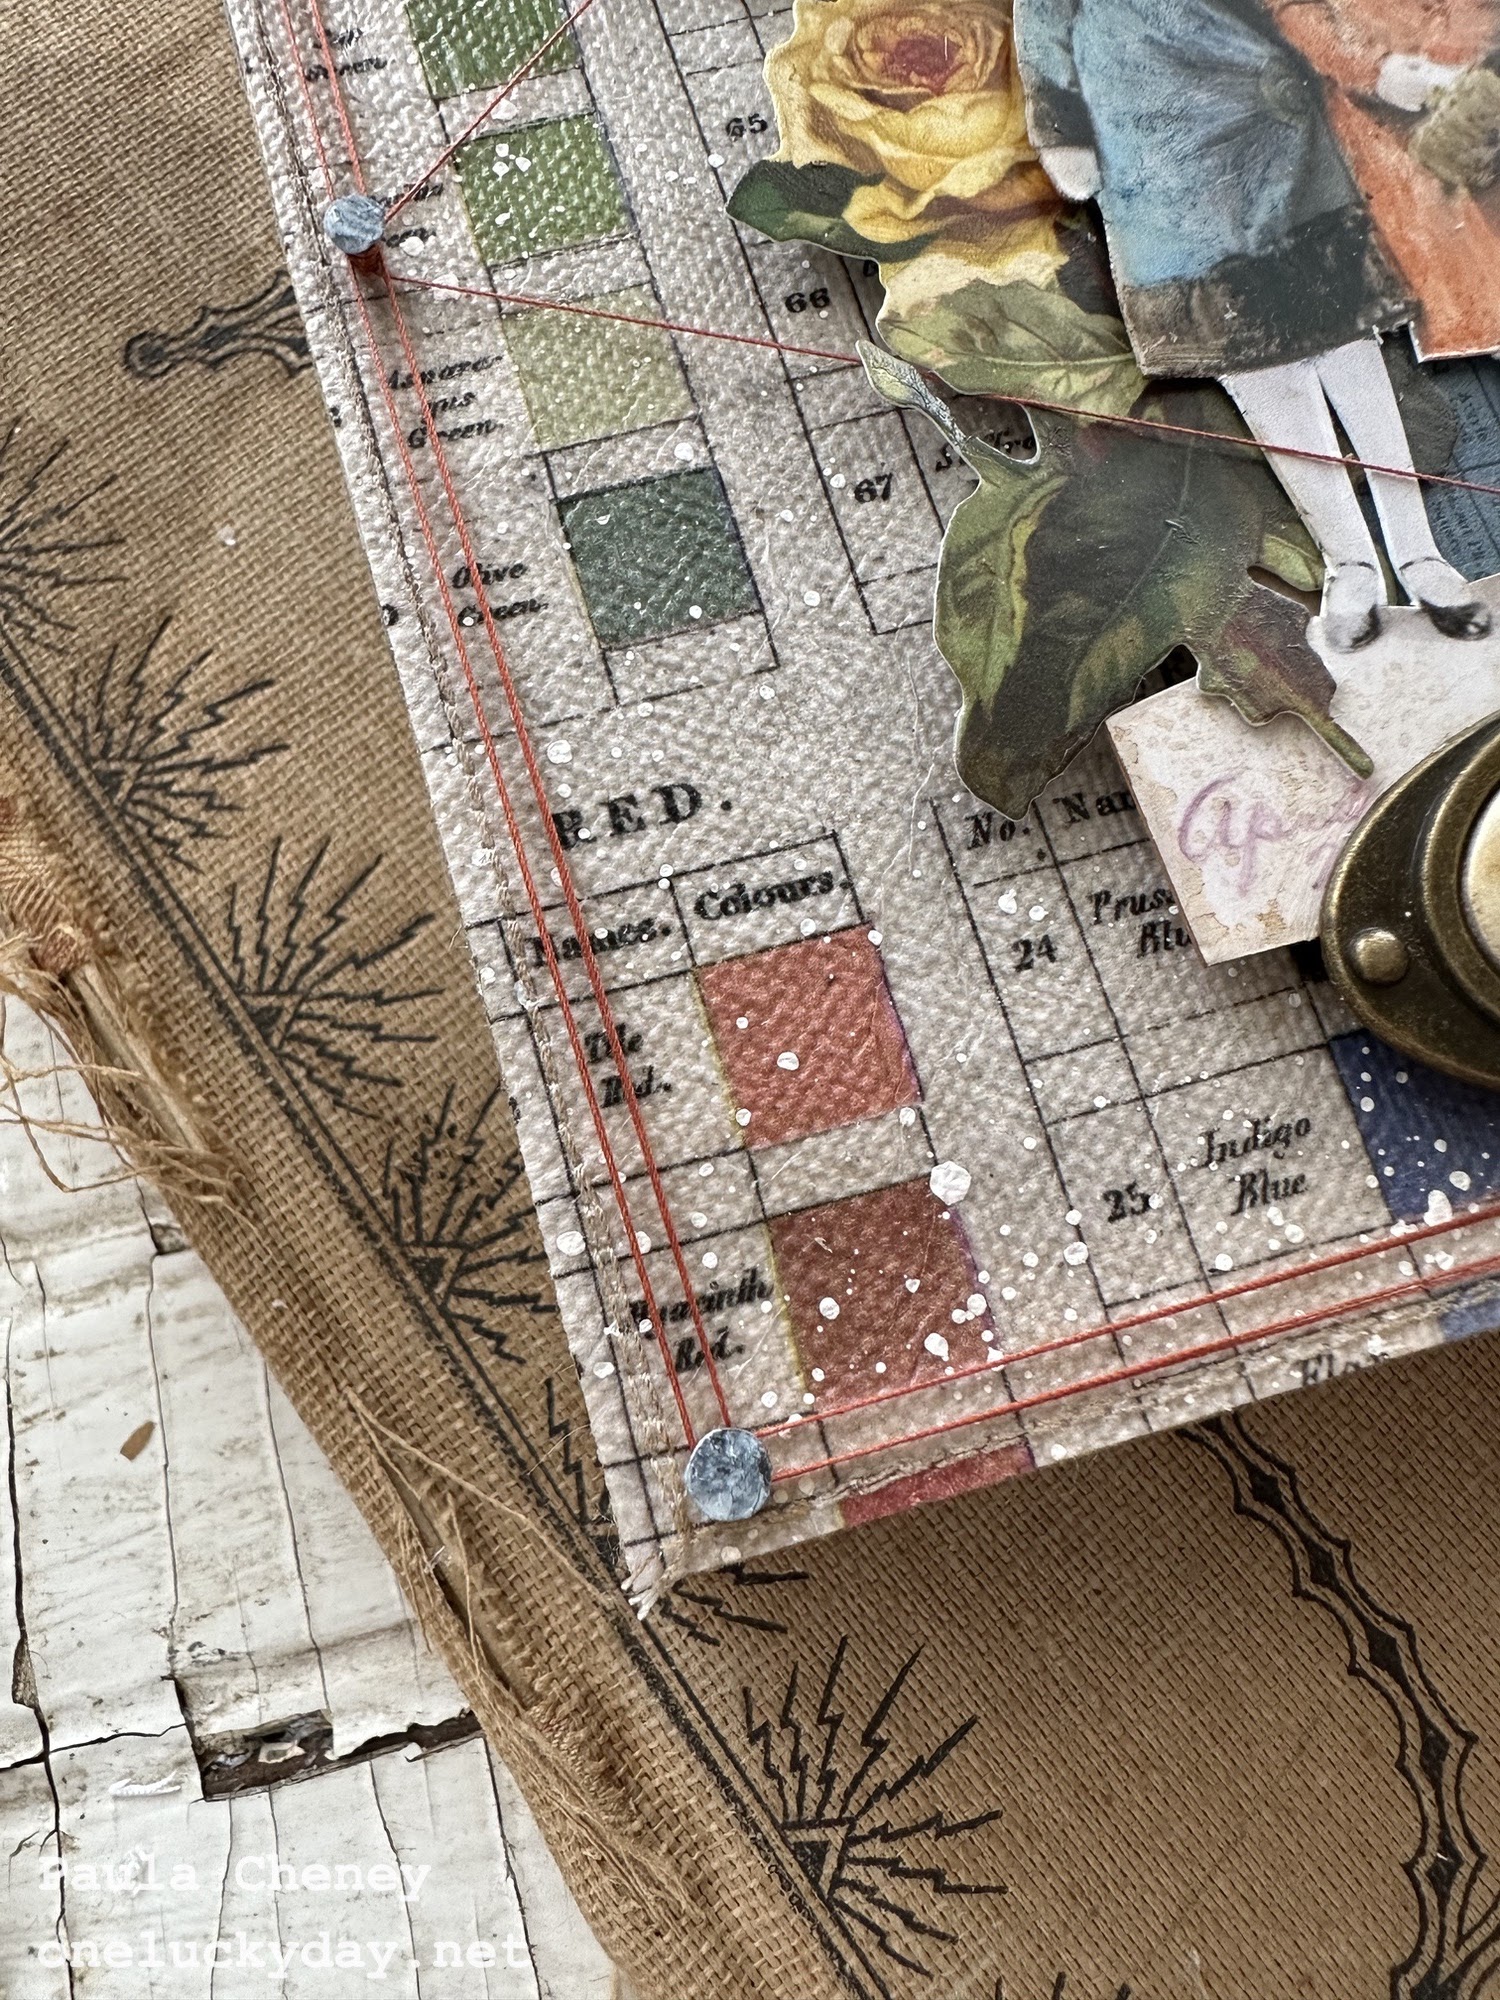
Once the Collage was done, I used the Texture Hammer to hammer idea-ology nails into the wood substrate. I started with the 4 nails in the corners (winding around and around) and then decided how I wanted the thread (it is just sewing thread) to criss-cross the collage. I added the nail on the left side, then one at the top and the last one at the bottom.

When I finished with the string, I made a knot on the corner nail and tied it off. Then for good measure, I made another knot, but this time it got twisted and made a funny loop. I decided I liked the quirky knot, so I left it.


One of my favorite makes from the release...love both new Collage Papers!
paula
I LOVE this!!!! It's gorgeous!!!!
ReplyDeleteI cannot wait to try this technique. Thank you for such clear instructions.
ReplyDelete