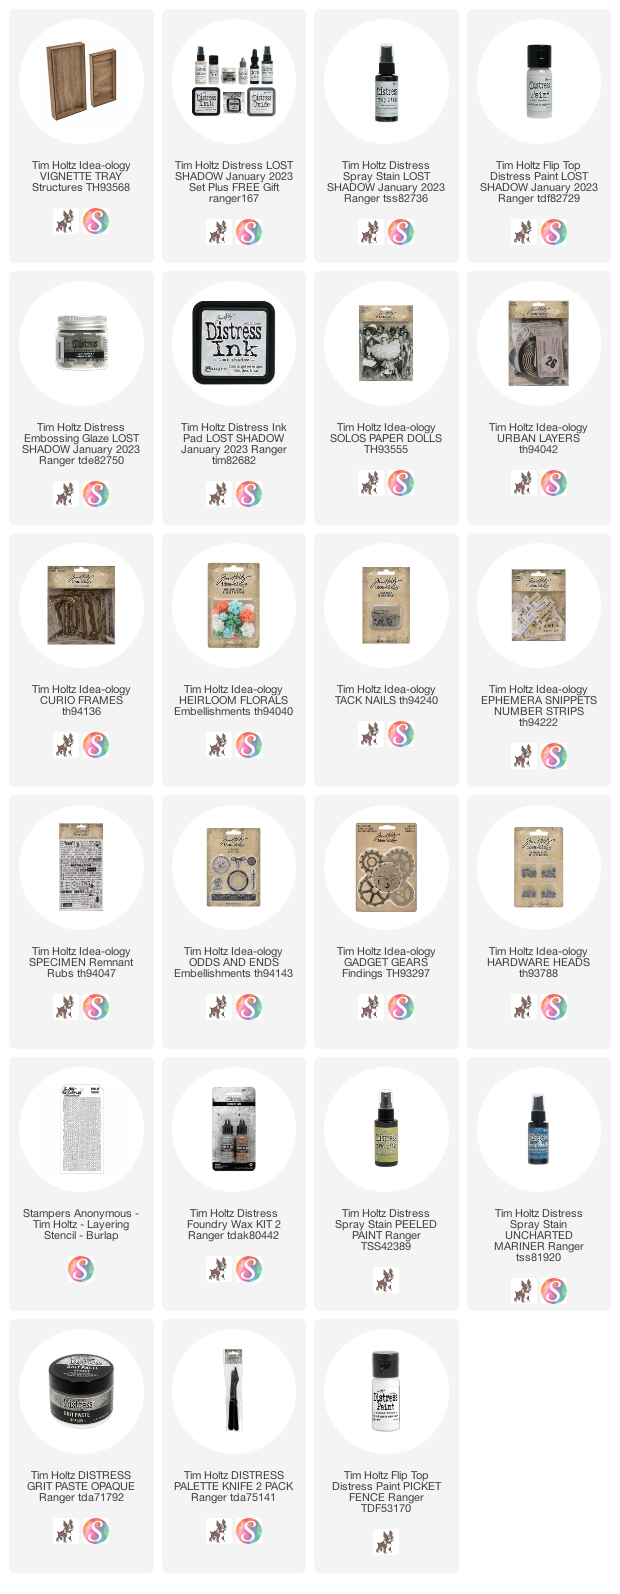
Just popping in with a quick post about my small art panel made with Lost Shadow! I love his little project! The layered details are what make it special...layering of Distress color, layering of paper pieces, and the layering of metals...they all work together to create an interesting piece with both color and texture!1. I started with a piece of Watercolor cardstock - I like that it's thick paper that will hold up to ink, water, and texture paste. I used the Burlap Stencil to add the texture with Opaque Grit-Paste.
2. Once the Grit-Paste was dry, I sprayed three Distress Ink color on my mat: Lost Shadow, Peeled Paint and Uncharted Mariner. I spritzed a bit of water directly onto the paper, then pressed it into the ink. Because the Grit-Paste is raised, you sometimes have to push into the ink or add mores water to make the ink run so all the spaces get filled in.
3. Once the ink is dry, I mounted the paper on a small Vignette Tray with Collage Medium.
4. Once the paper is secure to the tray, I squeezed out a dime size portion of Silver Foundry Wax on my mat. I used my finger tip to pick up the wax and wipe it randomly over the raised surface. Then heated it till it turned silver with my embossing gun.
NOTE: It is very hard to even spot here because the camera does not pick up silver very well, but rest assured it is there and gives another layer of great dimension.
Adding the layers in the most fun because anything goes.
The big shipping tag at the back is from my favorite Urban Layers Ephemera pack (unfortunately, recently retired). I inked it and broke the edges down to create some age.
I also sprinkle Embossing Glaze randomly over the tag and it melted right on the tag WITHOUT using Embossing Ink...crazy, right?
I added the tag to the tray with foam tape and an idea-ology Tack Nail that I purposely bent.
The Curio Frame which comes in gold, was also transformed with Silver Foundry Wax. I love the look!
Now for the fun part...adding all the layers of paper and metals.
I will mention how I colored all the metals.I first painted them Lost Shadow Distress Paint, then when the paint was still tacky, I sprinkled Lost Shadow Distress Embossing Glaze over the paint (randomly) and heated it till it turned into a shiny glaze. One some pieces, I did this multiple times. I also added Uncharted Mariner Distress Crayon (set 14) on the wheel shaped metal (from the Odds and Ends pack) to get the blue highlights.
Now cary on,
paula

The resin flowers are of course my favorite Heirloom Florals...this time transformed with Mushroom Alcohol Ink instead of Foundry Wax (like my last post). You can see they have been layered over another gear, a bent nail and some string died with Gathered Twigs Distress Ink.
You can better see how the Embossing Glaze adds to the Lost Shadow Paint underneath on the gear. This is just paint and glaze...no embossing ink was used. A Hardware Head was used in the center to make it appear as if the gear is really screwed into the substrate.
I also added Remnant Rubs (Specimen) to a few spots on the surface, layering the bugs over numbers and text.
The last step was to add white paint splatters over the surface. I used Distress Paint in Picket Fence and a Distress Splatter Brush. The small white splatters really pop against the background and give yet another layer to the metal pieces.
This is an easy one so I hope you give it a go! So many colors go with Lost Shadow, this could come out 50 different ways and with any theme imaginable!
paula


I have so many small Vignette trays...this one looks like it would be tons of fun and quick work. Thanks for the tutorial.
ReplyDelete