
Hello friends,
I thought I would start off the month by sharing a couple Christmas cards I created with the new Cozy Christmas stamps from Tim holtz/Stampers Anonymous. This is such a fun stamp set and very easy to color with so many mediums, from Distress Ink and Oxide to Distress Crayons!


Then I chose a background stamp and a stencil to add a little detail to the corners of each card. I love a polka dot for every holiday, but the plaid stencil looks good too! Use what you have!


For the plaid stencil, I added the Rustic Wilderness with a Distress Brush so I could get into all the nooks and crannies of the stencil. Next comes the stitching...I think I should have stitched it in red though!
 Then a little foam tape before adhering each front to a Distress Kraft Stock foundation (4 x 4").
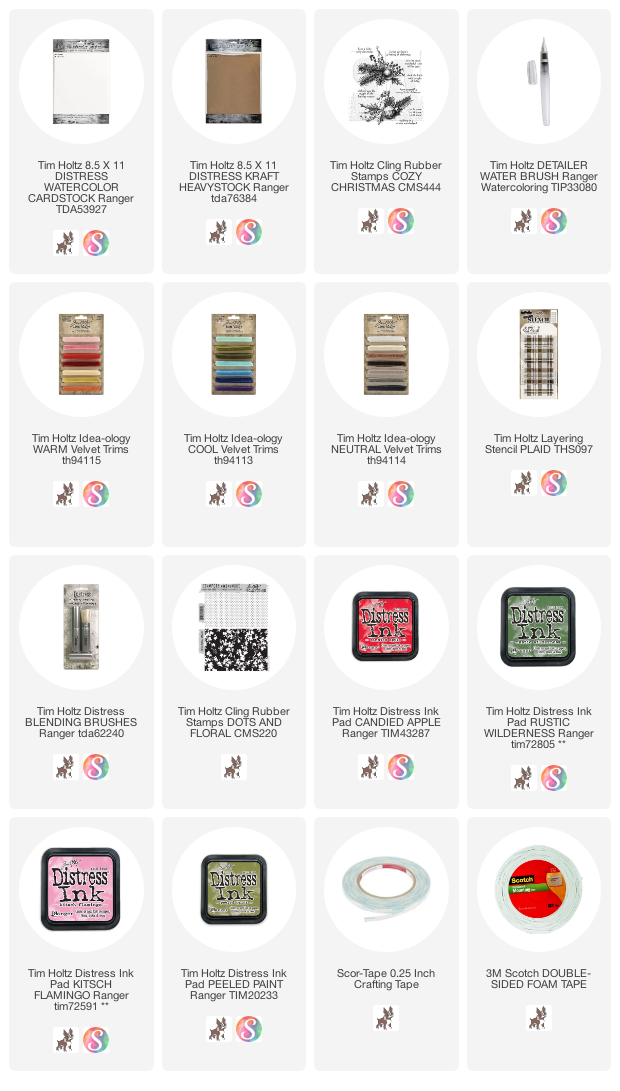
 To create the little bows, I gathered some Velvet Trims (we have great colors to choose from). You will also need a hot glue gun and 1/4" Scor-Tape.

 Step 5: Open the ribbon (but maintain the pinch as much as possible).
 Step 6: Add a bit of hot glue and quickly pinch together.
 Your bow should look like this...
 Step 7: Press down on the "knot" bow so the "pinch" is at the back. Cut ends to desired length.

I stamped each card with a sentiment, using Archival Ink.


Step 1: cut two pieces of Velvet Trim 2 1/2" long (3" for a larger bow).
Step 2: Add a small piece of Scor-Tape to the center of one piece.
 Step 3: Fold the ends toward the center, securing on the Scor-Tape. You should have an open loop on each end.
 Step 4: Wrap the second piece of ribbon around the loop and pinch the center.


I swear it only takes a couple tries to get a perfect looking bow!


 now carry on,

Add bow to your card with hot glue.


paula
Absotively gorgeous, Paula! Great bow-making technique as well.
ReplyDeletewell that is super sneaky Paula! I love it! I can never get my little tied bows to not be a bit tweaked.
ReplyDeleteWell, my first try at the bow was a failure. Will be trying again on my next card. Used a die cut bow as a substitute but I think it's an inferior solution. I'll keep on trying. I hate wasting my beautiful velvet trims though.
ReplyDeleteYou're a genius!!! Thank you for sharing this!
ReplyDelete