
Hello Friends,
Today I'm sharing photos of the Halloween Card File Box I created for the idea-ology Halloween Release. This is the second Card File I have made, so I just reused the drawer I created for the first one. I put the spring cards in a zip lock bag for safe storage and have added some fun Halloween cards for the season. Maybe I need to make Christmas cards for it too so I can leave it out all year long? I think I need to add that to my list of projects to get done in November.
I love these cards because I love the process of making them. It's the kid of project that you don't have to think too much, you just put on the music and go for it. Following the same formula as the first box of cards I made works well...
- Cut Kraft Stock to size 3 1/2 x 4 1/4" (you need 18 - 25 cards/dividers to fill the box).
- Add paper backgrounds to all cards.
- Color all the Paper Dolls.
- Add ephemera + Paper Dolls + words.


All cards were cut using the Black Kraft Stock Stack, which is a pack of 24 sheets of heavy, black, 6 x 8" Kraft Stock (black on one side, kraft on the other). That way all cards are black on the backside without any effort.
For the front of the cards, I used my Tonic Trimmer to cut various strips of paper, from 1" to 3". Once I had a little stack of papers, I glued them to the cards with Collage Medium, cutting away the excess paper with scissors. Could not be any easier.
Once the cards were covered, I used a corner rounder to (obviously) round the corners of each card. Next up is the stitching. I love stitching on paper so I added some stitching on each card, leaving the threads long (this really does add to the project).


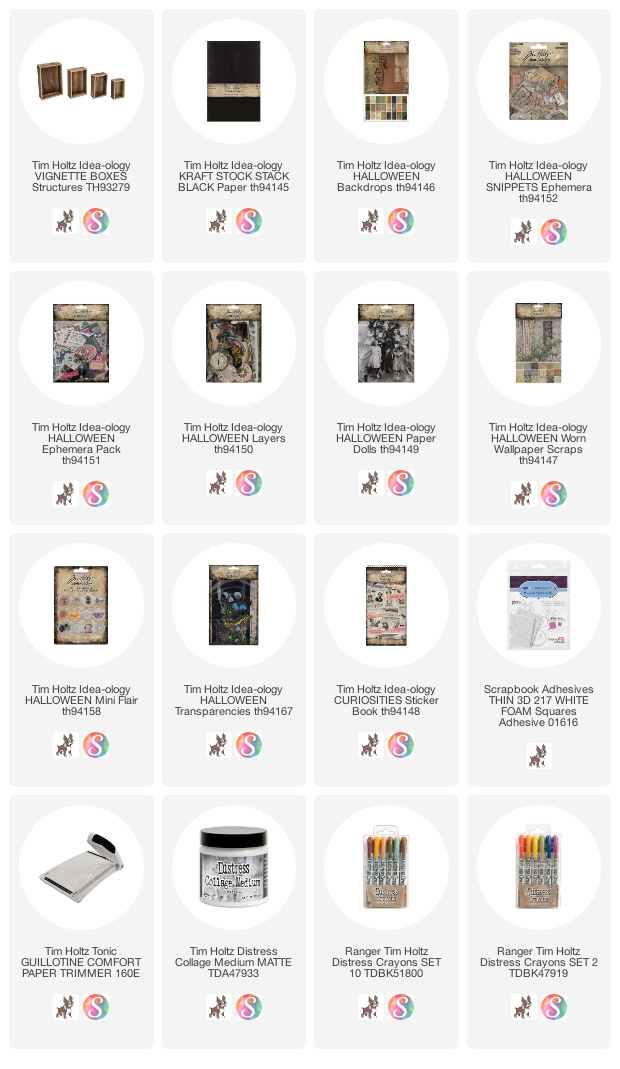
Now you are ready to assemble the cards using the Halloween Ephemera pack, Mini Flair Halloween, Halloween Layers, and the absolutely fabulous Snippets pack that has all the tiny labels you will ever need...until you use them all and have to buy another pack!

words - Sticker book
crow - Ephemera pack
crayons - Rustic Wilderness on the sweaters + Aged Mahogany on cheeks

 words - Sticker book

button - Mini Flair
blue label - Snippets pack
words - Sticker book
crayons - Crushed Olive Crayon on the background + Aged Mahogany on cheeks
bottom and left side background paper - Worn Wallpaper Halloween
card with calla lilies - Ephemera pack
round label - Snippets pack
crayons - Crushed Olive Crayon on tie + Faded Jeans for suit


flower - Worn Wallpaper Halloween

left background paper - Worn Wallpaper Halloween
flashcard - Ephemera pack
label - Snippets pack
button - mini flair pack
mask - Sticker book
crayons - Weathered Wood on dress + Crushed Olive detail
stripes on socks - POSCA pen


left background paper - Worn Wallpaper Halloween
pharmacy label- Ephemera pack
label - Snippets pack
mask - Sticker book
words - Sticker book
crayons - Chipped Sapphire suit + Crushed Olive vest and shirt
buttons on shirt - POSCA pen

butterfly - Layers pack
31- Ephemera pack
label - Snippets pack
words - Sticker book
crayons - Rusty Hinge dress
stripes on socks - POSCA pen

poison label - Ephemera pack
bat wings - Halloween Transparency packlabel - Snippets pack
words - Sticker book
crayons - Peeled Paint on dress + Aged mahogany on cuffs and collar
stripes on socks + buttons - POSCA pen
 These next few cards were created as filler or "breaks" between the cards.

lotto card - Layers pack + flash card - Ephemera pack
spiderweb - Layers pack
In Loving Remembrance - Layers pack
All buttons - Mini Flair Halloween
 owl - Layers pack

patterned paper - Worn Wallpaper Halloween
button - Mini Flair Halloween

 green tag - Ephemera pack + man and words from the Sticker book.


now carry on,


prescription card - Layers pack
crow - Ephemera pack
button - Mini Flair Halloween
word - Sticker Book


As for the box I put the cards in, it is the largest of the Vignette Boxes that comes in the pack. I had my husband cut two pieces of wood to hold the cards up. These were wood pieces from other Vignette projects where I did not use a shelf here or there and saved the left-over pieces (I never throw that kind of stuff away). Once the dividers were glued in with Collage Medium, I painted the inside black so it looks like it came that way. Once dry, I chose a paper to cover the body of the box. Any pattern will work!

I hope you give this project a go! I love making these cards, in fact I find them kinda relaxing, as there is not much thought...because anything goes! The layers of Ephemera and Paper Dolls are fun to create with and tell a story, like the boy with the crow on his head!
paula
What can I say?? Absolutely fantastic. Spooktacular...
ReplyDeleteThank you so much for sharing. I just love your work.
thank you!
DeleteAnother fabulous project! Watched the videos of the Halloween and Christmas makes, so inspiring. Question; have I lost my marbles or did one of your makes include a vintage folding ruler?
ReplyDeleteyes, that is a Christmas one! I will share it in November.
DeleteGreat project!
ReplyDeletethank you!
DeleteJust fabulous - and great to hear/see how it all comes together. Love the backdrops and of course the tinted dolls - what an absolute treat of a Halloween project.
ReplyDeleteAlison x
thank you Allison - btw, I am loving your watercoloring !
Delete
ReplyDeleteI ADORE this!!!!I AM going to give this a go!!!
I’m saving it all up for my
Winter-in-Florida when I can really relax with it!!!
THANK YOU for sharing!!!!
thank you so much!
DeleteOne of my faves and on my list to create! I fell in love with this concept after putting your kit together with my Mom!
ReplyDelete