
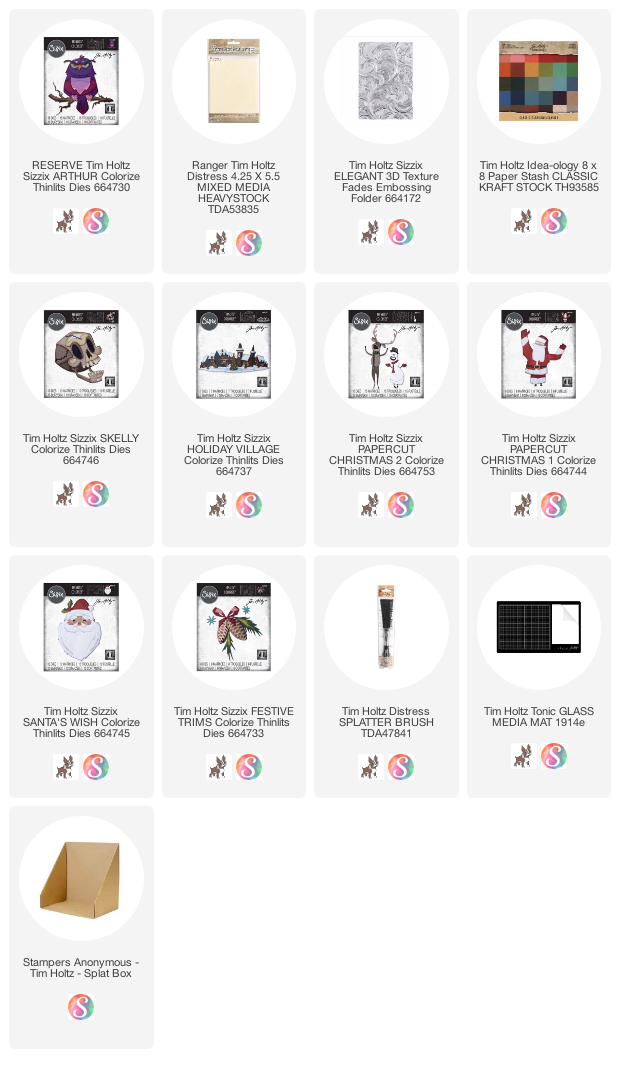
Wasn't the Sizzix Chapter 3 release great? So many great dies to choose from, including Arthur the new Colorize owl. My niece Ellie (13) has been staying with me (on vacation from her own house across town) due to all of choosing to be homebound as much as possible during the pandemic. She saw an Arthur card (created by @ting_11.3 on Instagram) and loved it so much she decided to see if she could make the card all by herself. Now I've put a few Colorized dies together and I wasn't sure if she could do it, but gosh did she prove me wrong!
A few things helped in todays adventure:
1. Watching the Sizzix "how to" video (more on that later).
2. Coloring all the Mixed Media Heavystock with Distress Ink before die-cutting.
3. Backing the papers with Sizzix Permanent Adhesive after coloring them.
So lets get started:
She used Distress Heavystock cards and colored them with a variety Distress Inks. Yes, she really did color those cards all by herself.

Once she chose the paper for each piece, she added each card (or portion of card) to a Sizzix Permanent Adhesive sheet. Then when the die was cut, it was easy to peel and stick when putting the pieces together.


1. Go to the Sizzix site: https://www.sizzix.com
2. Scroll all the way to the bottom of the page till you see RESOURCES. Then click on Sizzix Videos.

3. There you will find all the the Sizzix videos including the 7 new Colorize from Chapter 3.

4. Click on Arthur to play the video (on the site, not here, lol). Then follow the steps to build the die.

TIP: It can also be helpful to watch the video even before you choose a color family because it goes through each color one by one and shows you how it is used. If you are a visual learner like me, this is SUPER helpful.

Now back to the task at hand. Ellie easily layered the pieces following the video and the markings on the owl. Tim has made it very easy to see exactly where each piece needs to go with debossed lines (you can see them on the tail here).
 The final pieces have been added!
 To create the background, cut cardstock to fit the 3D folder and color with Distress Stain.
 Spritz the back of the cardstock with water before adding it to the folder. Run it through the Vagabond three times to get the best impression. Cut off excess paper.
 She moved the 3D card to the Splat Box and use the Distress Splatter Brush to add a spray of Picket Fence Distress Paint. She is a master of this tool...I asked how she got so good at using it and she said Tim taught her (meaning she has watched all the Q&A videos).


We cut the card base in black and Ellie picked a gold color from the Classic Kraft Stock pack to mount the card front on. She added a few thin foam squares onto the back of Arthur and voila, the card is complete. What a fun die!! Really, Tim and Sizzix could not have made this easier to make and truly not as hard as you might think. Well done Ellie! (you know I gave her that cheesecloth, right? wink wink)

Again, thanks to @ting_11.3 for the inspiration!
now carry on,
paula

Wow, Ellie did a fabulous job on her card...we should be so fearless...
ReplyDeleteEllie what a fantastic owl! I'd like to vacation with your Aunt in her craft room too! Love the colors and how you created the background papers. I think you should do Hedwig next!
ReplyDeleteThank you for the step by step instructions Paula. I did find Arthur a bit of a challenge, but I’ve got the hang of it now.
ReplyDeleteChris xx
Ellie, fabulous job!!!! What fun to be vacationing with Paula!!!!
ReplyDeleteCongratulations, Ellie!!!! Terrific job!!! And welcome to the creative club!!! Love the way your Arthur came out (especially the blue eyes). I've got my eye on the reindeer and snowman die set.
ReplyDeleteWow!! Ellie did a fantastic job!!!! I have bought almost all the dies because you make me to where I can’t resist😊
ReplyDeleteI just love all the colorize and thanks so much for all the info on the put together videos...that really helps. This Arthur is wonderful...love him...and your little helper too.
ReplyDeleteWow this is amazing~!! Ellie you did a wonderful piece~! I just got Author and can't wait to get him on paper~!! Thank you for the inspiration~!!
ReplyDelete