Showing posts with label vignette shrine. Show all posts

Monday, March 15, 2021

Believe In Yourself

Hello friends,

Hope your week is going well! Things are looking up in California as some restrictions has been eased in our area. Although, we are still staying put and not doing things that involve travel or leaving home unless necessary.  Good thing I can work from home (as I have done for many years) and that my husband can teach school in his classroom via Zoom.  

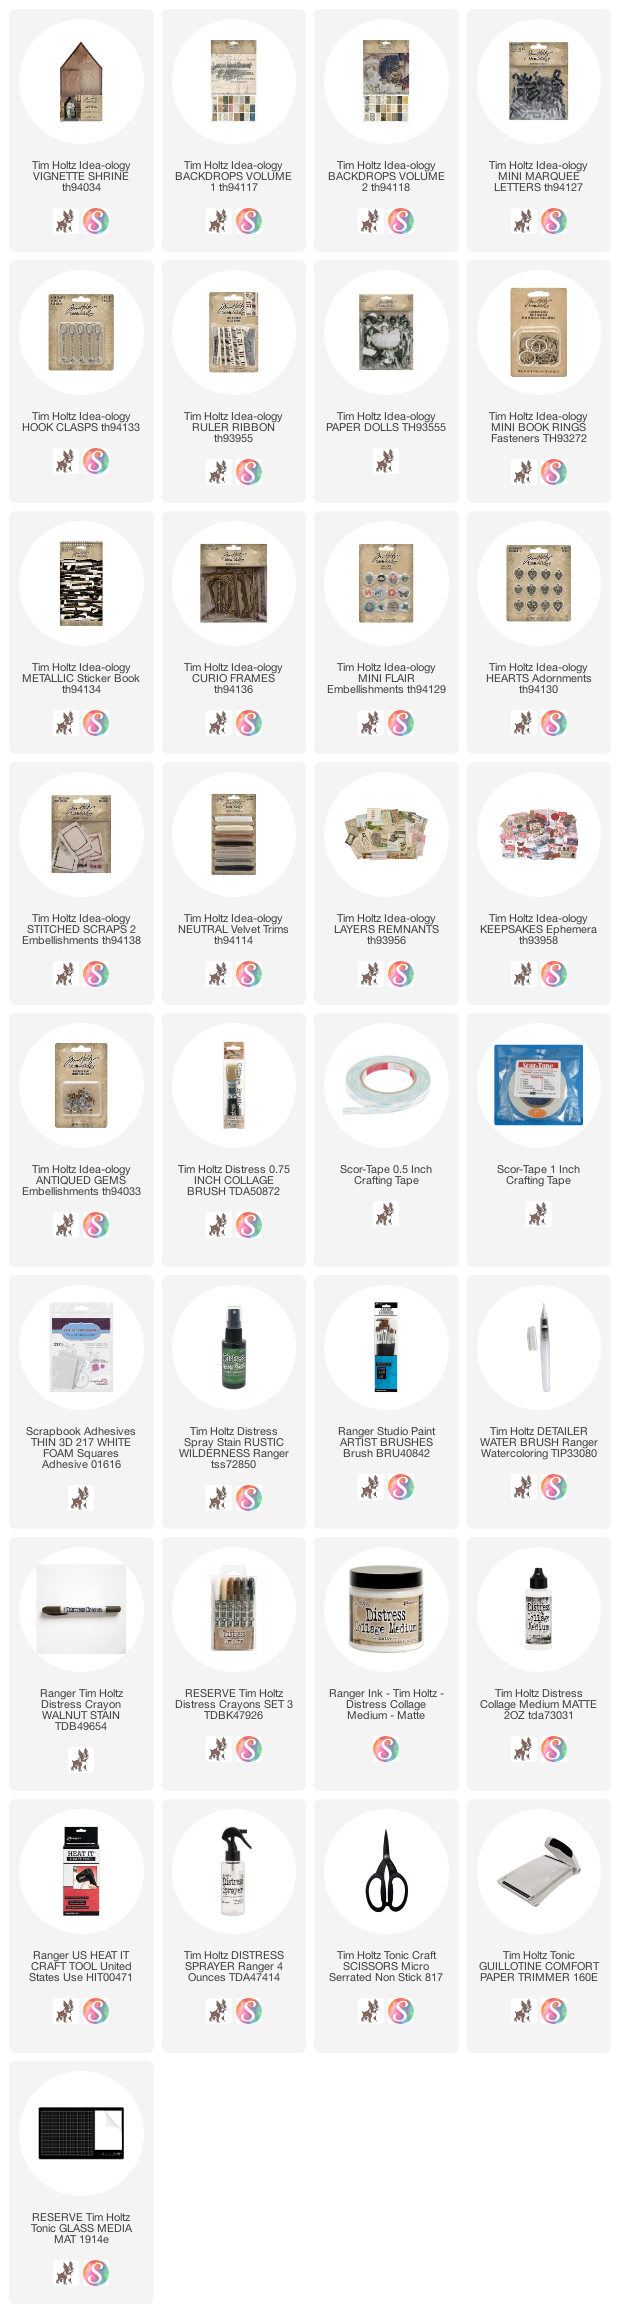
Today I am sharing information/tips on another idea-ology project I recently created.  I used a Vignette Shrine as the housing for a zig zag book I created from chipboard.  This was a fun project because I've never done anything like this before.  And I like the "figuring stuff out" part.
So lets start with the Shrine itself.  I painted the interior with Speckled Egg Distress Paint and let that dry before moving on to the outside paper portion.  Some of the new Backdrops paper was cut into strips and added to the outside of the Shrine.  I just butted the pieces right up against each other rather than overlapping (but that is fine too).  There was no rhyme or reason, I just picked paper I liked - large scale like the butterflies and small scale like the print below.  That is what makes Backdrops so fun to use - the mix of scale helps to make almost every print to work with another.  I saved ever single scrap from my projects and put them in a Plastic Storage Envelope for later use.  I have found that even the smallest scrap works for something.
You might notice that I did not use tape for the lip edge of this piece.  I used Backdrops again.  You need about 1/4" of paper to cover the lip edge in any paper you wish.  It was easy to do, I just used my Tonic Guillotine Trimmer to cut the 1/4" strips from a small print.  The Trimmer can precisely cut paper that narrow because of the sharp blade and the plastic guard that holds the paper in place while you cut.  I also cut enough strips to use on the two levels of the base.
Lets talk about the closure - 
To begin, I cut off the top and bottom stitching of the Ruler Ribbon to make it narrower and give it frayed edges.  I sewed a loop at one end with the Mini Book Ring inside the loop (you don't need to do anything to the other end).  To test placement, I wrapped the Ruler Ribbon around the Shrine, then marked where the Ruler Ribbon goes around the corner.  I was able to add Score Tape to the Ribbon then add it to the Shrine just where I wanted it with no wait time for liquid glue.
You can see here I used a tack nail to secure the Hook Clasp to the Shrine.
When you want access to the book, you just open the Mini Book Ring and let the Hook Clasp fall away.
The book consists of 5 house shapes I cut from a chipboard.  I made a test book to get the right size and shape before I cut the final that is in use here.  I could have used the original but I decided to keep it as a template in case I wanted to re-create the book another time.  One thing I did find in the process was that you have to test how the book opens inside the Shrine, so you can make sure that each house flows out easily and does not get caught up in the roof line.  I also know that if you make each house the same width, it would be a much easier job, since it has to fold back on itself.

There are MANY way to connect the house pieces.  I decided to hide the mechanism under the paper but I could have easily used the new Linen Tape.  It would work perfect as a hinge detail.  
Once I had cut my house shapes, then tested them to see if they worked in the Shrine, I was ready to start.
  1. Cut Backdrop paper to fit each house shape, set aside till chipboard is connected.
  2. Use 1" Score Tape to connect each shape, leaving a 1/16" gap between the houses so they can fold over.
  3. Adhere the pre-cut paper to each house with Collage Medium.  Be sure to go over the Score Tape in the "crack" between the houses with the Collage Medium.  This will seal the tape so it does not stick to itself when you fold it over.  Could you use something else to bind the house shapes?  yes!  you could use the idea-ology Linen Tape, a muslin/fabric strip or another kind of tape for book binding.  Remember it will be hidden in this method.
For the book, I chose to use some of the new Paper Dolls that were just released last month.  I picked 4 to work with but you can add as many as you wish.  The cover has one of the new Curio Frames with a Paper Doll over the top. You may be wondering why I tied her to the frame? It was really from a feeling I wanted to convey...that when we lack belief in ourself it can hold us back from doing things we are meant to do.
I have used one of my favorite new products, Mini Marquee, for the emboldened words, LEAD and LIFT.  The letters are a heavy plastic (they do not bend easily) and perfect over the paper.  I just used a bit of Collage Medium to glue them down since it dries clear.  That might not work as well over solid paper but it sure worked over patterned.
I added one of the new Stitched Scraps 2 to make the ephemera piece (idea-ology Remnants) look like a pocket.  I also added a heart charm from the new pack of Adornment Hearts and a sicker from the new Metallic Stick Book (same book as the word strips).
The stitching here is faux, meaning that I stitched the card (idea-ology Keepsakes) and then used Score tape to make a pocket that I added other ephemera into.
The last decorated page has one of the darling Mini Flair Embellishments (don't you love that dog?) with some crinkle ribbon sprayed in Rustic Wilderness Distress Spray Stain.
I found that I needed one more house shape to make all the decorated pages pull from the book - this one I just used Backdrops and some ephemera.
You can see when I turn the book over,  I have cut a 1" strip of chipboard and secured it to the book with idea-ology Linen Tape.  The 1" strip has Score Tape on the back so it can be adhered to the inside of the Shrine.


I hope this project might spur you on to trying something new or look at an old structure in a new way.  

Now carry on,
paula


Thursday, February 25, 2021

The Secret of Everyday Things

hello friends,

I'm here today sharing another of my Kitsch Flamingo projects. This one might not be everyone's cup of tea since my background is so bold! I really wanted a happy piece that showed off the boldness of Kitsch Flamingo. I hope you give it a chance and follow along to see it up close!

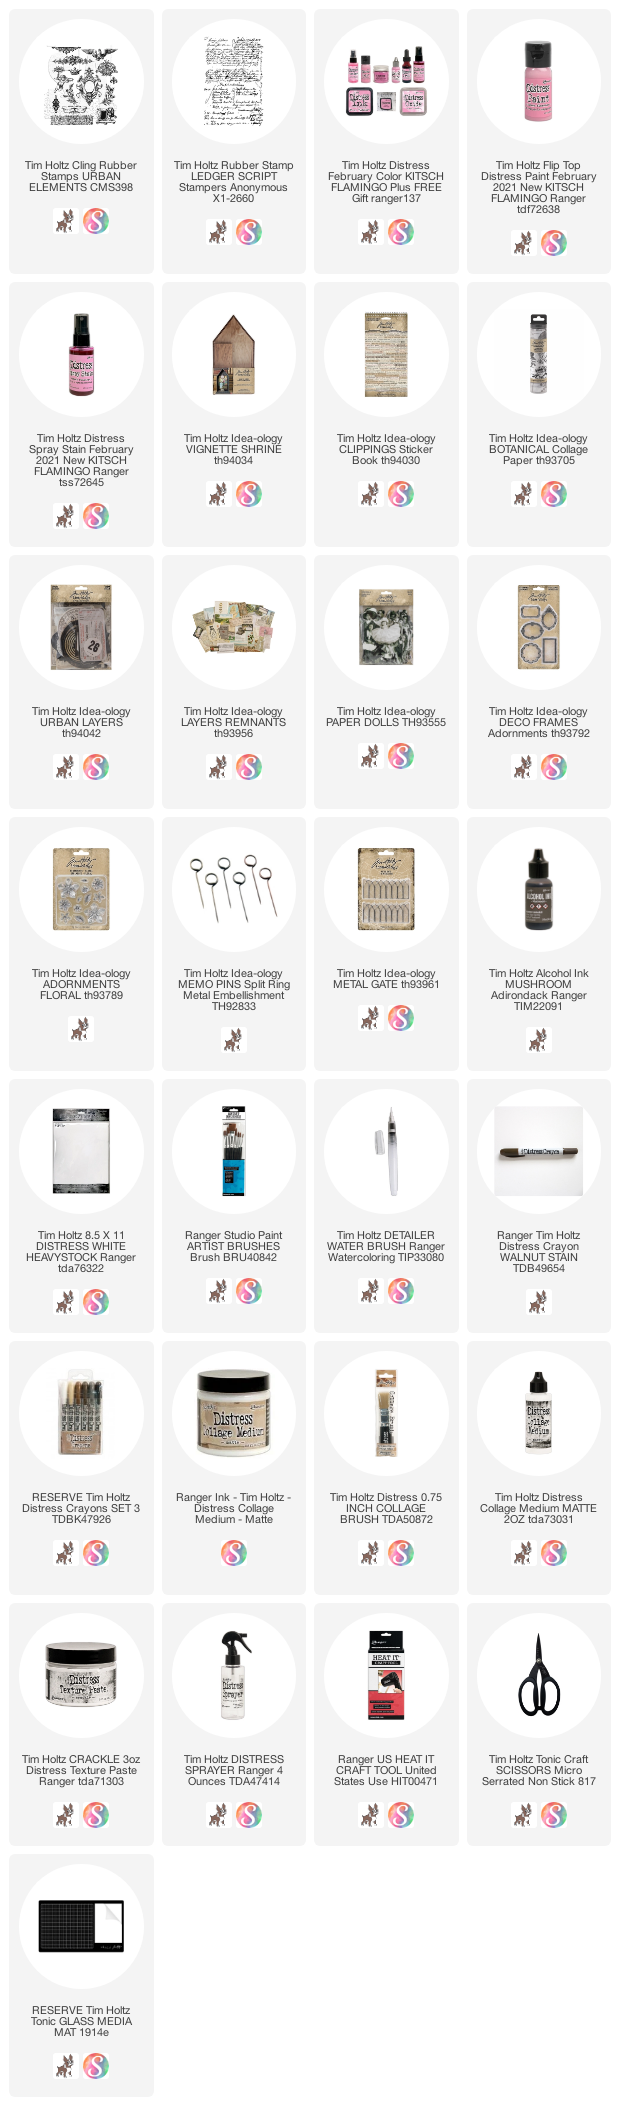
I stared with the outside of the Shrine, painting it black and sanding it down to look old. I squeezed out some Kitsch Flamingo Distress Paint on the silicon mat, spreading it out with my fingertip so I could stamp into the paint without picking up too much.  Because I am going for a distressed look, the imperfect stamping worked well.  I stamped all the leaves first and then went back to fill in with the script.

Again, I used two stamps on the outside of the Shrine.  This leaf stamp from Urban Elements and Ledger Script to fill in the blank spaces.


I collaged ephemera to the inside walls of the Shrine before adding the background piece which began as a piece of White Heavystock cut to the shape of the shrine (so I just had to glue one piece in once I was done).
I added Distress Texture Paste Crackle through the Nordic Layering Stencil.  One the paste was dry, I sprayed the paper with Kitsch Flamingo Distress Stain and dried it.  I added a Collage Paper sunflower on the right side then painted the entire surface with Collage medium to seal it.  I also used my white Posca pen to add the white dots on the flower.
I combined ephemera from three different packs, Layers Remnants, Layers Urban, and Keepsakes Ephemera.  Because you know what?  they just all work together! 3D foam pads were used to raise the pieces to different levels inside the Shrine.  It's all about the dimension!

The Garden
I stared with shredded cheesecloth (leftover from halloween) to fill in around the feet of the Paper Dolls.  It takes very little Collage Medium to keep the shred in place since all the other things get glued down on top of it.
I painted the gate with Picket Fence, then added Mushroom Alcohol Ink over the paint to age it.  Once dry, I bent the gate until in broke in half (not that hard to do) then slightly curved it with pliers before gluing it into the Shrine with Collage Medium.
While I waited for the gate to set, I painted a few Adornment metal flowers with Distress Paint (Kitsch Flamingo, Picket Fence, and Speckled Egg - with a bit of Mustard Seed thrown in).  The leaves are Rustic Wilderness with Peeled Paint wiped over the raised bits. Once the paint was dry, I added very small pearls to the center of a few flowers.  For the 2 flowers that are standing - I hot glued each to a Memo Pin, then added the largest leaf.  NOTE: You cannot see it now, but I stuck each Memo Pin into a small cork so the flower could be glued to the Shrine.  Sneaky trick!  The tiny rocks came from the craft store.
I also added the metal Deco Frame behind the mother to highlight her.

I love how the pink of Kitsch Flamingo really pops in the background.  It just makes this project sing with HAPPY thoughts about a mother and son taking a walk in the park!

Remember, Saturday February 27th is the idea-ology product release and YouTube Live with Tim starting at 9am PST.  So many samples to share, you don't want to miss it! 

Now carry on,
paula

Friday, September 25, 2020

A Strange Thing Happened

Hi friends,

Hope you are doing well and that you have found some time to be creative this week.  As always, there are a lot of irons in the fire around here!  

I'm happy to share one of my favorite Halloween makes today.  It is very simple to create if you have the right risers to help support everything beneath the surface.  Follow along and I'll show you how easy it is!

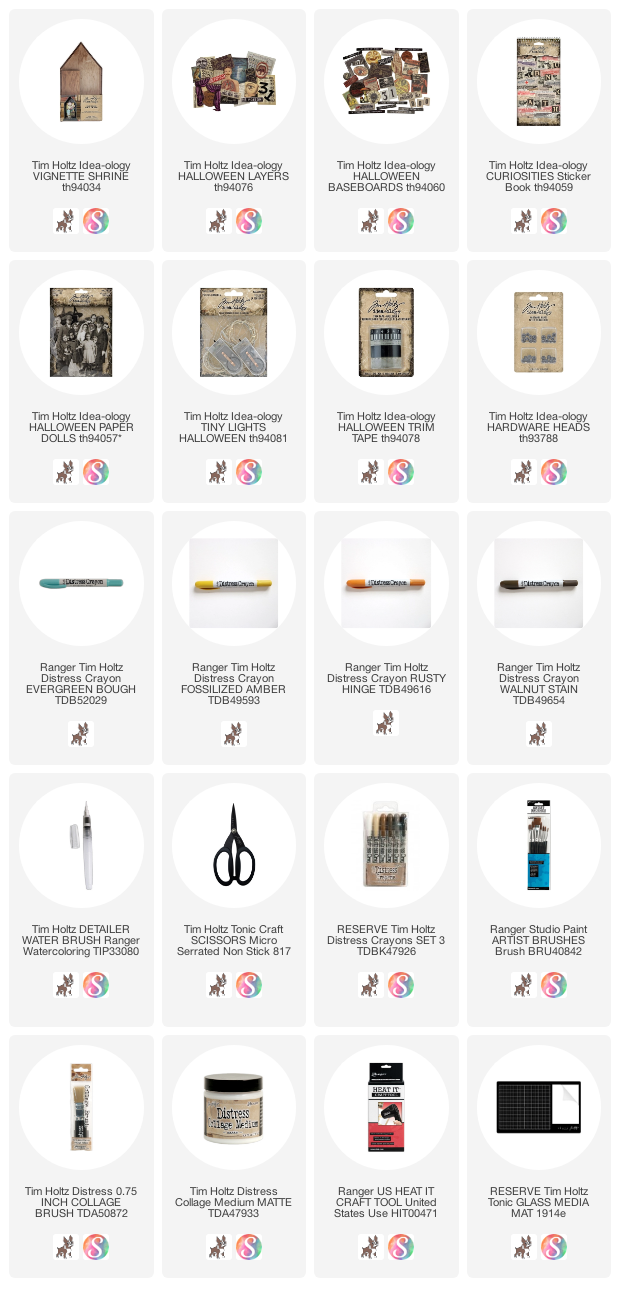
I started with a Vignette Shrine, which I covered in paper from the Halloween paper pad, Departed.  I used three different papers from the pack, covering the inside, outside and base.  Halloween Design Tape with the small script is on the lip edge.


I layered two paper inside the box for more dimension.  Once sealed with Collage Medium, I used Walnut Stain crayon to age it.
Halloween Layers - moon
Halloween Baseboards - word strip + advertising (the dollar is standing on)
Halloween Paper Dolls - girl
Halloween sticker Book - mask (I need a 100 of these)
Halloween lights - orange light string behind moon
You can slightly see in this picture that there is a 1/2" wood block holding up the advertising Baseboard.  There are also two more 1/2" wood blocks behind the girl the keep her suspended.  Her feet only rest on the edge of the advertising sign.
What could be more fun than adding lights?  It's easy to do too.
I drilled a hole in the back of the Shrine for the string of Halloween lights (there are one set of orange and one set of purple in the Halloween pack). I threaded the lights from the back to the front, winding it around the wood block holding up the moon.  It is easy to do as long as you adhere the wood block first, then the lights, and then the moon.


To create the lasso, I colored some string with Walnut Stain Distress Ink.  I tested it out to see how big the loop needed to be to reach her hand, then made the knot in the string.  Using Collage Medium, I looped it over the moon and adjusted from there, securing it to the back of the moon with Collage Medium.  I set it aside for 15 minutes while the glue set before working on the next bit.
You can see in this close-up shot that I cut the hand of the Paper Doll, ever so slightly, so I could wedge the string into her hand.  I also wiped a small bit of Collage Medium on the backside to secure it.
There is another trick with the string at the bottom of the Shrine.  With your thumb and fingertip, run Collage Medium down the lower half of the string.  Wipe your fingers clean, then quickly navigate the string into the position you want (something that looks natural).  Once the College Medium hardens, it is virtually impossible to move, yet it looks like you could pick it up.  Good stuff.
I should probably mention the Distress Crayons I used to color the moon and the dress.
moon - fossilized amber and evergreen bough
girl - dress rusty hinge with Aged Mahogany on her cheeks
Here you can see the wood blocks behind the girl.  She looks like she's levitating!

I hope you have enjoyed reading about this project. It truly is one of my favorites I have ever made!
Now carry on!  
Have a great weekend!
paula

Wednesday, May 13, 2020

Lost Vignette Shrine

Hello friends,

Happy to be here today sharing a Vignette Shrine project.  I absolute love this new substrate because it can fit so many themes.  I also love that it comes with the two base pieces to give it more visual weight to the completed shrine.
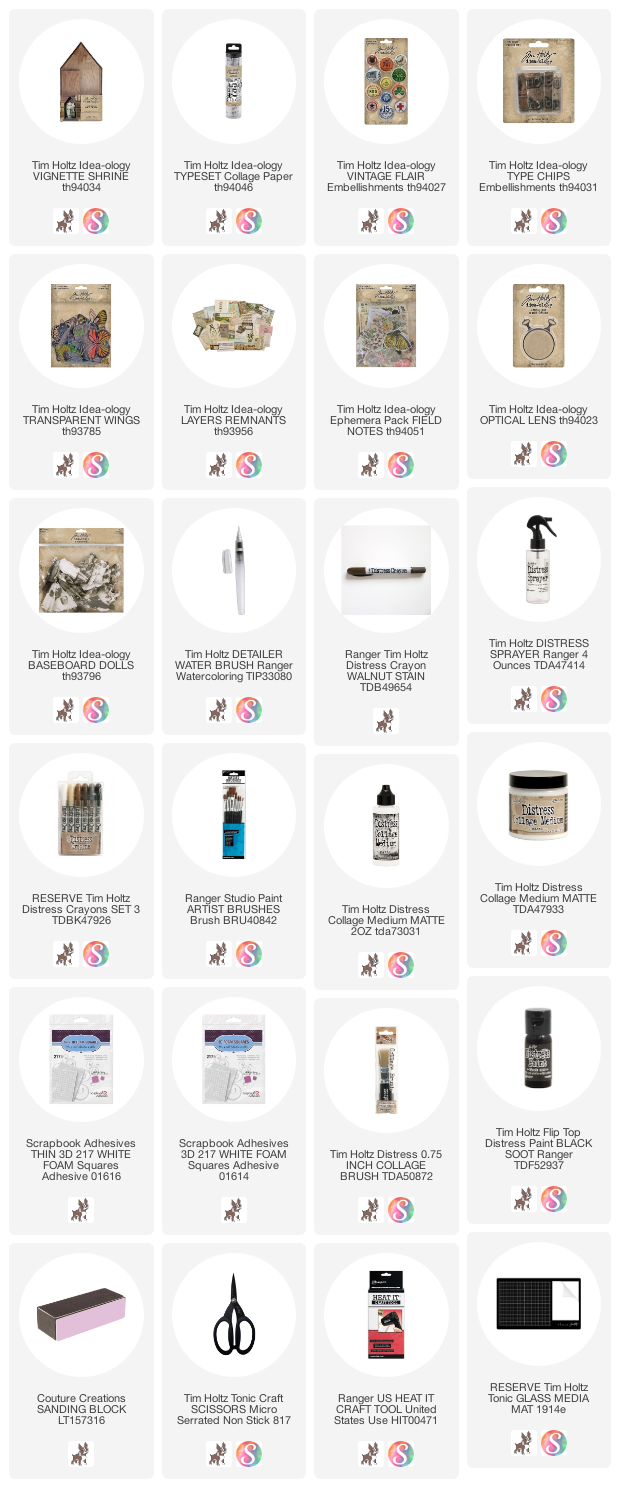
Gather the pieces that you will need for the project.  From Collage Paper to a Baseboard Doll to Vintage Flair.  This picture shows all the pieces (plus a few other design choices) and includes 4 bingo chips for risers, and foam squares in both thin and standard thickness.
(click to enlarge photo)
1. Paint the two base pieces and the INSIDE of the Vignette Shrine with black paint.  Set aside to dry completely (not shown).
2. Once the paint is dry, use Collage Medium to cover the back and sides of the house with Collage Paper Typeset.  Remember the key to Collage Paper is having glue both underneath and on top of the paper.
3.  Once the Collage Pager is dry (I use a heat tool to dry the Collage Medium because I'm impatient), use a Walnut Stain Crayon to age the edges.  I just scribble it on and use a damp paint brush to move it around.  Set aside.
4. Adhere 4 bingo chips to the back of the Report Card.  Cut off the right end of the green flower card.  Add 4 foam squares to the back.  Add both pieces to the Shrine (see main photo).
5.  Use small scissors to fussy cut the flowers.  Add a few foam squares to the back and adhere to the Report Card.
Just like this!
6.  Spell the word LOST, then flip over to adhere together. I adhered a small piece of chipboard to the Type Chips to stabilize them, then added two thin foam squares to add to the shrine.

The word is adhered directly onto the Report Card.
7.  Add the Transparent Butterfly wings to the back of the Baseboard Doll, then add a riser.  I used some small wood blocks (3/8") but you can use what you have on hand, like a double stack of foam squares.
The Baseboard Doll was, of course, colored with Distress Crayons.
8.  Two last things...first the Optical Lens.  The round label from the Field Notes Ephemera fits right into the lens, no trimming needed.  I did add a small bit of glue on the back around the metal edge to secure in place.  Then I added it to the Report Card with a thin foam square.  The bingo chips on the back of the Report Card takes the weight of the Optical Lens...without them to stabilize the card, it might fall forward.
9.  And the last little detail.  Cotton strings (kinda like a nest) surround her feet and ground her to the Shrine.  Vintage Flair button added with Collage Medium.


I told you it was easy...it's all about the layers.
now carry on,
paula