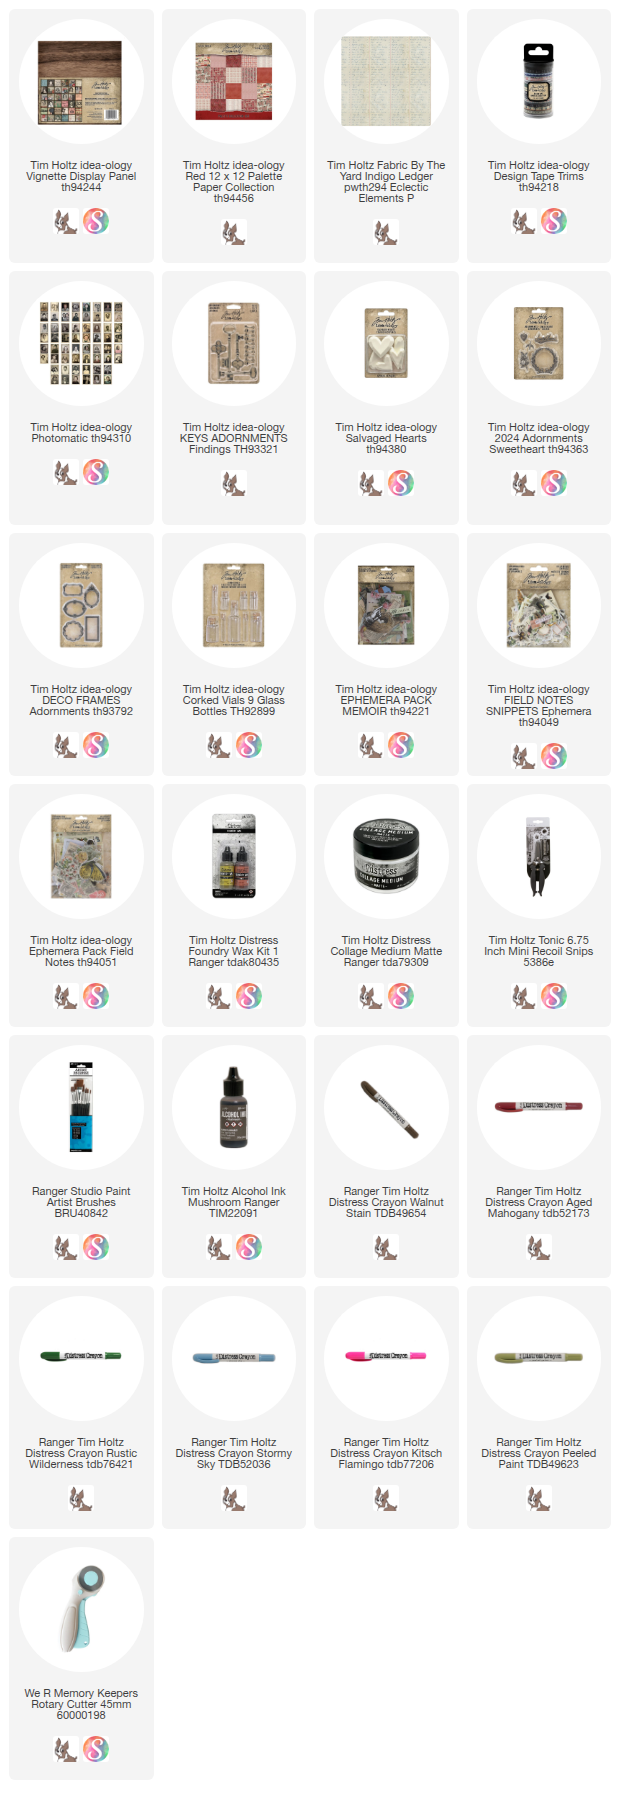
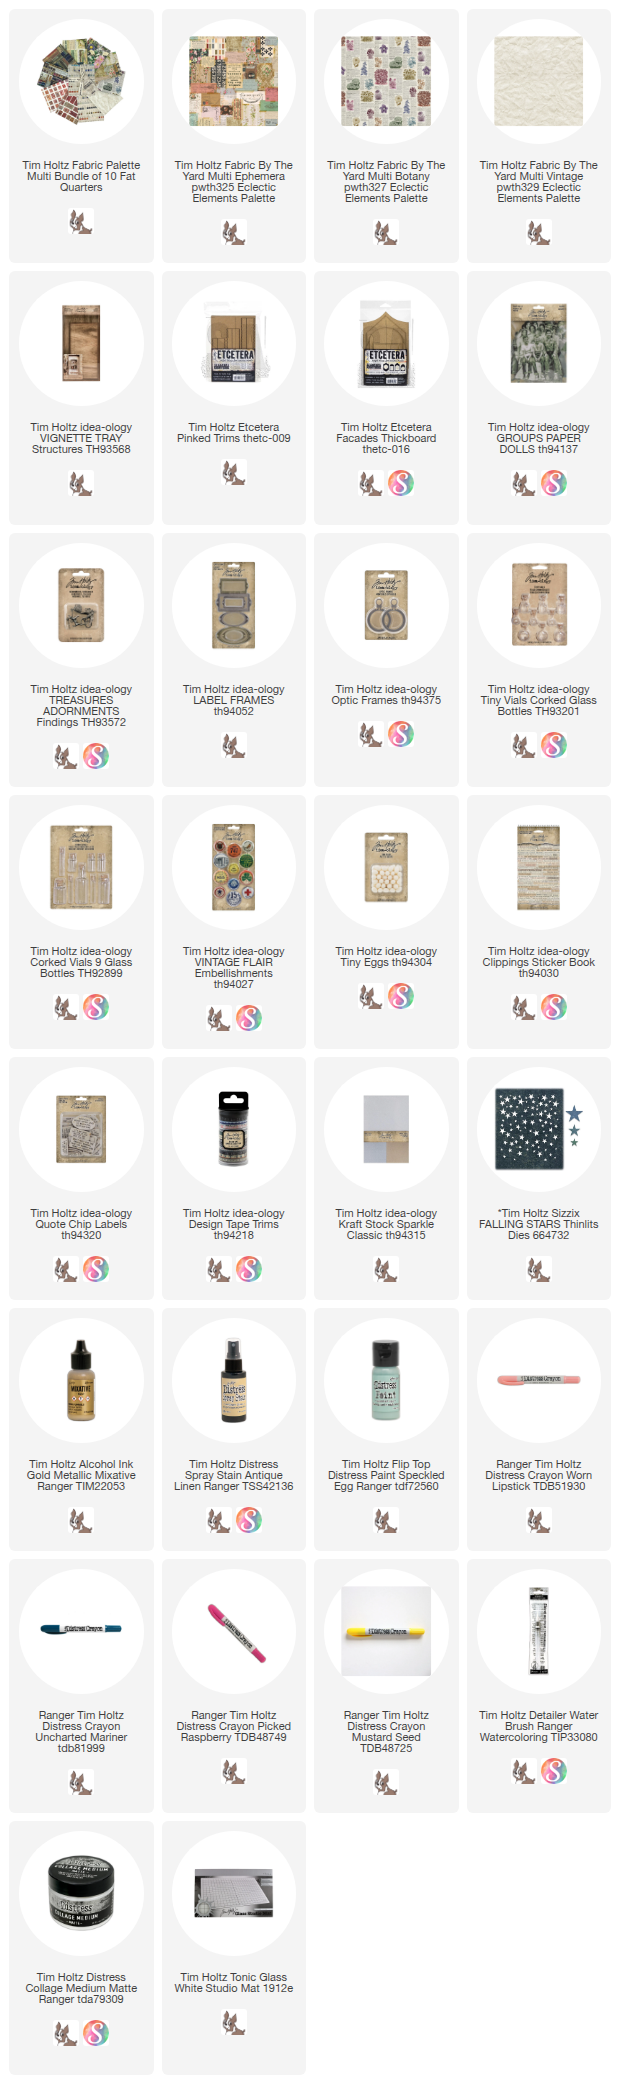
The new Palette Paper series has been a catalyst to my last few projects, and today is no different! What started as a simple exercise in using the 12 x 12" Palette Red evolved into a project that I truly love-a perfect trifecta of paper, fabric, and vintage. If you’ve been looking for a way to bridge the gap between your paper stash and your fabric bin, the Palette series might just be the common thread you've been waiting for.

Starting with an idea-ology Display Panel, I used Collage Medium to add Palette Red paper to the inside of the panel. I also added a layer over the top so I can add Walnut Stain Distress Crayon once it is dry. The red stamp paper is so fun here and looks great as the back panel.


I moved on to the sides of the panel, again cutting the strips from the red Palette paper.


Cut a 9 1/4 x 9 1/4" piece of fabric (I'm using a favorite fabric-Palette Indigo Ledger) + a matching piece of cotton batting.
 Stitch the fabric to the batting, then trim the edges. If you don't have a sewing machine, you could use use Collage Medium to adhere the fabric to the cotton batting.

I also cut a 9 x 9" piece of heavy chipboard. Once the center piece is complete, it will be added to the heavy chipboard with Collage Medium. I want the center to stand up and away from the red stamped background, so I plan to add bingo chips (or some other kind of riser) to the back of the chipboard before placing into the Display Panel. But for now, I need the fabric panel to be flexible so I can add the sewn elements.


Lets talk about the individual pieces.
I colored the little bird from the Adornments Sweetheart pack with Foundry Wax. I squeezed out a dime size portion, then used a small brush to paint the bird (work fast). I heated the Foundry Wax with an embossing gun, then let it cool. The Distress Crayon was added to bring out the details.
 I added a Curator Snippets Label to a skinny Corked Vial, along with some faux pearls that I colored with Mushroom Alcohol Ink. This is where the little bird will end up - fastened to the neck of the vial with string.
 I also shortened a piece of ephemera from the Memoir ephemera pack. I liked the roses, but the piece was too long for what I needed. I cut the piece in half on the left side of the three roses. Then used that piece to make a new left end.
 As for the photo image - this is from the Photomatic pack. You could easily substitute a family photo if you wanted. I tinted my Photomatic with Distress Crayons, using Aged Mahogany for her cheeks, Stormy Sky and a touch of Rustic Wilderness for the background.
 I also colored the small flowers from the Field Notes Ephemera pack with crayons (because why not?). Crayons like a slick surface so I painted Collage Medium over the image before adding the crayon. This time I used Detailer Water Brushes to add the tiny brush marks.
 Putting it together just meant gathering things from idea-ology and a few vintage items from my collection to make something unique. As you can see I added more ephemera from the Memoir ephemera pack (blue card) and a tiny label (Field Notes Snippets) to the top. I used a needle and thread to stitch the card down. The Photomatic image was added, along with the roses and the word Sweetheart from the same Adornments pack as the bird.
 There is a small idea-ology Deco Frame with the flowers I painted and a few vintage buttons and pink tatting lace.
 I added the tiny gold bird to the neck of the bottle with some string, then secured the Corked Vial with light blue thread.


The large key was colored with the same Foundry Wax as the bird, then rubbed with Distress Crayon to age the gold once it was cool to the touch. I also stitched it to the fabric panel.
 I threaded a needle and made a stitch next to the the top of the key. Then I added faux pearls (about 4 or 5) and made another stitch into the fabric. I drew the needle up and added about 4-5 smaller pearls, then made another stitch in the fabric to secure.
 I am so happy with the way this project turned out. The Palette Indigo Ledger fabric is the perfect foil to the bold red background. I could have continued to add paper and trinkets to the fabric panel but I decide to let the fabric shine, rather than covering it up. I'm glad I did!


What will you make with the new Palette Papers?
Now carry on,
paula