Hello Friends,
Hope your week is going great. We are normally in the thick of Christmas baking for family and friends but this year our oven decided it was done for the season...so there is no baking till the parts arrive from Viking and the heating elements are replaced! It's already been 10 days of toaster oven cooking at this house! Let's hope we are not still cooking this way on Christmas or I am going to be cooking one Cornish game hen instead of a turkey!
Today I'm sharing another of the makes using idea-ology Christmas. This time it is my large Vignette Tray! Follow along and I'll walk you through it!
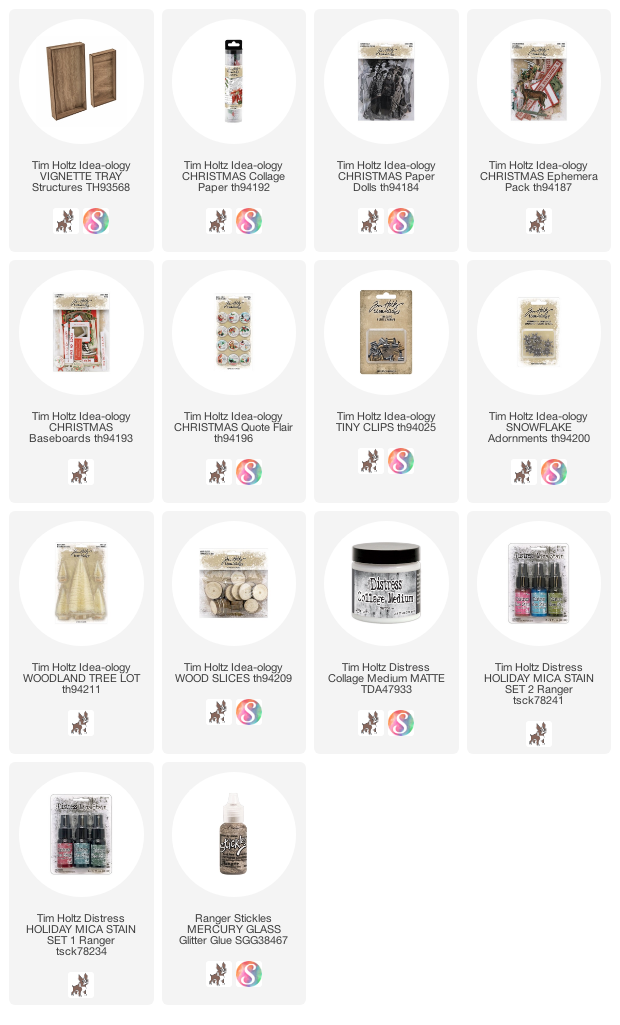
The tray was covered with our beautiful Christmas Collage Paper. I added the Collage Paper with Collage Medium to the front of the tray. The Collage Paper is 6" wide and so is the tray. That made it easy to roll out a 12" strip and cut it, to prepare to lay it into the glue. We all know Collage Medium dries very fast so you must work fast, adding the Collage Medium across the tray surface.
Once the Collage Paper has been pressed into the Medium, add a coat over the top. Again, working quickly so the glue does not dry on you. I had my Mica Stains, Tree Lott and Crooked Broomstick, at the ready so they could be sprayed or dribbled over the surface before the glue was dry. If you spray after the glue is dry they will sit on the surface (since glue is a sealer) and never dry.
Let talk about the frame in the background. The frame is part of the Baseboard Christmas pack that has multiple frames and other pieces to choose from.
I wanted a little sparkle, so I quickly painted the surface with Collage Medium then added Clear Rock Candy glitter over the surface. Once dry to the touch, the frame was added to the the Tray with 3D foam squares. I could have filled in the window but I loved the look of the pine spray and did not want to cover that up.
The Paper Dolls are again, from a Christmas pack. I used Distress Crayon to color their clothes. Aged Mahogany was used for her coat and Chipped Sapphire was used for his. I used the crayons directly over both coats, then wiped away the excess crayon with my fingertip. For the collar of her coat, I used a Detailer water brush to get the sheer color over the fur. I also used a detailer water brush to pick up some Fossilized Amber crayon to paint the blades on the skates, buttons on the coats and hats as well as the plaid on his coat. There are no lines on his coat, I just made up the subtle pattern. Once the Paper Dolls are complete, add them to the surface with bingo chips so they sit a bit above the glittery frame.
I decide to use some of the Christmas idea-ology to create a small collage to the left of the frame. I used the plaid slide frame (also from the Baseboard pack). The rest is from the Christmas Ephemera with the addition of the flair button.I added glitter to a red star from Baseboard pack. I could of covered the red with the glitter but I decided to leave it showing like old ornament glitter that has been worn away.You can see here how many levels there are. All done using foam squares or bingo chips. It takes a bit of trial and error before getting the right configuration but I love how it turned out.
I added glitter to the 25 (Glossy Accents) and tucked a bit of shredded cheesecloth under the Tiny Clip for added texture.
And the little Woodland Tree...
I twisted off the base that is on the tree then sprayed the tree with Bundled Sage Distress Spray Stain and dried with a heat tool. You only need half the tree, so use scissors to cut off the back of the tree so it can sit flat against the tray.
I decided to use a Wood Slice for the base because it was thicker. I used a flat head screwdriver and small hammer to split the wood circle in half. Then used Collage Medium to glue the small paper measuring tape to the edge. Once that was dry, I added the tree and base to the tray with hot glue. The shredded cheesecloth and the metal snowflake were added with a little Collage Medium.
You could add any kind of embellishment to the tree that you wish. I decided to keep it simple and just add some Mercury Glass Stickles to the tips of the tree.
So happy to share this collage tray with you today. I love Christmas projects and this is no exception. The Baseboards and ephemera make it easy to find just the right piece to make everything merry!
now carry on,paula


All. Of. The Layers! So good!!! Hope your parts come in so you can cook your turkey.
ReplyDeleteMerry Christmas, Paula and family!
Absolutely beautiful ..... and thank you for so many lovely ideas. I hope you have a peaceful and happy Christmas Paula x
ReplyDeleteIt's a festive treat from beginning to end - fabulous inspiration as always.
ReplyDeleteAlison x
oh gosh...another project that I just have to make a version of for my decorations...love Christmas projects...now "Merry" on....LOL.
ReplyDelete