Showing posts with label mini flair. Show all posts

Thursday, October 14, 2021

Halloween Card File Box

 Hello Friends,

Today I'm sharing photos of the Halloween Card File Box I created for the idea-ology Halloween Release.  This is the second Card File I have made, so I just reused the drawer I created for the first one.  I put the spring cards in a zip lock bag for safe storage and have added some fun Halloween cards for the season.  Maybe I need to make Christmas cards for it too so I can leave it out all year long?  I think I need to add that to my list of projects to get done in November.

I love these cards because I love the process of making them.  It's the kid of project that you don't have to think too much, you just put on the music and go for it.  Following the same formula as the first box of cards I made works well...

  1. Cut Kraft Stock to size 3 1/2 x 4 1/4"  (you need 18 - 25 cards/dividers to fill the box).
  2. Add paper backgrounds to all cards.
  3. Color all the Paper Dolls.
  4. Add ephemera + Paper Dolls + words.

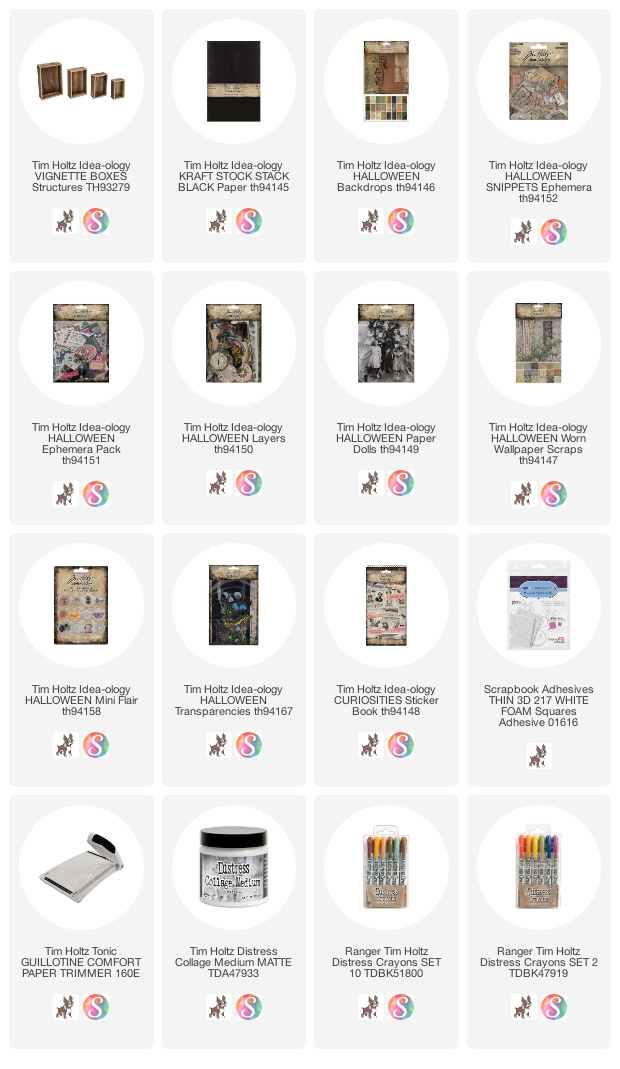
I think the background paper is key to the project.  I used idea-ology Backdrops Halloween - which btw could be used year round!  The colors and patterns go together so well that it made it very easy to create the collaged cards.  I also added some Halloween Worn Wallpaper to the mix since it has a different look (like old wallpaper) and texture.
All cards were cut using the Black Kraft Stock Stack, which is a pack of 24 sheets of heavy, black, 6 x 8" Kraft Stock (black on one side, kraft on the other).  That way all cards are black on the backside without any effort.  
For the front of the cards, I used my Tonic Trimmer to cut various strips of paper, from 1" to 3".  Once I had a little stack of papers, I glued them to the cards with Collage Medium, cutting away the excess paper with scissors.  Could not be any easier.
Once the cards were covered, I used a corner rounder to (obviously) round the corners of each card.  Next up is the stitching.  I love stitching on paper so I added some stitching on each card, leaving the threads long (this really does add to the project).
Once the card were done, I set out to color a huge bunch of the Halloween Paper Dolls and a could portraits that come in the pack.  You can see the the main color I used was Crushed Olive, with Faded Jeans coming in a close second, followed by Black Soot, Aged Mahogany, and a bit of Rusty Hinge.  I like to color the dolls all at once, so I can have a large stack ready to go.
Now you are ready to assemble the cards using the Halloween Ephemera pack, Mini Flair Halloween, Halloween Layers, and the absolutely fabulous Snippets pack that has all the tiny labels you will ever need...until you use them all and have to buy another pack!

I have highlighted a few of my favorite cards:
words - Sticker book
crow - Ephemera pack
crayons - Rustic Wilderness on the sweaters + Aged Mahogany on cheeks
button - Mini Flair
blue label - Snippets pack
words - Sticker book
crayons - Crushed Olive Crayon on the background + Aged Mahogany on cheeks
bottom and left side background paper - Worn Wallpaper Halloween
card with calla lilies - Ephemera pack
round label - Snippets pack
words - Sticker book
crayons - Crushed Olive Crayon on tie + Faded Jeans for suit 


flower - Worn Wallpaper Halloween
left background paper - Worn Wallpaper Halloween
flashcard - Ephemera pack
label - Snippets pack
button - mini flair pack
mask - Sticker book
crayons - Weathered Wood on dress + Crushed Olive detail
stripes on socks - POSCA pen

left background paper - Worn Wallpaper Halloween
pharmacy label- Ephemera pack
label - Snippets pack
mask - Sticker book
words - Sticker book
crayons - Chipped Sapphire suit + Crushed Olive vest and shirt
buttons on shirt - POSCA pen
butterfly - Layers pack
31- Ephemera pack
label - Snippets pack
words - Sticker book
crayons - Rusty Hinge dress
stripes on socks - POSCA pen
poison label - Ephemera pack
bat wings - Halloween Transparency pack
label - Snippets pack
words - Sticker book
crayons - Peeled Paint on dress + Aged mahogany on cuffs and collar
stripes on socks + buttons - POSCA pen
These next few cards were created as filler or "breaks" between the cards.  
lotto card - Layers pack + flash card - Ephemera pack
spiderweb - Layers pack
In Loving Remembrance - Layers pack
All buttons - Mini Flair Halloween
owl - Layers pack
patterned paper - Worn Wallpaper Halloween
button - Mini Flair Halloween
prescription card - Layers pack
crow - Ephemera pack 
button - Mini Flair Halloween
word - Sticker Book
green tag - Ephemera pack + man and words from the Sticker book.
As for the box I put the cards in, it is the largest of the Vignette Boxes that comes in the pack.  I had my husband cut two pieces of wood to hold the cards up.  These were wood pieces from other Vignette projects where I did not use a shelf here or there and saved the left-over pieces (I never throw that kind of stuff away).  Once the dividers were glued in with Collage Medium, I painted the inside black so it looks like it came that way.  Once dry, I chose a paper to cover the body of the box.  Any pattern will work!

I hope you give this project a go!  I love making these cards, in fact I find them kinda relaxing, as there is not much thought...because anything goes!  The layers of Ephemera and Paper Dolls are fun to create with and tell a story, like the boy with the crow on his head!

now carry on,
paula

Tuesday, March 23, 2021

The Liverpool Three

 Hello friends,

Thought I would share a fun project using another of the new Paper Dolls GROUPS.

As I thumbed though the pack of Backdrops 2, I spotted a vintage map of Liverpool.  I loved the colors of the orange and blue together and knew I had found the catalyst for the project.  Next I went to the bag of Paper Doll Groups and picked these three young men I could see working at the docks.  Of course here they are on their day off!  Well lets get started so I can explain more of the details!

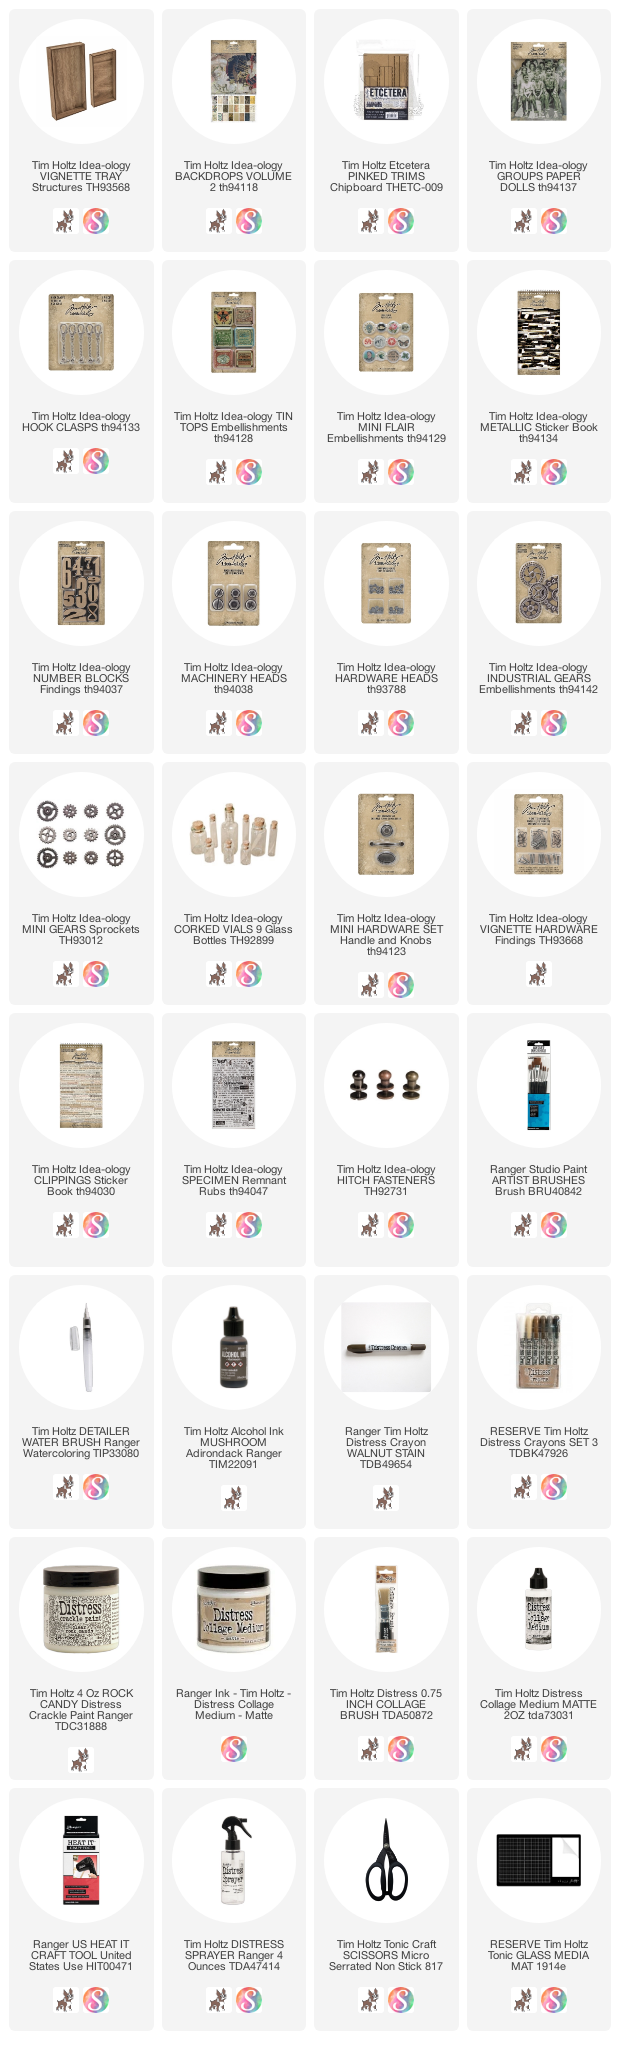
I started with the small Vignette Tray as my substrate. It was the prefect size for the three young men.  I covered the outside of the tray, including the lip edge, with Backdrop paper that looks like an old piece of crackled wood.  On the inside, I added the Liverpool map making sure I centered the word, Liverpool, at the center top.  Once the tray was fully covered with paper, I painting a thin layer of Collage Medium over the top to seal the surface.

Backdrops are smaller than the paper we have produced in the past so I did not have enough of the crackle paper left to cover the entire back of the tray.  That was not a problem as I just chose a couple other papers from the pack to cover the back.  The Backdrops work together so seamlessly, crackle can go with typography which goes with pattern.  It's just that simple.
The next step is to add the shelf. I used one of the Eclectic Elements Pinked trim pieces since they can be easily cut to size with Tonic Scissors. I cut the trim piece and glued it into the tray with Collage Medium, leaving it to dry for while I worked on the Paper Dolls and some of the metals.  Once it was dry, I added a strip of the same crackle paper that I used on the outside of the tray.  I brushed Collage Medium over the top of the paper to seal so I could use my Walnut Stain Distress Crayon (with a damp paint brush) over the the surface - especially in the corners.  I also took a little bit of Speckled Egg Distress Paint on my finger tip and ran it along the pinked edge so the blue paint would skip along the surface.
You might be asking how I knew where to glue the shelf?  Well I placed the Tin Top (the thing with the star on the front) into the bottom of the tray.  I knew the shelf had to be just above the Tin Top - just that easy.
I wanted to add the wood Number Block 3 to the right side using the new Hook Clasp.  The Hook Clasp is the same one that I used as the closure on my Shrine project in my last post.  I added an eye screw to both the top of the Vignette Tray and the Wood Block. The eye screws are easy to twist into place if you start with a pilot hole made with an awl. 
I colored some string with Walnut Stain Distress Ink and dried it with my heat tool.  The string was looped through the eye screw then evened up.
I had previously glued a Hitch Fastener to the left side of the tray.  Once it is was secure, I was able to wrap the string around the Hitch Fastener and secure it with Collage Medium on the backside.  Once it's set, it's not going anywhere.
The new Paper Doll Groups have some wonderful characters to work with.  The three boys were colored with Distress Crayons.  I only colored one of boys suits - obviously it's the suit on the right.  I used the Chipped Sapphire Distress Crayon directly on the suit, then rubbed it with my finger till I could see the details of the coat.  The flowers were colored using a dry Water Brush (I like how the stiff bristles of the Water Brush move damp crayon onto the Paper Doll surface).  The Paper Doll Group was added to the tray with small wood blocks to give them the needed height over the string that runs behind them.
I grunged up some Mini Sprocket Gears with paint and Alcohol Ink and added them beneath the feet of the group. The string is just some cheesecloth I added to mimic straw.
For the bottom portion of the tray, I created a grungy bottle using Distress Crackle Paint Clear Rock Candy.  To do that, coat the Corked Vial with Collage Medium and let it dry.  Rub Distress Crackle Paint over the surface and let that dry.  Drip Mushroom Alcohol Ink over the Crackle Paint to color the bottle.
I also added Remnant Rub numbers to a Metallic Sticker and a bug to the tiny tag.
To complete the bottle, I rubbed some paint into the recessed portion of a Machinery Head and added it the top of the cork.
On the right side of the lower section, I added the Tin Top, Mini Flair and two of the new Industrial Gears. Both the Tin Top and the Industrial Gears have a wood block behind them for support. I used a small amount of shredded cheesecloth to disguise the wood block that sits right behind the center of the gears. I bet you can't even see it. I just glued the block in place, then added the gears with more Collage Medium to the Tin Top and wood block.  Once set, the Collage Medium holds everything like cement (those gears are not going anywhere).

I liked the idea of an industrial handle at the top of the tray.  I used paint and Alcohol ink, Distress Crayons to grunge up the handle and the added Hardware Heads.  Once glued with Collage Medium, I kept the tray in a standing position until it was set.
As you can see this tray is easy to create.  You just need to include some drying time to add the Hitch Fastener, the shelf and the Industrial Gears.  Other than that, it moves along quite easily.
Thanks for stopping by to read my post...I really appreciate it!

Now carry on,
paula