Hi friends,
Today I am sharing a cute winter scene I made with a handsome guy from the Christmas Paper Dolls pack. This is an easy project (my favorite kind at Christmas) that can be done in an afternoon. Follow along and I'll show you how I made it!
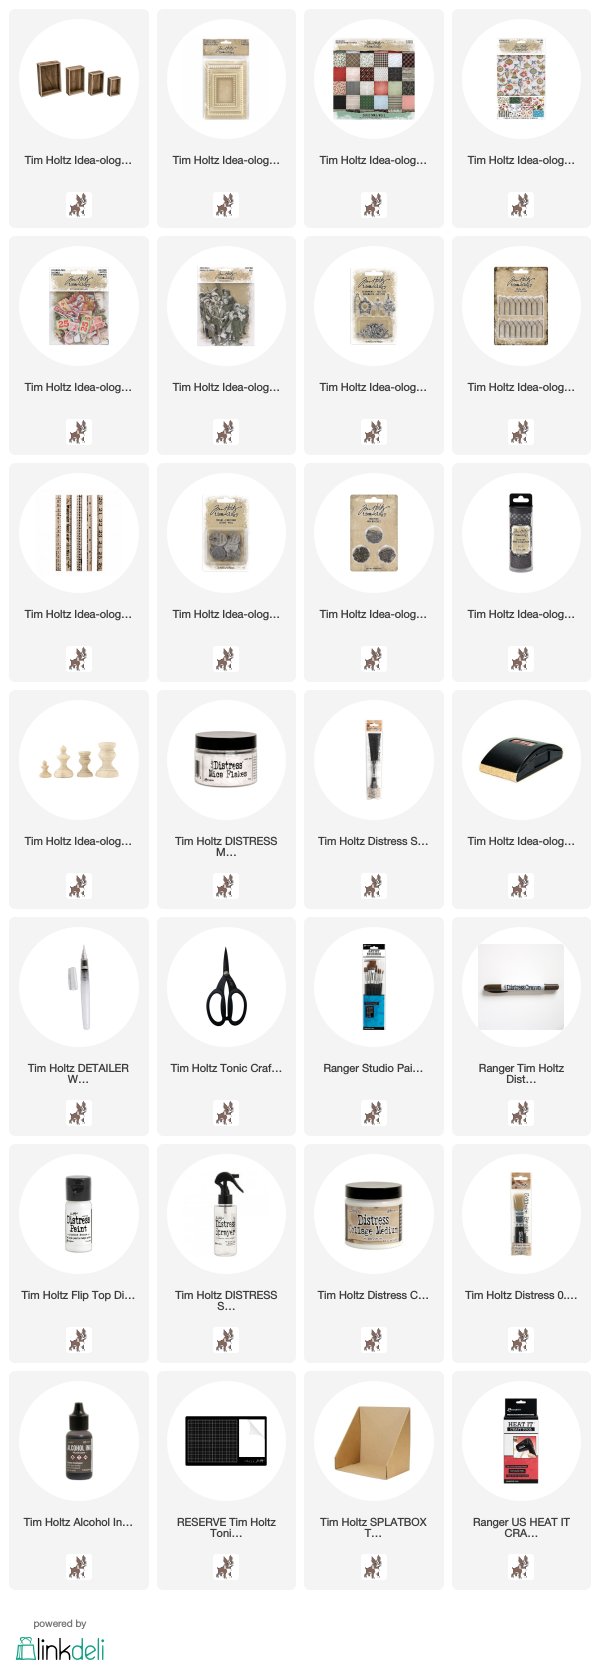
I painted the interior walls of the largest Vignette Box with white paint. Once dry, I added a piece of paper from the Worn Wallpaper Christmas pack. I love this one with the winter scene. If you add a layer of Collage Medium it will seal the paint and the paper and you will be able to create a wash over the surface using Distress Crayons and damp paintbrush.
NOTE: What you can't see in the picture is that the outside of the box has been covered with brown plaid paper from the Christmas paper stash.
Paint the matching size Vignette Frame with Candied Apple Distress Paint. Once dry, sand the frame just a bit then seal with Collage Medium to create a slick surface for the Distress Crayon. When the crayon was added here, I scribbled HEAVILY over the frame then wiped away the excess with a wet wipe to remove the top layer, exposing the red paint underneath. This allows the dark crayon to remain the intricate design of the frame. I also used a Splatter Brush and Picket Fence Distress Paint to splatter over the frame surface.
So here is the basic steps:
1. paint
2. sand
3. seal with CM
4. scribble with crayon
5. wipe away excess
6. splatter
As you know, coloring Paper Dolls is my favorite thing in the world. Remember, to color over a dark surface (
like his coat), use the crayon directly on the surface rather than with a damp cotton swab.
He is just so cute!
I created a fence using a Metal Gate and Ruler Piece. I rubbed white paint over the Metal Gate. Once dry, I added Mushroom Alcohol Ink over the top to age. If you bend the Gate it will break (
which is what I did) so that the fence will fit into the box. I wanted the Metal Gate to have more weight so I glued a broken Ruler Piece to the bottom to raise it up. Once it was set, I added it to the box with Collage Medium then set it aside to dry! I also adhered the painted red frame to the front of the Vignette Box and a stick to the background (seriously my signature this year).
Adornments Yuletide pack has this perfect little wreath. I painted it with Distress Paint and rubbed Distress Crayon over the top to age. I did tie it to the Paper Dolls hand, but I also added glue to the left side to adhere to his leg for stability.
I'm not sure if you can see or not but I use yet another skinny stick as a sign post in the background. This time I tied an old piece of string around the tip of the stick. Then I picked a piece of ephemera
(the 25 card) from the Mini Ephemera Christmas pack, roughed up the edges and adhered it to the stick (
right up to the string) so it looked like the string was holding the card in place (
in reality its only glued on).
The Christmas Tree was added (sprayed with Bundled Sage Distress Stain) to the corner after I added Distress Mica Flakes.
I also used a wood Final (
that I painted black and sanded) to the top of the Vignette Box. A Christmas Token was aded to a piece of chain from a dish on my desk (
I have no idea where it came from, lol) and I pinned it to the green ribbon with a Mini Pin.
I used Mini Foundations to add feet to the box - they are tiny but I like the look.
I added polk dot Design Tape to cover the break between the Vignette Box and the red Vignette Frame. I always love a good polka dot!
This was an easy little project that would make a great little gift. I hope you will give it a try!
Now carry on,
paula


