Friday, December 17, 2021

Holiday Greetings

 Hello Friends,

Hope your week is going great. We are normally in the thick of Christmas baking for family and friends but this year our oven decided it was done for the season...so there is no baking till the parts arrive from Viking and the heating elements are replaced!  It's already been 10 days of toaster oven cooking at this house!  Let's hope we are not still cooking this way on Christmas or I am going to be cooking one Cornish game hen instead of a turkey! 

Today I'm sharing another of the makes using idea-ology Christmas.  This time it is my large Vignette Tray! Follow along and I'll walk you through it!

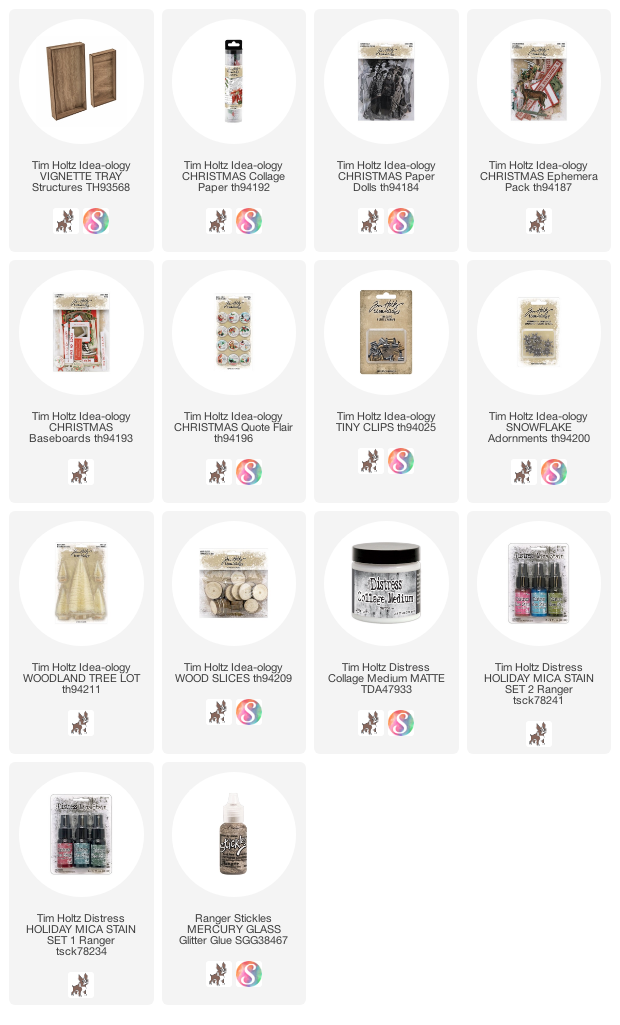
The tray was covered with our beautiful Christmas Collage Paper.  I added the Collage Paper with Collage Medium to the front of the tray.  The Collage Paper is 6" wide and so is the tray. That made it easy to roll out a 12" strip and cut it, to prepare to lay it into the glue.  We all know Collage Medium dries very fast so you must work fast, adding the Collage Medium across the tray surface.  
Once the Collage Paper has been pressed into the Medium, add a coat over the top.  Again, working quickly so the glue does not dry on you.  I had my Mica Stains, Tree Lott and Crooked Broomstick, at the ready so they could be sprayed or dribbled over the surface before the glue was dry.  If you spray after the glue is dry they will sit on the surface (since glue is a sealer) and never dry.
Let talk about the frame in the background.  The frame is part of the Baseboard Christmas pack that has multiple frames and other pieces to choose from.  
I wanted a little sparkle, so I quickly painted the surface with Collage Medium then added Clear Rock Candy glitter over the surface. Once dry to the touch, the frame was added to the the Tray with 3D foam squares. I could have filled in the window but I loved the look of the pine spray and did not want to cover that up.
The Paper Dolls are again, from a Christmas pack.  I used Distress Crayon to color their clothes.  Aged Mahogany was used for her coat and Chipped Sapphire was used for his.  I used the crayons directly over both coats, then wiped away the excess crayon with my fingertip.  For the collar of her coat, I used a Detailer water brush to get the sheer color over the fur.  I also used a detailer water brush to pick up some Fossilized Amber crayon to paint the blades on the skates, buttons on the coats and hats as well as the plaid on his coat. There are no lines on his coat, I just made up the subtle pattern.  Once the Paper Dolls are complete, add them to the surface with bingo chips so they sit a bit above the glittery frame.
I decide to use some of the Christmas idea-ology to create a small collage to the left of the frame. I used the plaid slide frame (also from the Baseboard pack). The rest is from the Christmas Ephemera with the addition of the flair button.
I added glitter to a red star from Baseboard pack.  I could of covered the red with the glitter but I decided to leave it showing like old ornament glitter that has been worn away.
You can see here how many levels there are.  All done using foam squares or bingo chips.  It takes a bit of trial and error before getting the right configuration but I love how it turned out.  
I added glitter to the 25 (Glossy Accents) and tucked a bit of shredded cheesecloth under the Tiny Clip for added texture.
And the little Woodland Tree...
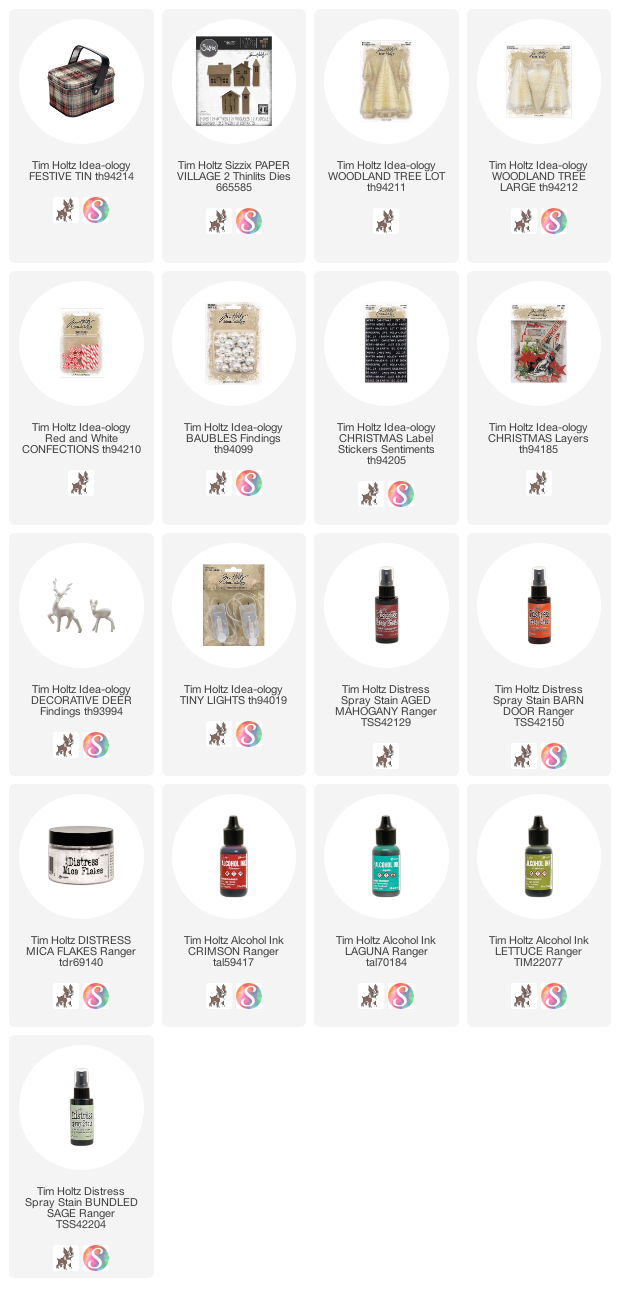
I twisted off the base that is on the tree then sprayed the tree with Bundled Sage Distress Spray Stain and dried with a heat tool.  You only need half the tree, so use scissors to cut off the back of the tree so it can sit flat against the tray.  
I decided to use a Wood Slice for the base because it was thicker.  I used a flat head screwdriver and small hammer to split the wood circle in half.  Then used Collage Medium to glue the small paper measuring tape to the edge.  Once that was dry, I added the tree and base to the tray with hot glue.  The shredded cheesecloth and the metal snowflake were added with a little Collage Medium.
You could add any kind of embellishment to the tree that you wish.  I decided to keep it simple and just add some Mercury Glass Stickles to the tips of the tree.

So happy to share this collage tray with you today. I love Christmas projects and this is no exception.  The Baseboards and ephemera make it easy to find just the right piece to make everything merry!
now carry on,
paula


Monday, December 13, 2021

idea-ology Festive Tin

Hello Friends!

I cannot believe it is only 2 weeks before the holiday - this month is speeding by so quickly!  I started decorating the week of Thanksgiving so I have been able to enjoy the lights and smells of Christmas each evening!  I am looking forward to taking some time off in the next two weeks to be with family and just enjoy the end of the year.

Today I am sharing my cute little Festive Tin.  This tin was a last minute addition to the Christmas line!  It is just so darling, I'm glad we did not give up on the idea, even though we knew it wouldn't arrive till November.  I just love it! And I sure am hoping it makes an appearance next year too!

Follow along and I'll show you how I created it...

So what you are seeing here is the beginning stage of the thin.  This is what I have done so far:
1.  Filled the cavity of the tin with green floral foam (it should fit very tightly) .
2. Used Collage Medium to glue the lid to the very back of the floral foam (I painted my lid green but found that was unnecessary since I covered up the entire back).
3. Cut two pieces of white cotton batting.  I used scalloped sheers to cut one long strip that wraps around the edge of the tin (about 1 1/2" wide).  The second piece covers just the top. Use Collage Medium to adhere the long strip around three side of the tin.  That glue is hidden under the second piece of batting.
4. Use a thin foam square to secure the Tiny Lights to the back of the tin.  Pull the lights around to the front and wind light into a circle (this will need to fit up inside the Paper Village house).  You can see in the previous photo that I just used tape to secure the light wire to the tin lid.  

*notice the tin lid sits inside the tin, and is glued directly to the top of the floral foam.  I left this to dry overnight before moving on to the cotton batting and lights.  Another trick is to use multiple T-pins to hold the lid in place while the thick Collage Medium is drying.  You can just push them into the floral foam and one side the T-pin holds the lid in place.
Background
I did not take a picture of the background before I added the house and tree so I have recreated how I did it.  All I did was cut another piece of cotton batting the size of the tin lid with scallop scissors.  Then stitched the Layers ephemera to the batting.  I added a flower from the Worn Wallpaper Pack in the original, but here I used a poinsettia from the same Layers pack that the red card came from. Both will work.
I glued two bingo chips to the inside of the lid so the batting piece would not sit so far back into the lid itself.  The flowers (no matter which ones you use) were added with foam squares to create even more dimension.  I would suggest waiting to add the flowers till after you add your tree and house so you can position it better.
I sprayed some Woodland Trees with Bundled Sage Spray Stain and dried them with the heat tool.
Next up, the Baubles in Crimson, Laguna and Lettuce (with Mushroom added for good measure...)
I cut the wood base off the big tree, added gobs of hot glue and stuck the end of the wire right into the floral foam.  Hold in place till it is secure! You do not want a leaning tree!
Again, using hot glue, add the colored Baubles to the tree.  As I have said many times before, I like to add the hot glue into the tree, then push the Bauble into the glue.
Next is the Mica Flakes...use your finger to wipe Glossy Accents down the tree.  Then sprinkle the Mica from the top so it looks more like falling snow on the tree.  Once the glue is dry, just turn the tin over (over a piece of paper) to pour off the excess Mica and return to the jar.
The bow is Crinkle Ribbon from my secret stash - if you have rayon seam binding that is dyeable, then use that to recreate the look.  I colored the ribbon with Aged mahogany and Barn Door Spray inks.  Once dry, fold a long piece of the ribbon in half and tie a bow (thats how you get multiple loops).  Adhere to the background (and behind the tree) with hot glue.  
To keep the ribbon from sagging over time, spray lightly with aerosol hairspray.
Cut a "Paper Village 2" house using Watercolor cardstock.  Color roof and door with Candied Apple Distress Ink before adding to the house to the tin.
Use Collage Medium or Glossy Accents to add clear Rock Candy Glitter to some Confections pieces.  You can also add Rock Candy to the Decorative Deer at this time.
Once dry, cut the confections stick to add to the front of the house.  Add peppermint drop above the door.
Cut the back needles off the medium sized tree so it can be hot glued directly to the house, once the house is in place over the Tiny Lights.
Use a paint brush to add Collage Medium to the roof and tree, then sprinkle more Mica Flakes.
Use Label Stickers to add Christmas sentiments around the black handle of the tin.
A view from the back showing the light pack.
You can almost see the dried Collage Medium that the tin lid is secured with.

Well, I hope you like the tin tutorial!  It was fun to be one of the first people to use the tin!  I know there are so many more ideas out there now (and more to come I am sure)!!
now carry on,
paula

Thursday, December 2, 2021

Peace on Earth Christmas Tag

 Hello friends,

This might not seem like a Christmas post, but it is!  I was challenged by Tim to create a Christmas decor project using Villainous Potion.  Purple for Christmas?  I felt like someone competing on Chopped, when they give them bacon in the dessert round! lol!  As you can see, I worked it out!  I felt that if I could keep in the neutral zone with a bit of added green, it could work.  Lets get started!

Begin with a SMALL Etcetera Tag. Use Collage Medium to adhere paper from the Christmas Backdrops paper pack. Trim away the excess paper.  Then seal with another coat of Collage Medium, rubbing it into the paper with your hands to get rid of the brush marks (it also dries quicker).  Once the Collage Medium was dry, add a bit of Villainous Potion Distress Paint to the left side.  Then using a wet wipe, pull the paint across the tag, left to right.  Wipe off as much as you wish, leaving a film of purple. Let dry.
*I did not cut the hole at the top of the tag, but you definitely could. 
Squeeze a bit of Picket Fence Distress Paint onto craft mat.  Use your Distress Splatter brush to flick paint over the tag crating a snow like finish.  Let paint dry. 
*Remember to rinse out splatter brush with water.

Now that we have the base done, we can get started on the rest of the embellishments.

SHELF
Vignette Panels
Rock Candy Glitter
Texture Paste Crackle
Etcetera Trim Pinked (WIDE) - painted with Pickett Fence Distress Paint
Mini Icicles
Glossy Accents 
Collage Medium 
Palette Knife
Glitter Duster (optional)

Step 1: Paint the entire piece of Etcetera Trim with Pickett Fence Distress Paint
Step 2: Using Collage Medium, glue two Vignette Panels together * the bottom panel is the same width as the Small Etcetera Tag. The other panel is slightly smaller.
Step 3: Using a Palette Knife, smear Crackle Texture Paste over the Vignette Panel stack, leaving some of the bare wood showing.  Using your fingers (or a Glitter Duster), sprinkle Rock Candy Glitter over wet Crackle Paste. Set aside to dry for at least 30 - 40 minutes.
Step 4: Use your finger to wipe Glossy Accents over two Mini Icicles. Sprinkle Rock Candy Glitter over the glue and let dry. Tap off excess glitter and return to the jar. Let dry completely.
Step 5: Once the Texture Paste is dry, use Collage Medium to glue the Etcetera Trim - pinked side towards the back (this will be entirely covered later in the process) to the stacked Vignette Panel.  NOTE:  I used blue painters tape to secure the trim to the panels until the glue was dry.
Step 6: Use Glossy Accents to adhere the Icicles to the front of the Etcetera Trim.
NOTE: I slipped a little wood blocks under the Icicles to hold them up while they dried in place. 
Step 7: Rub Picket Fence Paint over Word Plaque.  Wipe away excess paint, revealing the words.  Sprinkle Rock Candy Glitter over the remaining paint and let dry.  Use a small piece of sand paper to sand over the words and reveal the metal again.
Step 8: Add the Word Plaque to the right side of the panel with a little Collage Medium. Then use a nails from the Vignette Hardware pack + small hammer to add a touch of whimsy.  As you can see in the picture above, I did not drive the nails all the way into the wood (the reason the Plaque had to be glued to the panel).  I also wiped white paint on the top of the nail.
Step 9:  Use Collage Medium to adhere the Vignette Panel to the Tag.
Step 10: add a strip of white cotton batting to the shelf - this batting covers the pinked edge at the back, making the pinked edge a non-issue (no one but you will know it's there).
WOODLAND TREE
Step 11: Place Bubbles into a disposable container.  Drip Statue Alloy over Bubbles and roll around the container.  Drip a small amount of 91% Isopropyl Alcohol over the Bubbles and roll around again, breaking up the metallic finish. Dump out onto the craft sheet or a paper plate to dry.
Once dry, they should look similar to a gold version of Mercury Glass.
Step 12:You can color your Woodland Tree any color you wish.  I used Iced Spruce which comes out a darker green-gray color but again, you do you! 
Step 13: The tree needs to sit flat against the tag so you will need to trim off the back of the tree before moving forward. Use a hot glue gun to add the Bubble "ornaments" to the tree.  I like to squeeze the glue into the tree, then push the "ornament" into the hot glue so they sit in the tree.  You might notice I added a simple piped cleaner garland around the tree.  The pipe cleaners you buy at the craft store are VERY silver.  You can make them look vintage by swiping across with Mushroom Alcohol on a Blending Tool. It's very simple but it makes a big difference.
CURIO FRAME
Step 14: Using Villainous Potion Distress Ink, stamp an image from the Holiday Scenes stamp set on Watercolor paper.  Use a Detailer Water Brush to color in areas with Villainous Potion, Fossilized Amber and Rustic Wilderness Distress Ink.
Step 15: Use a small paint brush to add Collage Medium over the snow, then sprinkle Rock Candy Glitter over the top. I know you can not detect it in the photo but in person it really does shine.
Step 16: I wanted a substantial frame for the scene.  I couldn't make it bigger but I could make it thicker.  So I glued TWO Curio Frames together (I used an oval frame behind the one you see).  Once they were secure, I cut the scene to fit then used Scor-Tape to adhere the scene to the back of the stacked frames, giving it an almost shadowbox feel.
Now to bring all the pieces together...
Decide on placement for the tree and Curio frame before securing either item.  
Step 17: Add the tree to the tag with hot glue.  I like to add it at the bottom and the back.
Step 18: Adhere the Curio Frame with Collage Medium so it can be adjusted close to the tree.  
You can see that by adding the two frames together, it created enough thickness to be able to add seasonal Grit-Paste Snowfall along the top.
Step 19:
Wrap ribbon around the entire tag and end with a bow on the left side.  You can use any ribbon you like - for mine I used Crinkle Ribbon, dying it first with Villainous Potion Distress Ink.  Once the bow was scrunched tied, I sprayed it with aerosol hairspray to keep the shape.

Step 20:  Add embellishments to the shelf.  I used a deer from the Ephemera pack, two wood slices and a couple jingle bells.  What you can't see in the photo? the small wood block that I painted black that is holding the deer in place.  Well, if you look close, right at the deer's back you can make out the black wood block.  I also used a paint brush and dabbed the batting so I could sprinkle Mica Flakes over the top!
Step 21: Use Mushroom Alcohol Ink to color at least 6 Mirrored Stars, then add them to the tag with Collage Medium.

I know purple is not the typical color for Christmas, so remember you can take the ideas here and transform it to what ever color you want!!

Now carry on (I have to get back to decorating!),
paula