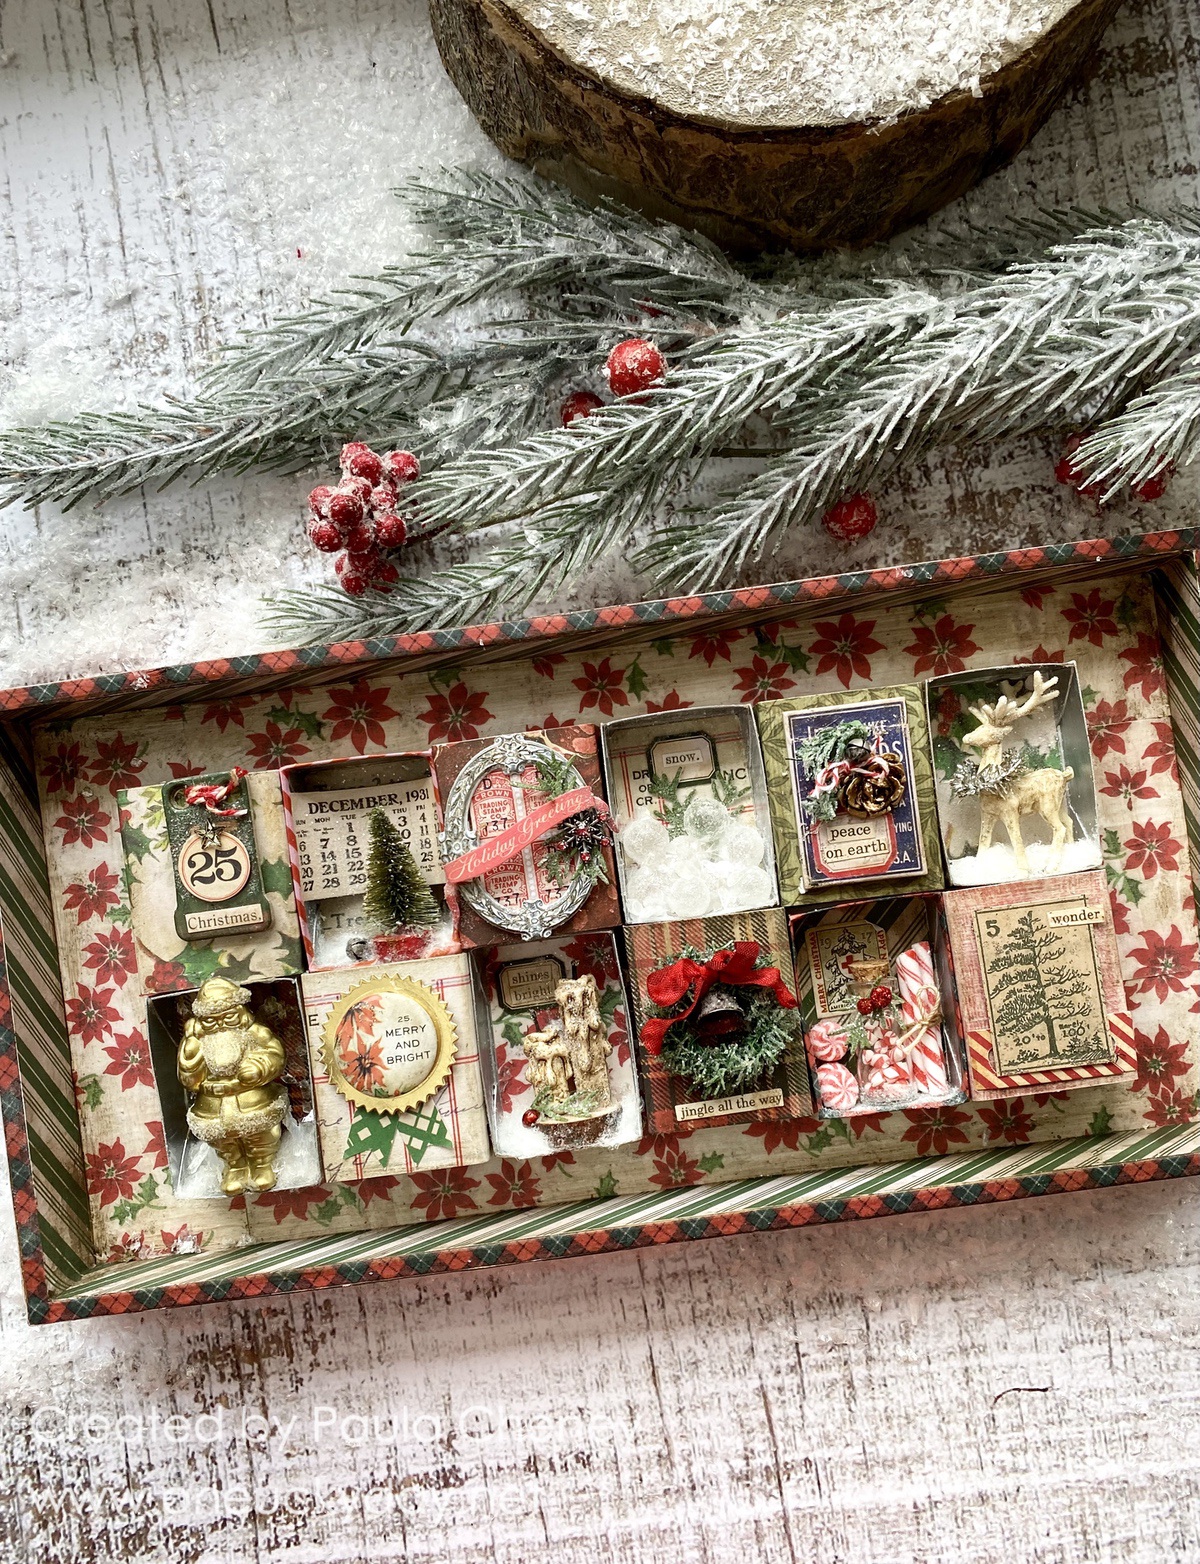
Happy to be here today sharing the Christmas Card File I created using Christmas idea-ology. This is a compartmentalized crafting project. Meaning that you can create a set of cards each day and at the end of the week, the project will be done. Thats my kind of project! Lets get started! BOLD TIDINGS
 Pine Twine was used to create this small wreath - I did cut the Pine Twin on the backside so it would be flat against the card.


 We have creme Fringe as part of the Christmas release this year. I trimmed it down just a bit on both sides of the stitching line. Then I made a line Gold Mixative about 6" long on my glass mat and pressed the edges of the Fringe into the Gold Mixative (both sizes of the Fringe). You can dry with a heat tool before determining if you need more or not. I didn't want to completely cover the Fringe, but just give it a gold edge. Once I was satisfied, I stitched the Fringe to the top of each card with red thread (by machine).


 I used one of the small Pocket Cards for a journaling spot (the Pocket card is the large red label) and then just added some holly from the Layers Botanical pack, a stamp from the ephemera pack, and a candy strip band.
 FOLDED CARDS
 The black checked card has a simple embellishment, a Loop Pin and Antiqued Gem I colored with Mushroom Alcohol Ink. Because the gem is heavy, I used the Tiny Attacher to secure the string at the top.
 I covered the Card File with plaid paper from Christmas Backdrops, but you could also use Pocket Cards to do that. I also used black Design Tape to cover the lip edge of the Card File to finish it off.
Now carry on,

I created three metallic cards for the box - one for each section. You can create as many as you wish. These were made with idea-ology Kraftstock Metallic Cardstock. I have linked two packs below. Either can be used - the 8x8" pack is older, but has the same color red and green metallic cardstock as the new pack. The new pack is just not padded (meaning there are individual pieces in the pack).
I cut three cards (3 1/8 x 4") and ran them through my Vagabond to cut the Bold Tidings. I added clear acetate to the back of each card for stability, then wrapped each with twine and tied with a bow. I used the Tiny Attacher to secure the twine in place.


PAPER
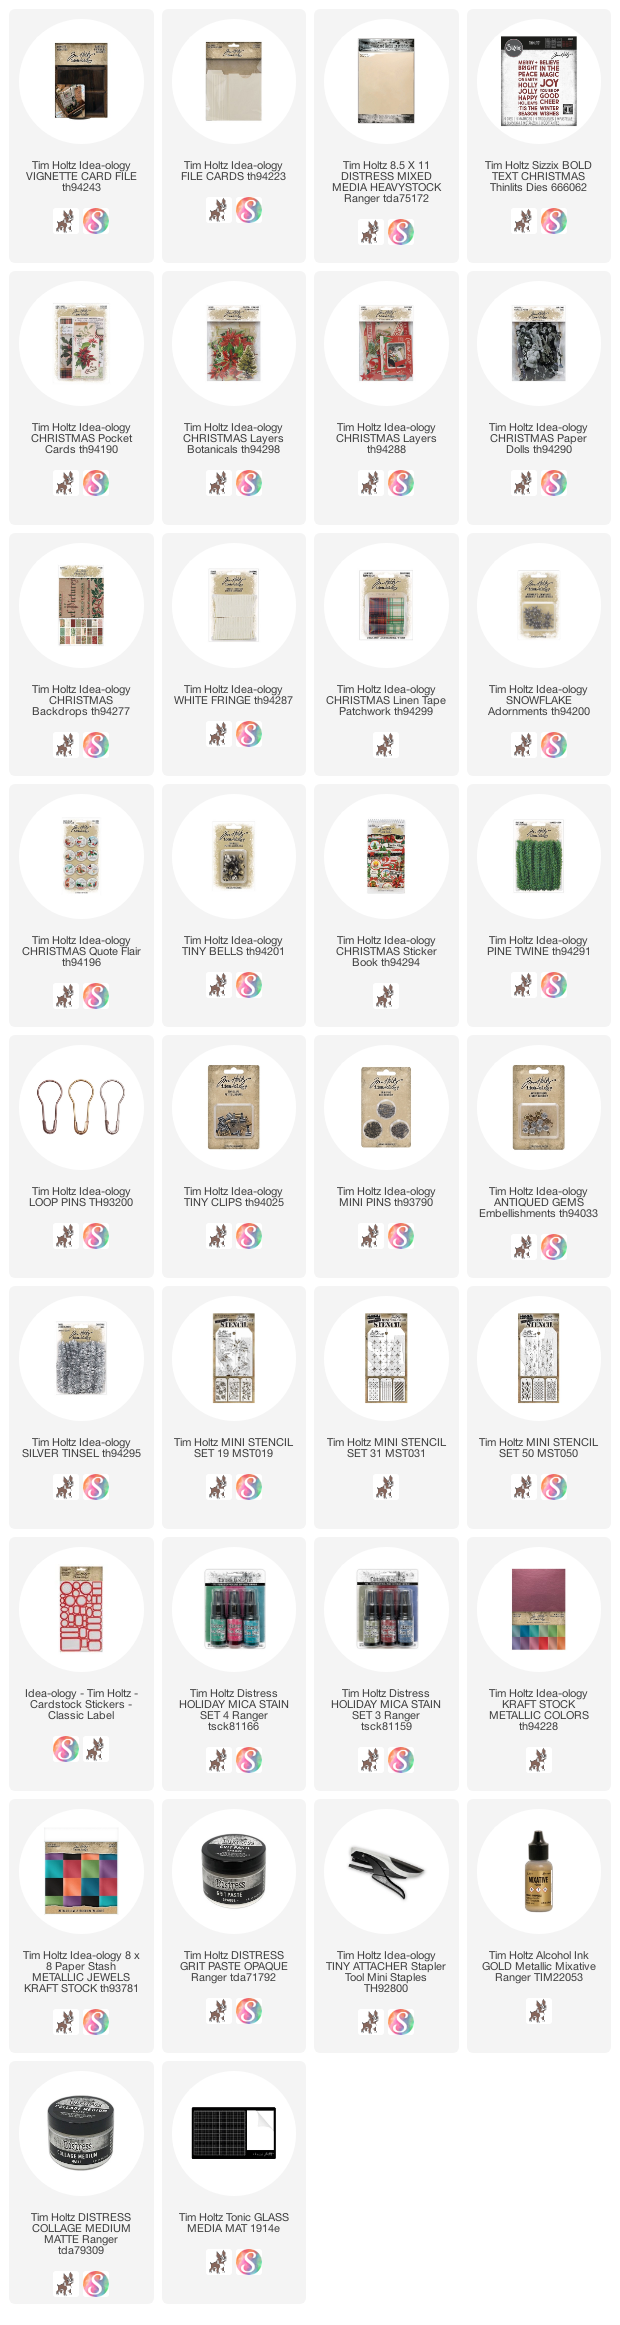
I am using a pack of idea-ology File Cards. It comes with 4 styles of cards:
4 pockets
4 folded cards (they open like a book)
4 tabbed cards
4 flat cards
It does not matter the order you make them in - you just want a stack of each at the end. I also used Distress Heavystock paper to cut more cards (because I had more ideas!)
POCKETS
The pockets were done in two parts.
#1 - Grit-Paste Opaque through a stencil
I used Mini Stencils since the pockets are small (they are linked at the bottom). These are all older stencils so you may have them already in you stash of goods. Once you have your stencils chosen, just lay it on the stencil and using a palette knife, spread the Grit-Paste Opaque over the stencil. I did not cover the entire surface of the pocket, just a portion. Peel the stencil away (put used stencils into water right away) and set aside to dry for at lest 30-40 minutes. They should be dry to the touch before moving to the next step.

STENCILS USED
Mini stencils set 50
Mini stencils set 31

Mini stencils set 19

MICA STAIN
#2 - Spray each pocket with Mica Stain (shake before use). I laid it on pretty heavy, drying between coats. You can daub up any excess. These are the 3 colors I used: Fresh Balsam, Tart Cranberry, and Winter Frost. Once you are happy with the results, set aside to dry or dry with a heat tool like I did.


TABBED CARDS
These couldn't be easier. I just used plaid paper from the Christmas Backdrops to cover the Tabbed Cards from the pack, cutting away any excess.
 I added red stickers from the red Classic Label sheet + words from the clippings stickers found in the Sticker Book.
 I made a mixture of Gathered Twigs Distress Ink and water on my glass mat and quickly pounced each label into the mix then dabbed if off on a paper towel. It easy to do because the sticker sticks right to your index finger which makes the "dip and dab" record fast. Then just add them to the tabbed card.


 More Clippings stickers from the sticker book.
 And even an added Paper Doll.

 I used Distress Crayons to color the Paper Dolls. That red on the coats (above) is Aged Mahogany (my absolute favorite). I colored directly on the coat, then rub away any excess till I see the detail of the coat again.


LINEN TAPE CARDS
In the Layers Botanical pack there are flat cards that have botanical images on them. I cut a Heavystock card the exact same size as each Botanical, then used Linen Tape to make a hinge on the front so they open.

The Linen Tape wraps over the top to create the hinge. The tape alone is sufficient to secure the back to the front. I added the sewing just for a bit of texture and detail at the top.


FLAT CARDS
These are the 4 flat cards that come in the File Card Pack. They look complex, but I used Christmas Pocket cards so all the collage work is already done for you. All you have to do is adhere the Pocket Card to the blank card, add a Paper Doll, and a few Clipping Stickers.

I also used Scrapbook Adhesives THIN foam squares to adhere the Paper Dolls - it gives them just a little lift off the card!
Then added a few detail, like Mirrored Stars and Tiny Clips, then rounded the corners of the cards.

FRINGE CARDS
I cut six more flat cards to match the others. Two of the cards were used to make Fringe cards. Again, I used Pocket Cards to cover the blank Heavystock. This time I used Photobooth images that are in the Christmas Paper Doll pack.


Don't forget the sentiments.

FLAT CARDS
The last four flat cards are just some random ideas I had. Three have been covered with the Pocket Cards and the 4th (on the left) was left mostly blank.

I wanted to add a few eyelets to some cards so I did that here.

Then just added ribbon or string to each.


The last set of File Cards open like a book. Here I use the "solid" back of Pocket Cards (meaning the paper is not collaged). Once I adhered the paper to the front of the card, I looked for the pieces that would fit on the front and not take over too much, covering the background.
 I added details like string, Tinsel, and a bell from the Tiny Bells pack.
 I mounted a Christmas Flair button on a piece of cardstock with string. As you can see, I added a piece of Linen Tape to the top and used a Mini Pin to secure the string to the card.


Now all that is left to do, is add all the cards to the Card File! And you are done!

Now carry on,
paula