Hello friends,
I hope I can still call you friends after such a long time away from the blog! I took time off the last part of December, but have been back working behind the scenes with a boat load of things for 2022, including the Sizzix Chapter 1 release last week and a Ranger release of the new Alcohol Ink Pearls. All of those projects have only been posted on my Instagram account (@luckyday) because there just was not time to create a blog post.
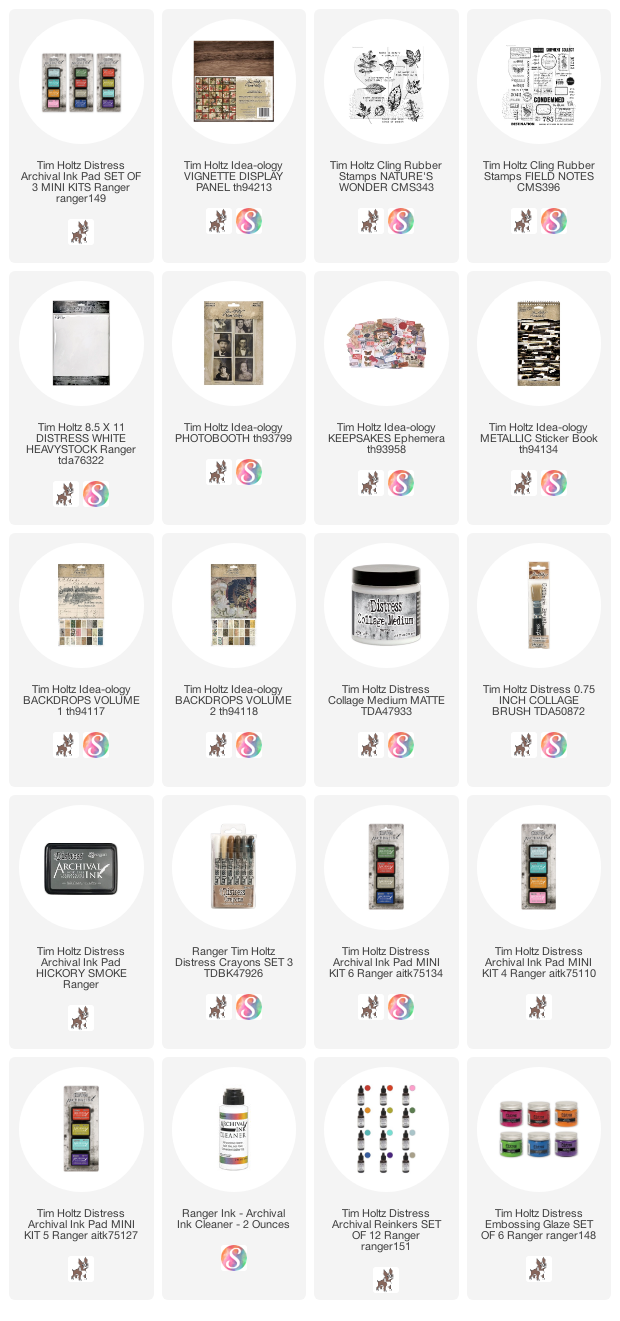
Well, today we have another Ranger release! This time it is new colors of Archival Ink Minis and Embossing Glaze. My project today is featuring Archival ink which is a permanent stamping ink. Lets get started so I can show you why I wanted, no needed, a permanent ink for this project.
NEW ARCHIVAL
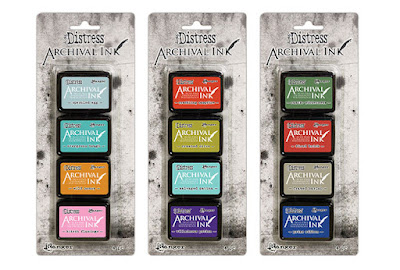
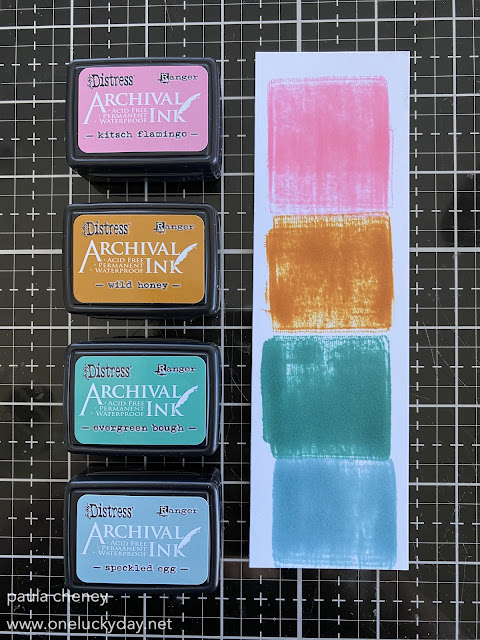
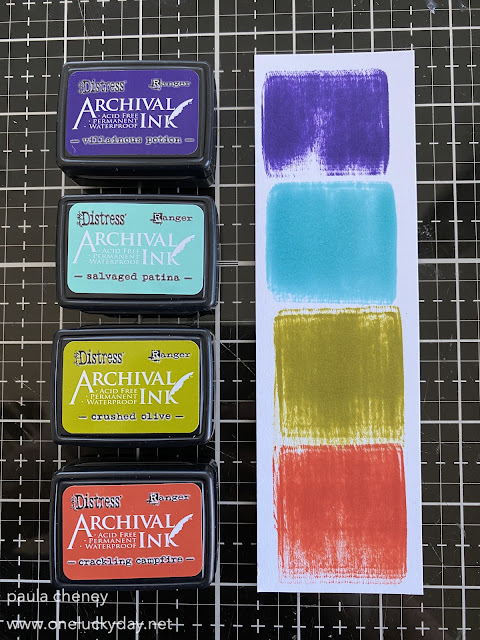
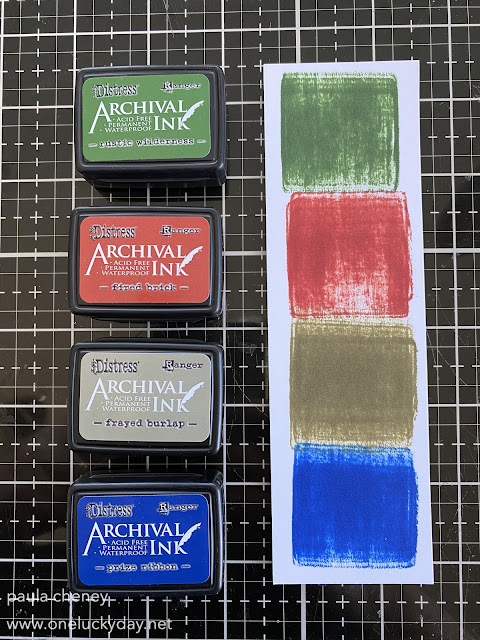
First of all there are 3 new "kits" of Archival with four colors in each kit. I swatched each color on Distress Watercolor paper.
Kit 4
Kitsch Flamingo, Wild Honey, Evergreen Bough, Speckled Egg
Kit 5
Villainous Potion, Salvage Patina, Crushed Olive, Crackling Campfire
Kit 6
Rustic Wilderness, Fired Brick, Frayed Burlap, Prize Ribbon
There was a lot of questions on the LIVE today about re-inkers. Yes, there are re-inkers but I can't imagine needed them right away.
PROJECT
Start by cutting White Heavystock into 1 1/2" squares. White Heavystock is so smooth, which makes it perfect for stamping and heavy enough to handle wet mediums and not warp.
I am ultimately going to add the squares to the 9 x 9" wood panel which means you need a total of 36 - 1 1/2" squares to cover the panel.
I decided to use all the colors from Kit 4 to make this project. Evergreen Bough, Speckled Egg, Kitsch Flamingo and Wild Honey work beautifully together so it made the color choice very easy.
Choose a stamp. I went with an old favorite, Natures Wonder. I love this stamps set because of the scale of the leaves. I also used it on
THIS project, but it has a totally different look.
Stamp each square with one of the colors from Kit 4 (9 of each color). Stamp each square so the image hangs off the one side of the card (embrace the white space!). Try to stamp so there is at least one edge of the card that has no ink. Stamping all nine of one color, then moving to the next nine of another color, made the stamping go quickly. Although you have to make sure you clean your stamps well between colors! I suggest starting with Kitsch Flamingo and moving to the darker colors last.
Place all the squares on the wood panel (NO GLUE). This gave me a chance to get the colors and direction right before the next step.
Once you have the order you want on the panel, stamp each card with numbers or words from the Field Notes stamp set. I used Hickory Smoke Archival so the added stamping was subtle compared to the colors of Kit 4.
Here is what the panel looked like when I finished all the stamping. I did end up turning a few cards where I had leaves facing the same direction (that did not settle right in my brain).
I took a
photo of the board, then pushed the cards into two piles
on either side of the panel. I pushed 3 columns off to the left side and 3 columns off to the right side. That way I only had to find the right card (
according to the photo reference) in a pile of 18, rather than a pile of 36. It made it very easy to put the pattern back together with glue.
Before starting the top, I added Backdrop paper to the sides. I used multiple scrap pieces that I pre-cut 1" wide and added them with Collage Medium.
Once that was done and dry, I started on the top panel. The most important part here is to make sure they go on without overlapping so you don't create a break by the time you get to the top of the panel. Remember, Collage Medium dries quickly.
Once all squares are secure on the panel, brush Collage Medium over the top. This is the part where the use of Archival Ink becomes VERY important. Archival is permanent, meaning that a wet medium, like Collage Medium, will not smear the ink. If I had stamped with Distress Ink, the Collage Medium would have reactivated the ink and it would smear as I was brushing across the panel.
I like to finish by rubbing the surface with the palm of my hand to smooth out the brush lines left by the Collage Medium. Just rub the wet Collage Medium for a couple minutes till the surface is smooth and your hand has a hard time moving easily across the surface. Dry surface with a heat tool.
Once the surface is dry, add Walnut Stain Distress Crayon along the seams.
Use your fingers or a damp brush to move the crayon around. This is a give and take process for me. I go back and forth with the crayon and brush many times before I get it the way I want it. Only you know how much grunge you like.
I always finish crayon work with a damp wet wipe, pouncing over the surface to mottle the crayon so it appears very random and natural. Sometime I wipe too much off and I have to add more, but that is just part of the process.
I thought you might like to see the half way point. The crayon totally changes the appearance of the white paper. In the end, I will go back and add a bit more crayon to parts of the right side to give it more contrast.
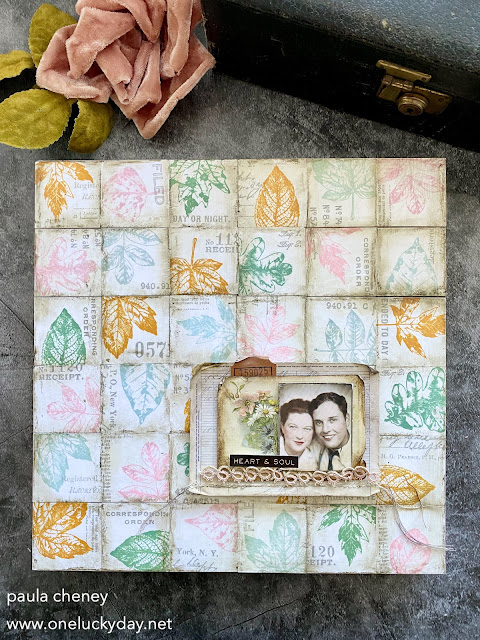
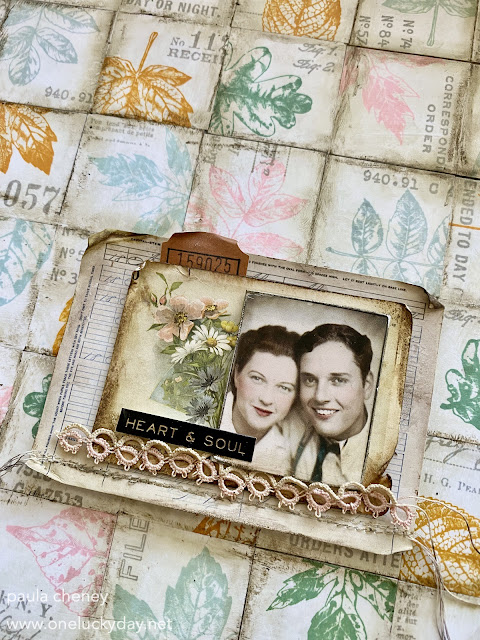
Here is the final panel. I love how this turned out because of the depth the crayon added to the surface.
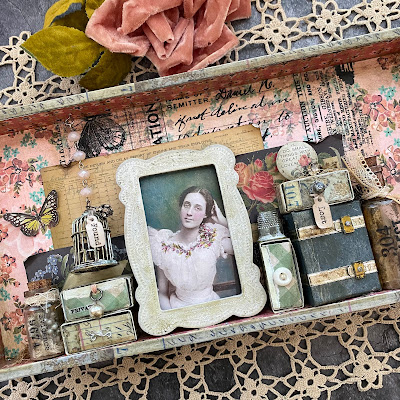
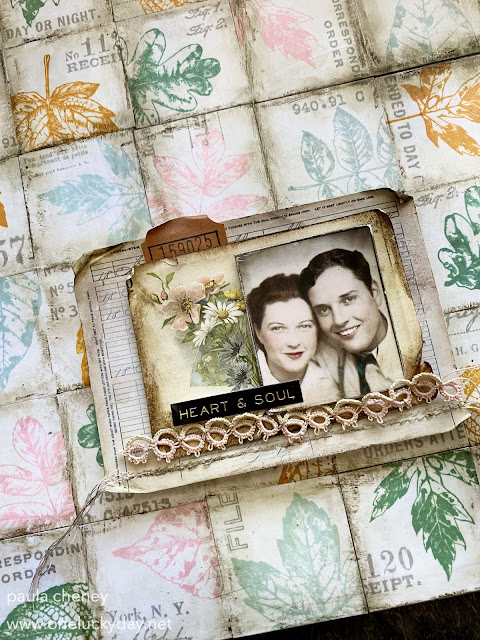
The last thing I did was to create a small layered focal point using Ephemera, Photobooth, Metallic Stickers and vintage lace. I stitched a few times across the bottom of the largest card, leaving the strings long on each end. Then stacked the other pieces with foam squares between each layer to build height. You can see I roughed up the ephemera, bending corners, tearing the edges and inking with Distress ink. That kinda marries the panel and the focal point together, both being a bit grungy.
I hope you like the Wood Panel as much as I do. I also love that Archival now come in so many colors for stamping! It is about time!
The whole process of creating this piece was relaxing. I loved the stamping part, probably due to the fact that it is orderly so you don't have to think about it too much. I just sat stamping while listening to music.
Cheers to you!
Now carry on,
paula